
Backpack to Island Lake in Desolation Wilderness, CA
Surprisingly, I don’t make it to Desolation Wilderness that much! Between permits, crowds, and having so many other places I’d like to go, it doesn’t always make the list. But, I picked up these permits at the very beginning of permit season, and was surprised with Island Lake all to ourselves on the Saturday before the 4th of July! What?!
Read on to see why you should be adding Island Lake to your bucket list.
Note: Included in this blog post are links to the Outdoor Status permit notification website. These are affiliate links, and I will earn a small commission at no extra cost to you if you choose to participate in permit availability notifications. Thank you so much if you do use this service!

Trail Stats
Where: Desolation Wilderness, Eldorado National Forest
Miles: 6.3 - 7 depending on campsite
Elevation Gain/ Loss: +/- 1,500 ft
Time to Complete: 2 days
Trail Type: Out-and-back
Permits Required: YES
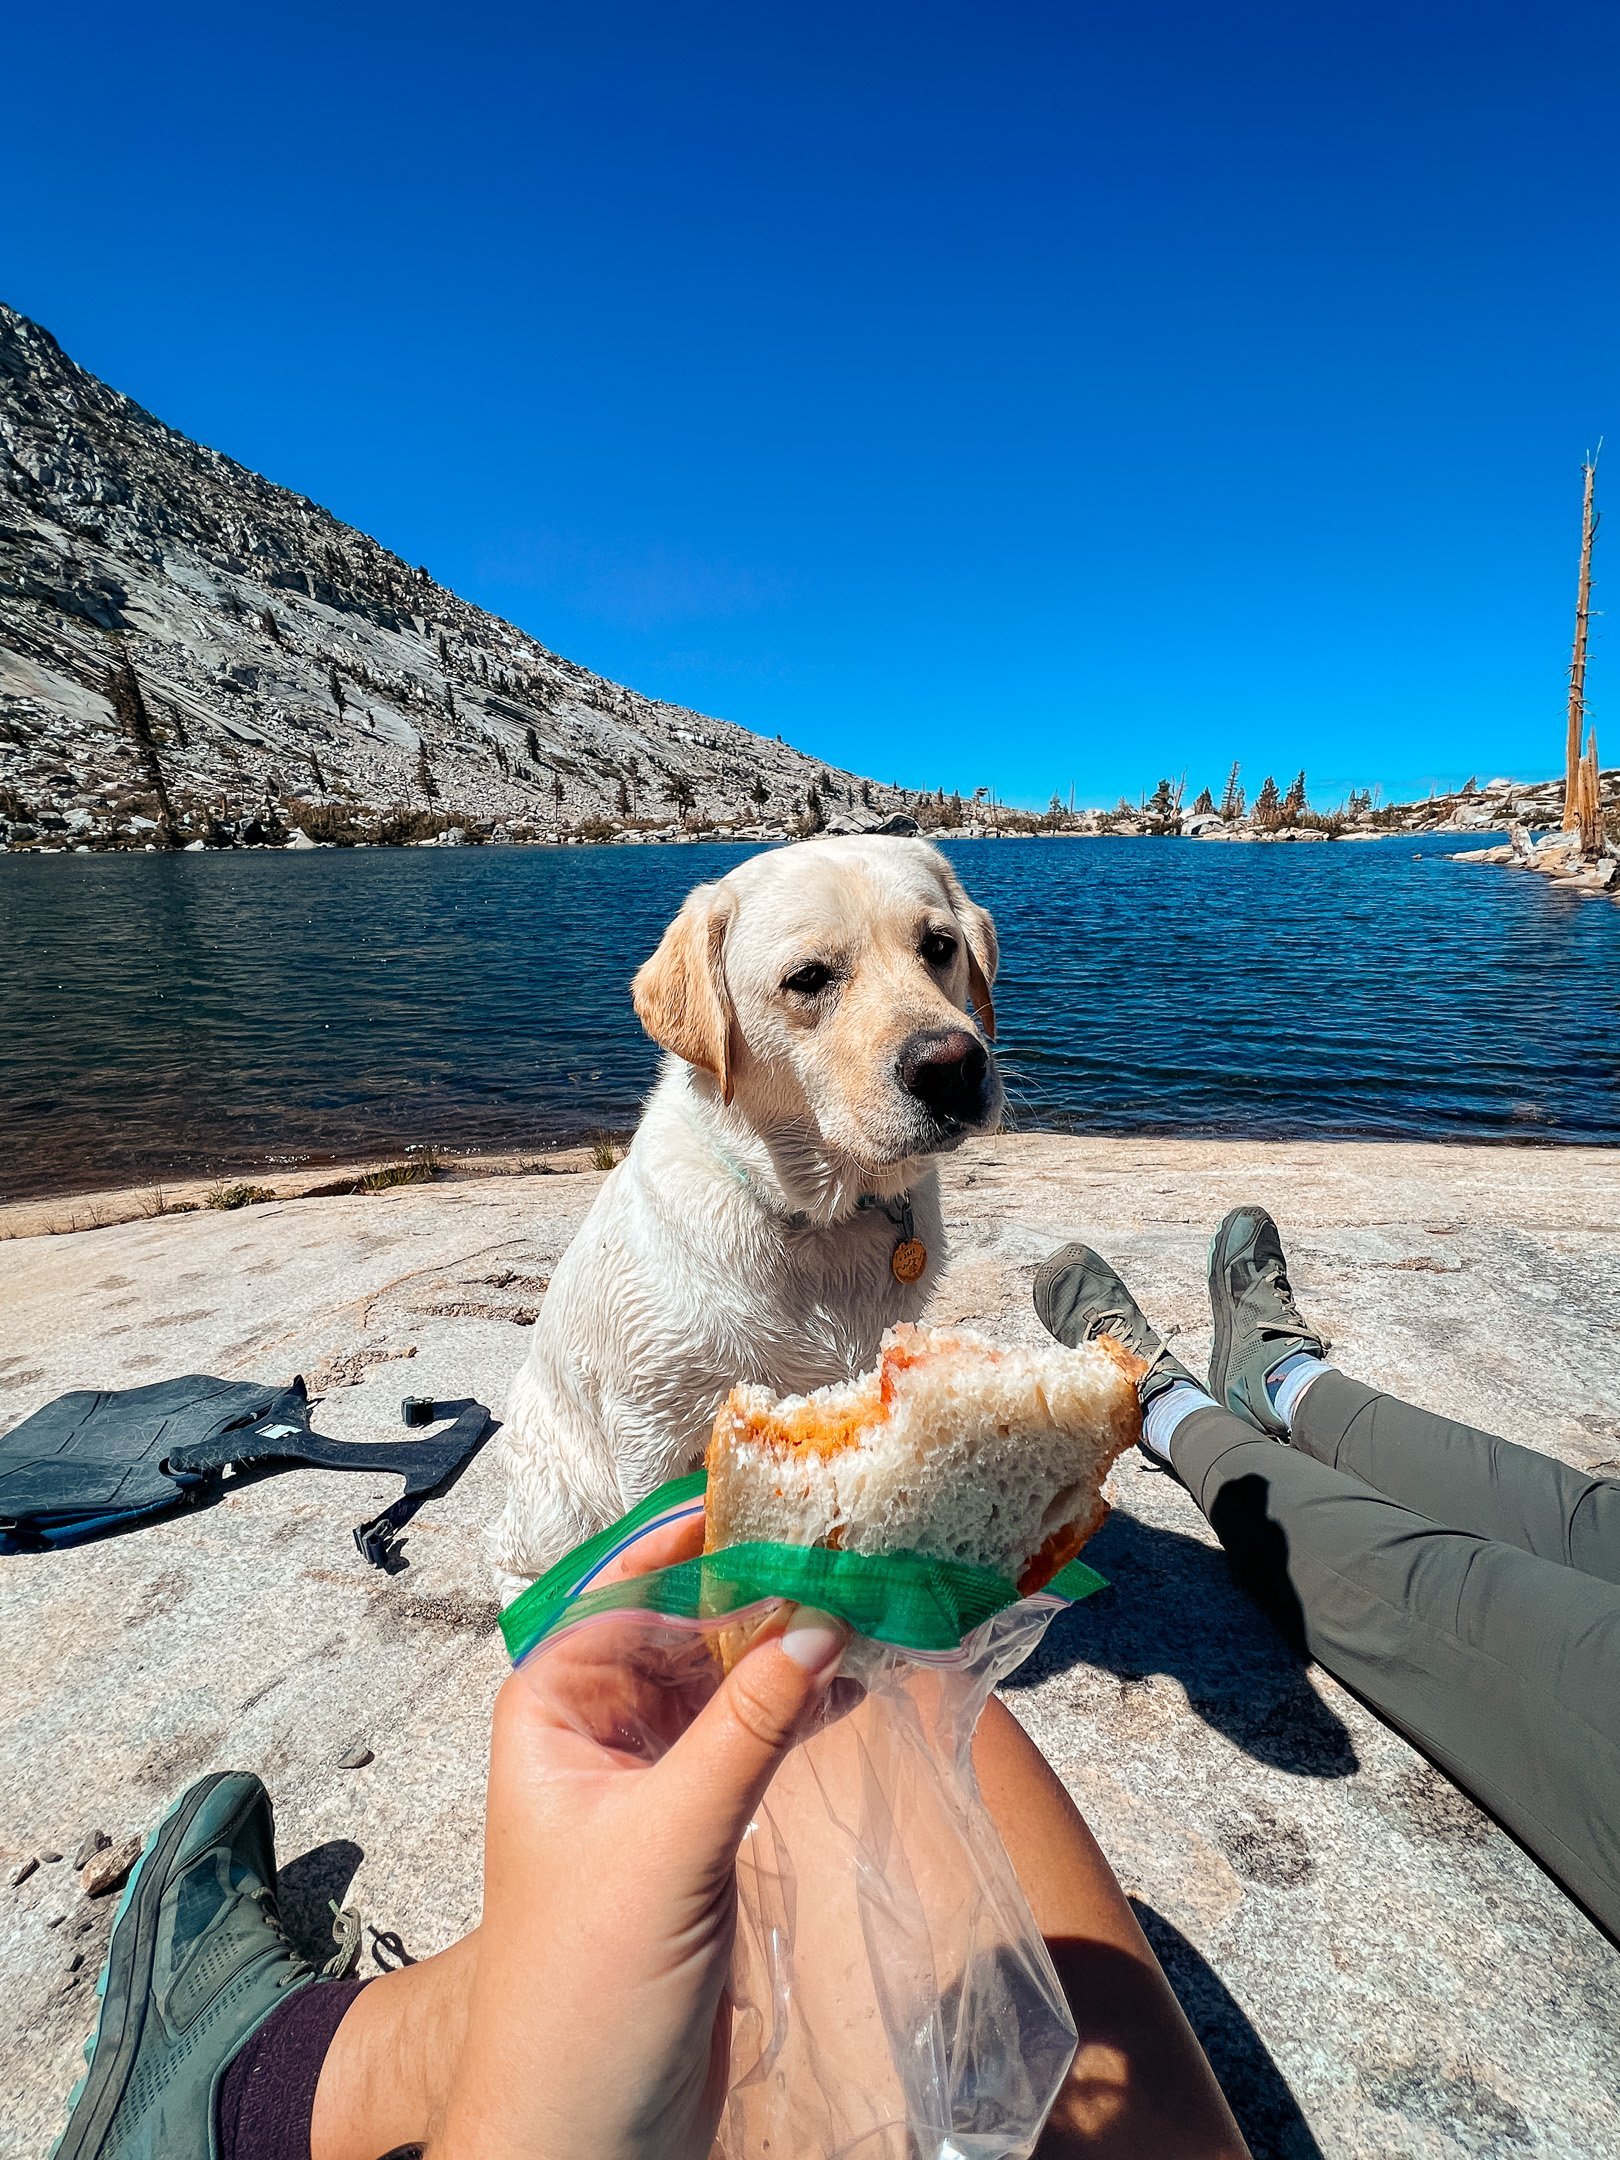
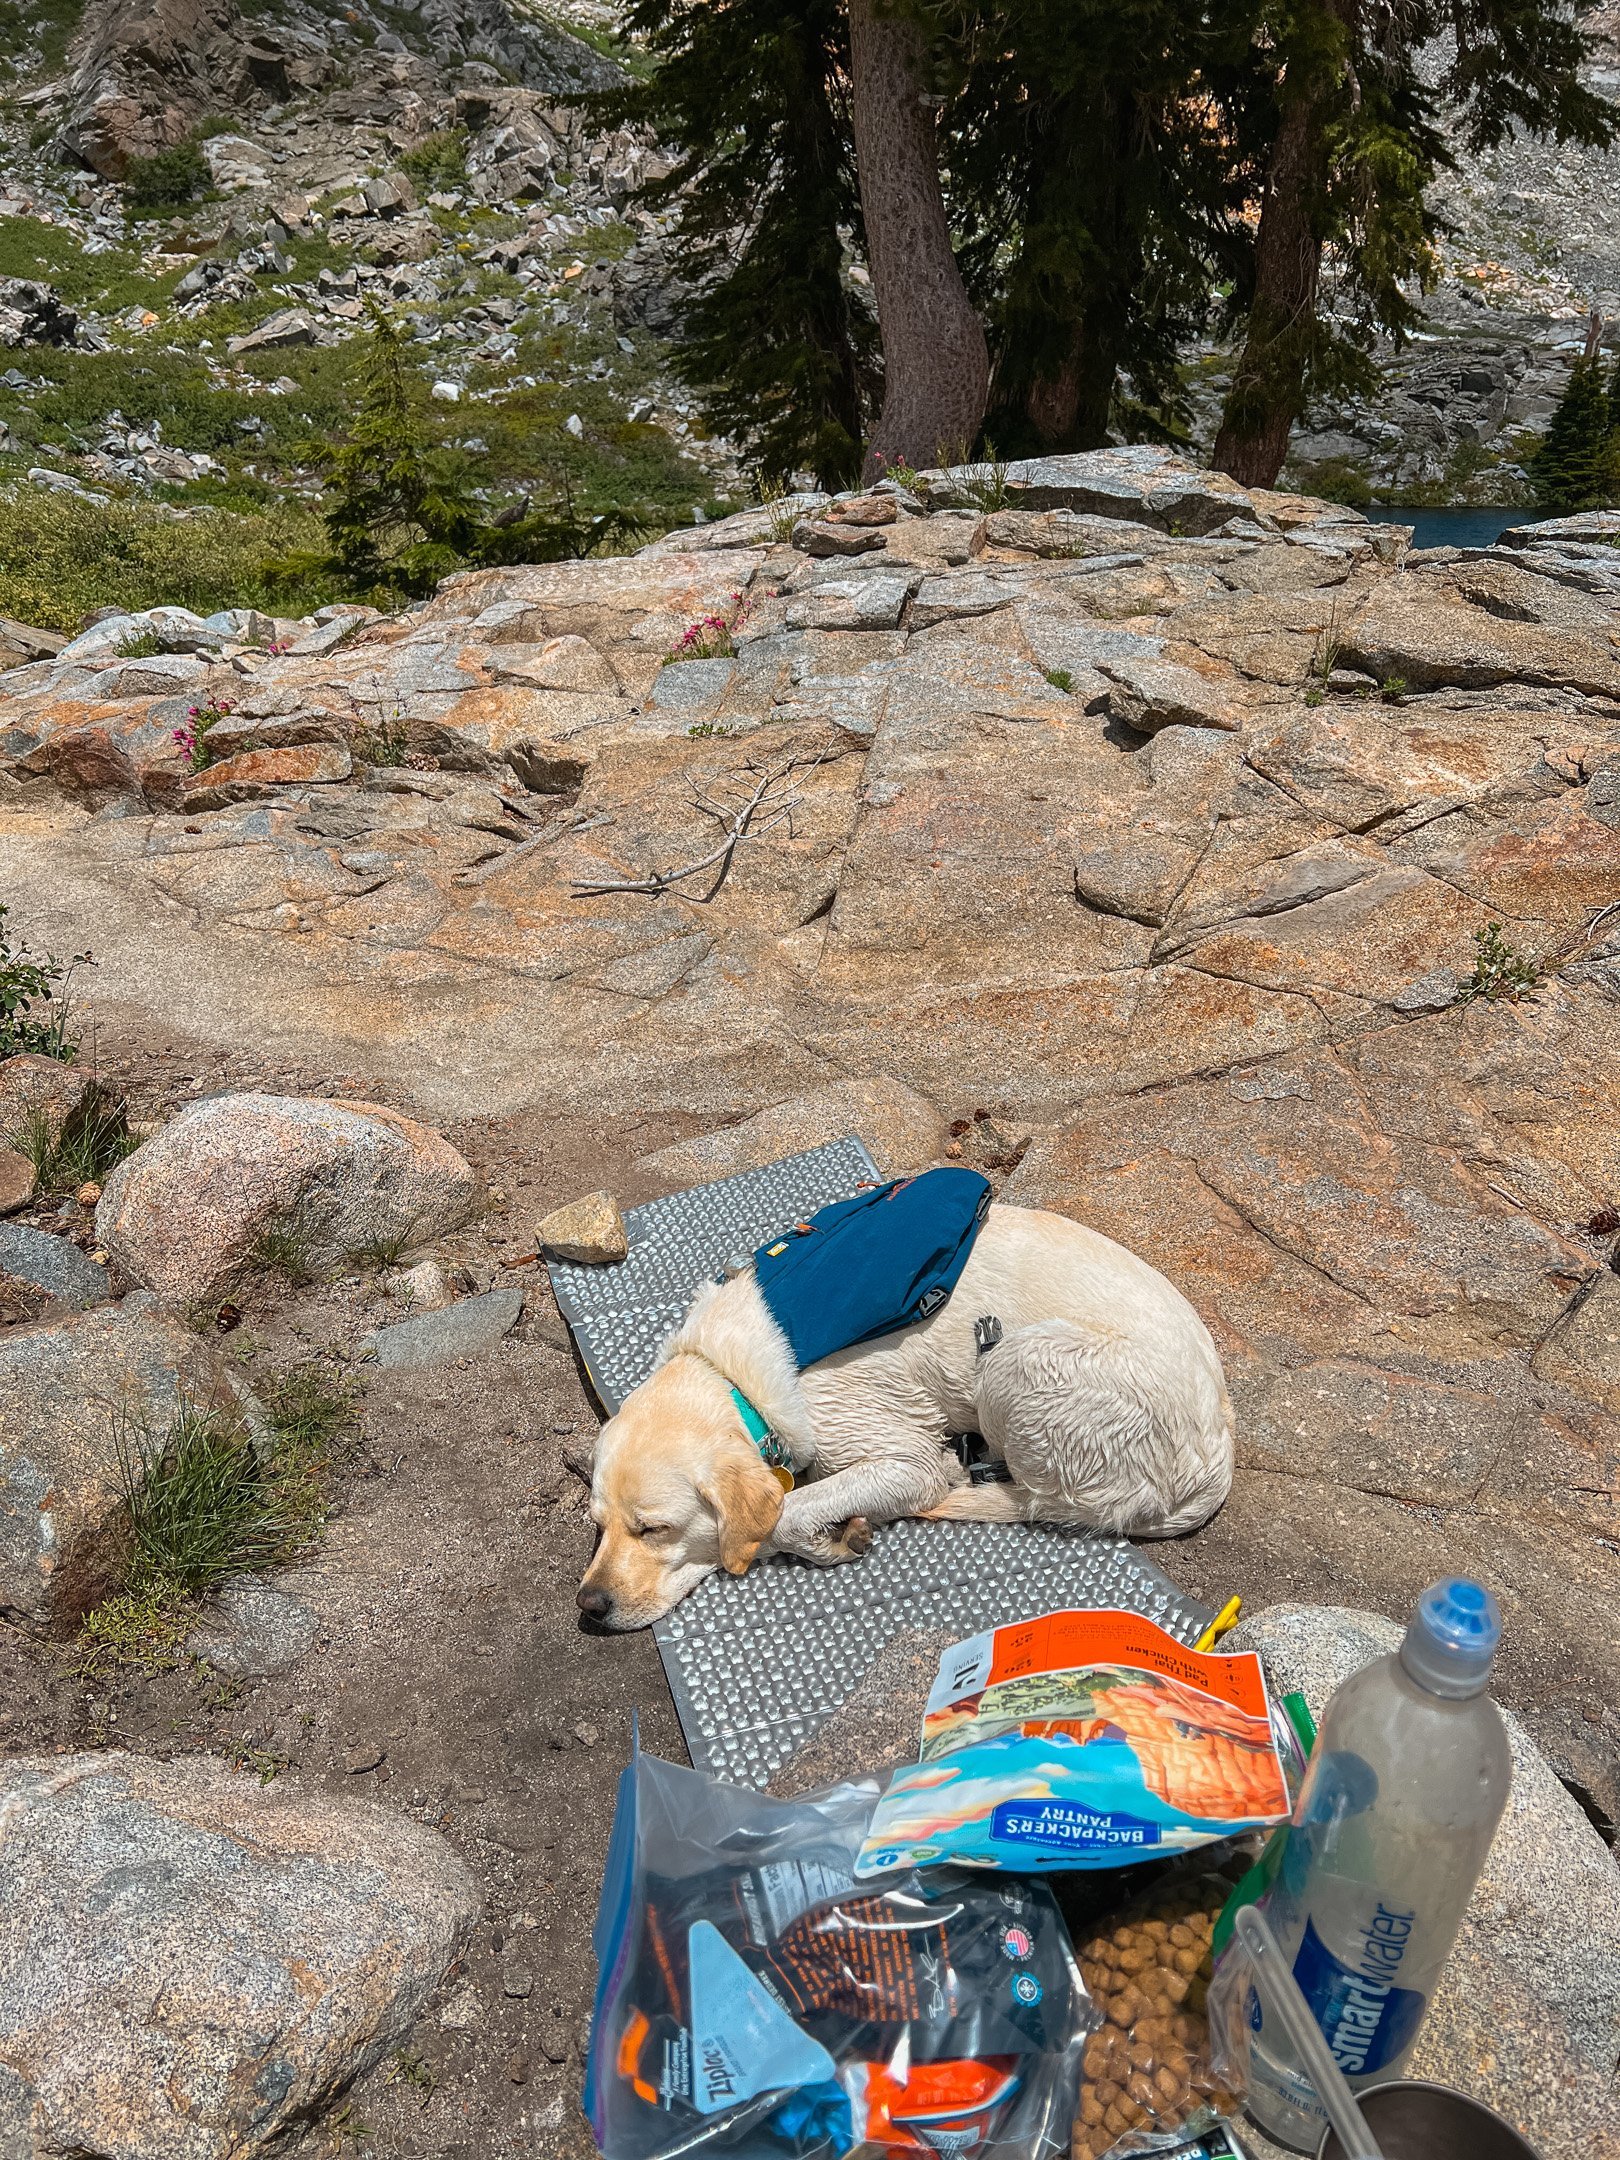
Pets Allowed: YES, on-leash
Trailhead: Wright’s Lake; Twin Zone #32

Elevation Profile
Itinerary & Trip Planning
Route Description
Starting at the trailhead board, stay on the dirt path to the right of the bridge. The path is wide, flat, and in the trees for the first half mile as it slowly departs from Wrights Lake. You’ll soon come to a small sign on the trail that instructs you to stay to the right to continue to Twin Lakes and beyond.
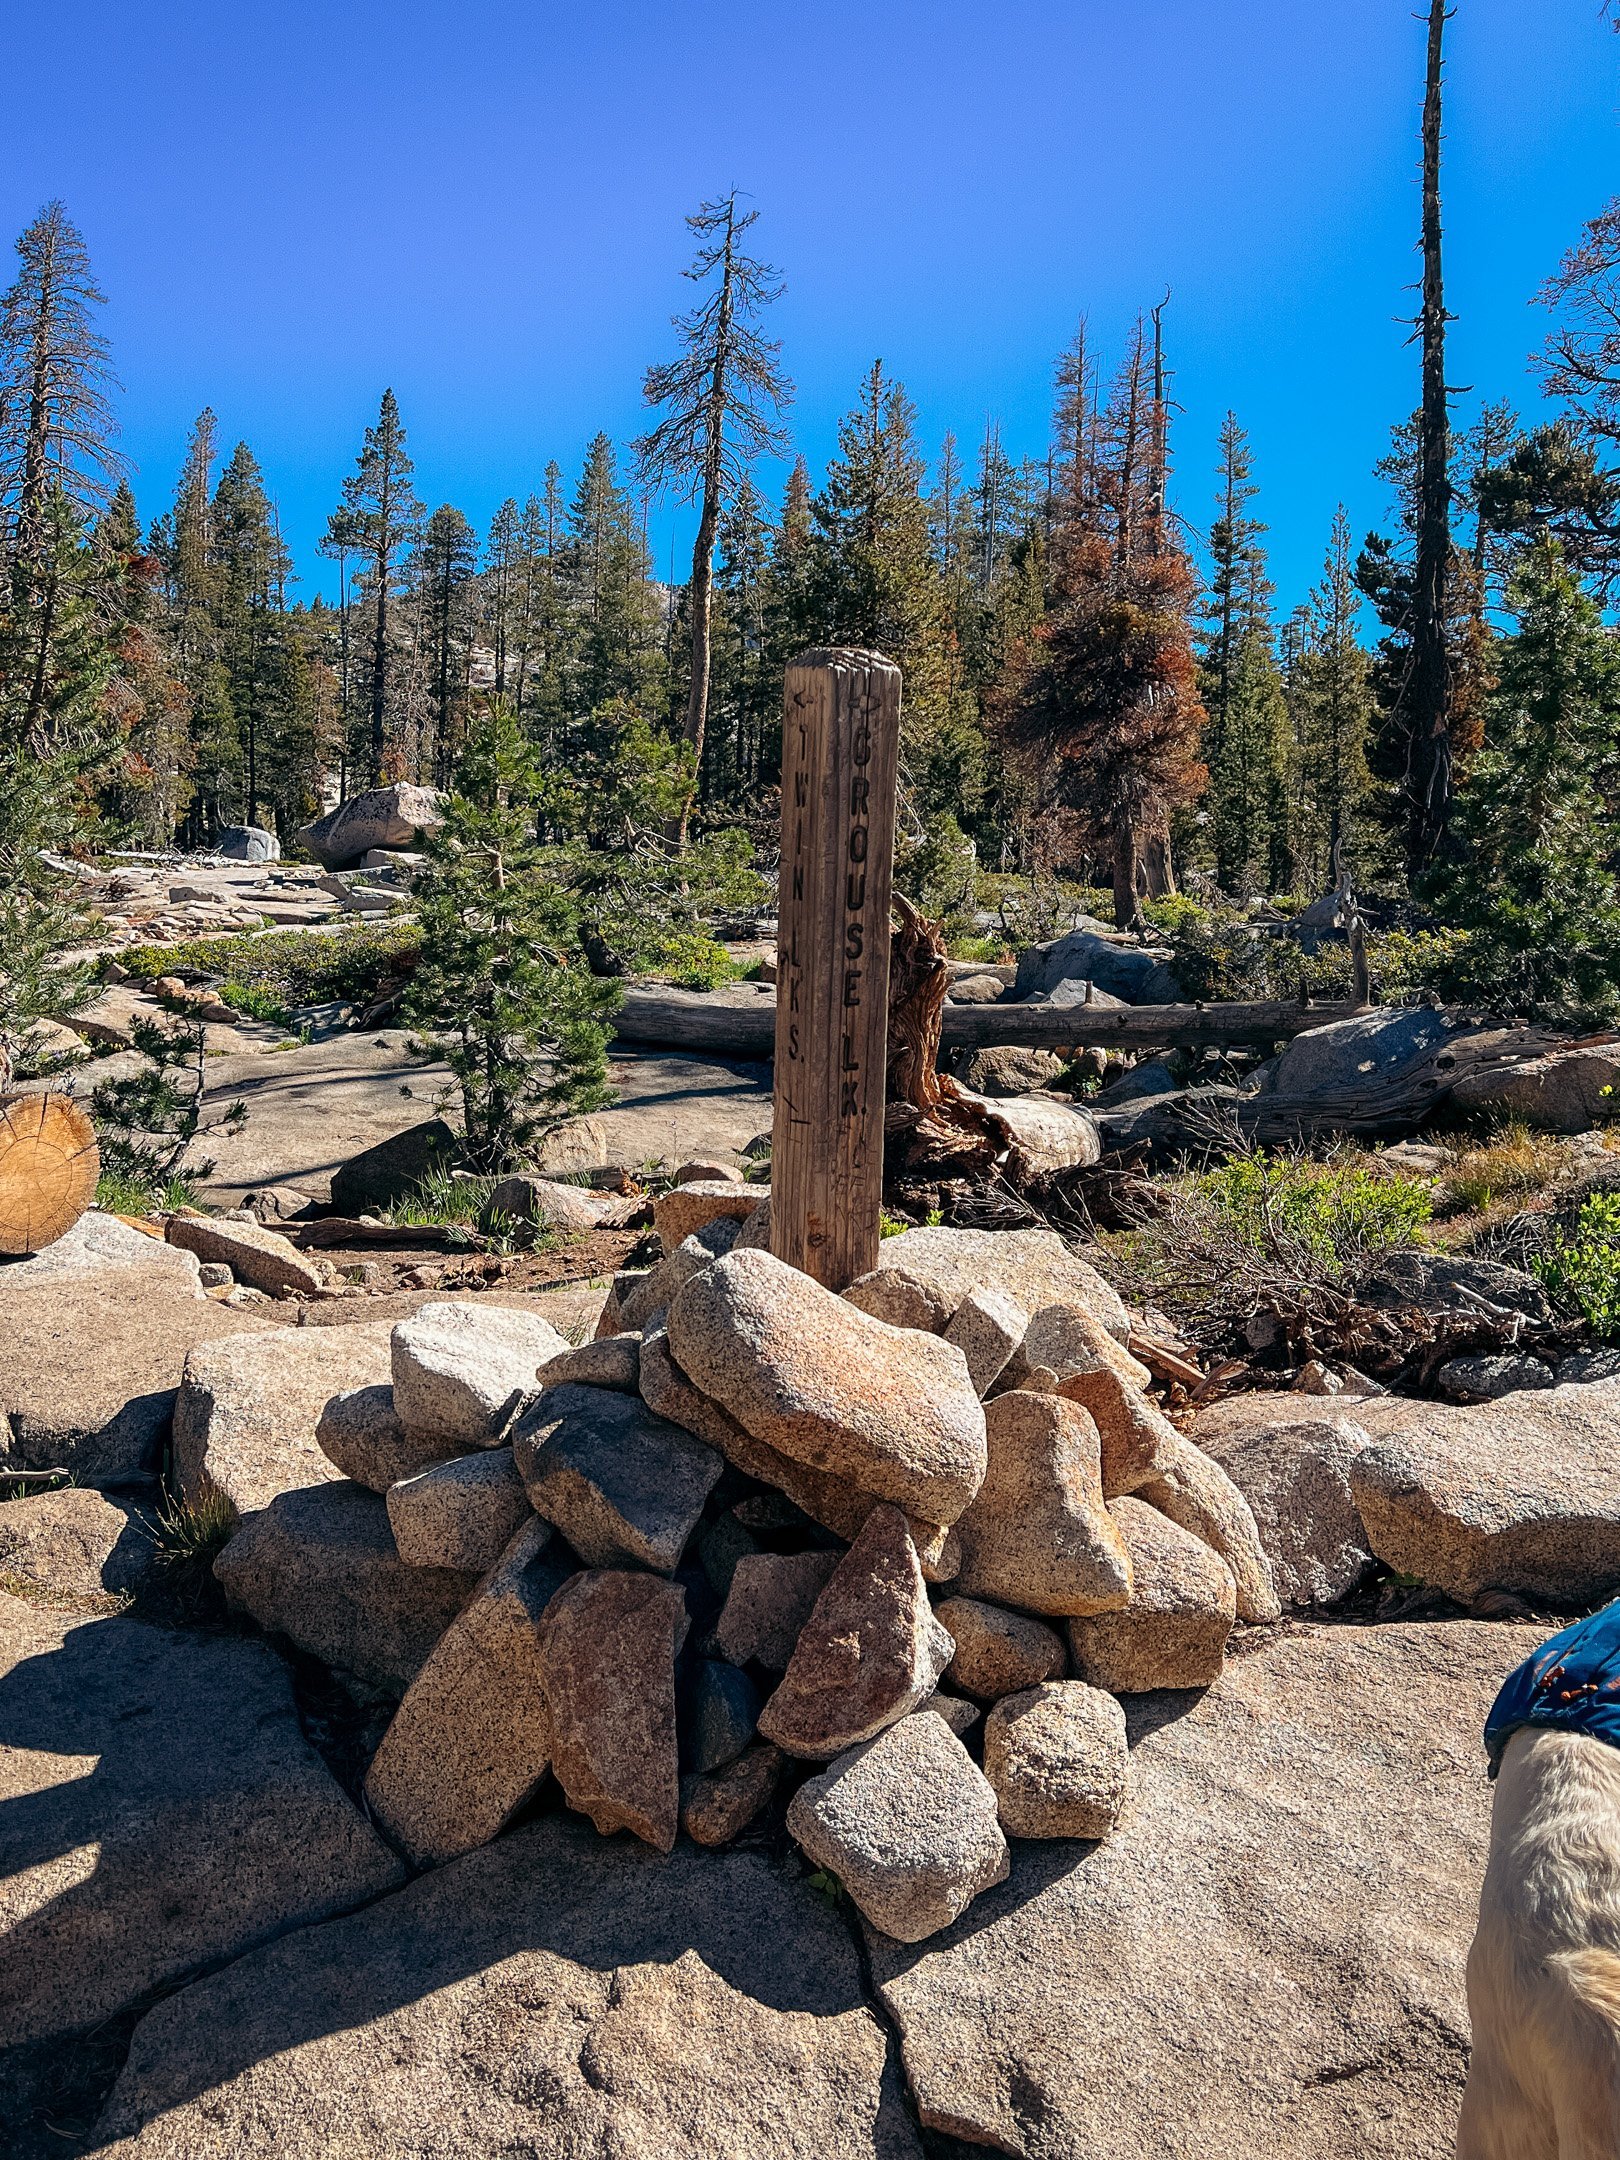
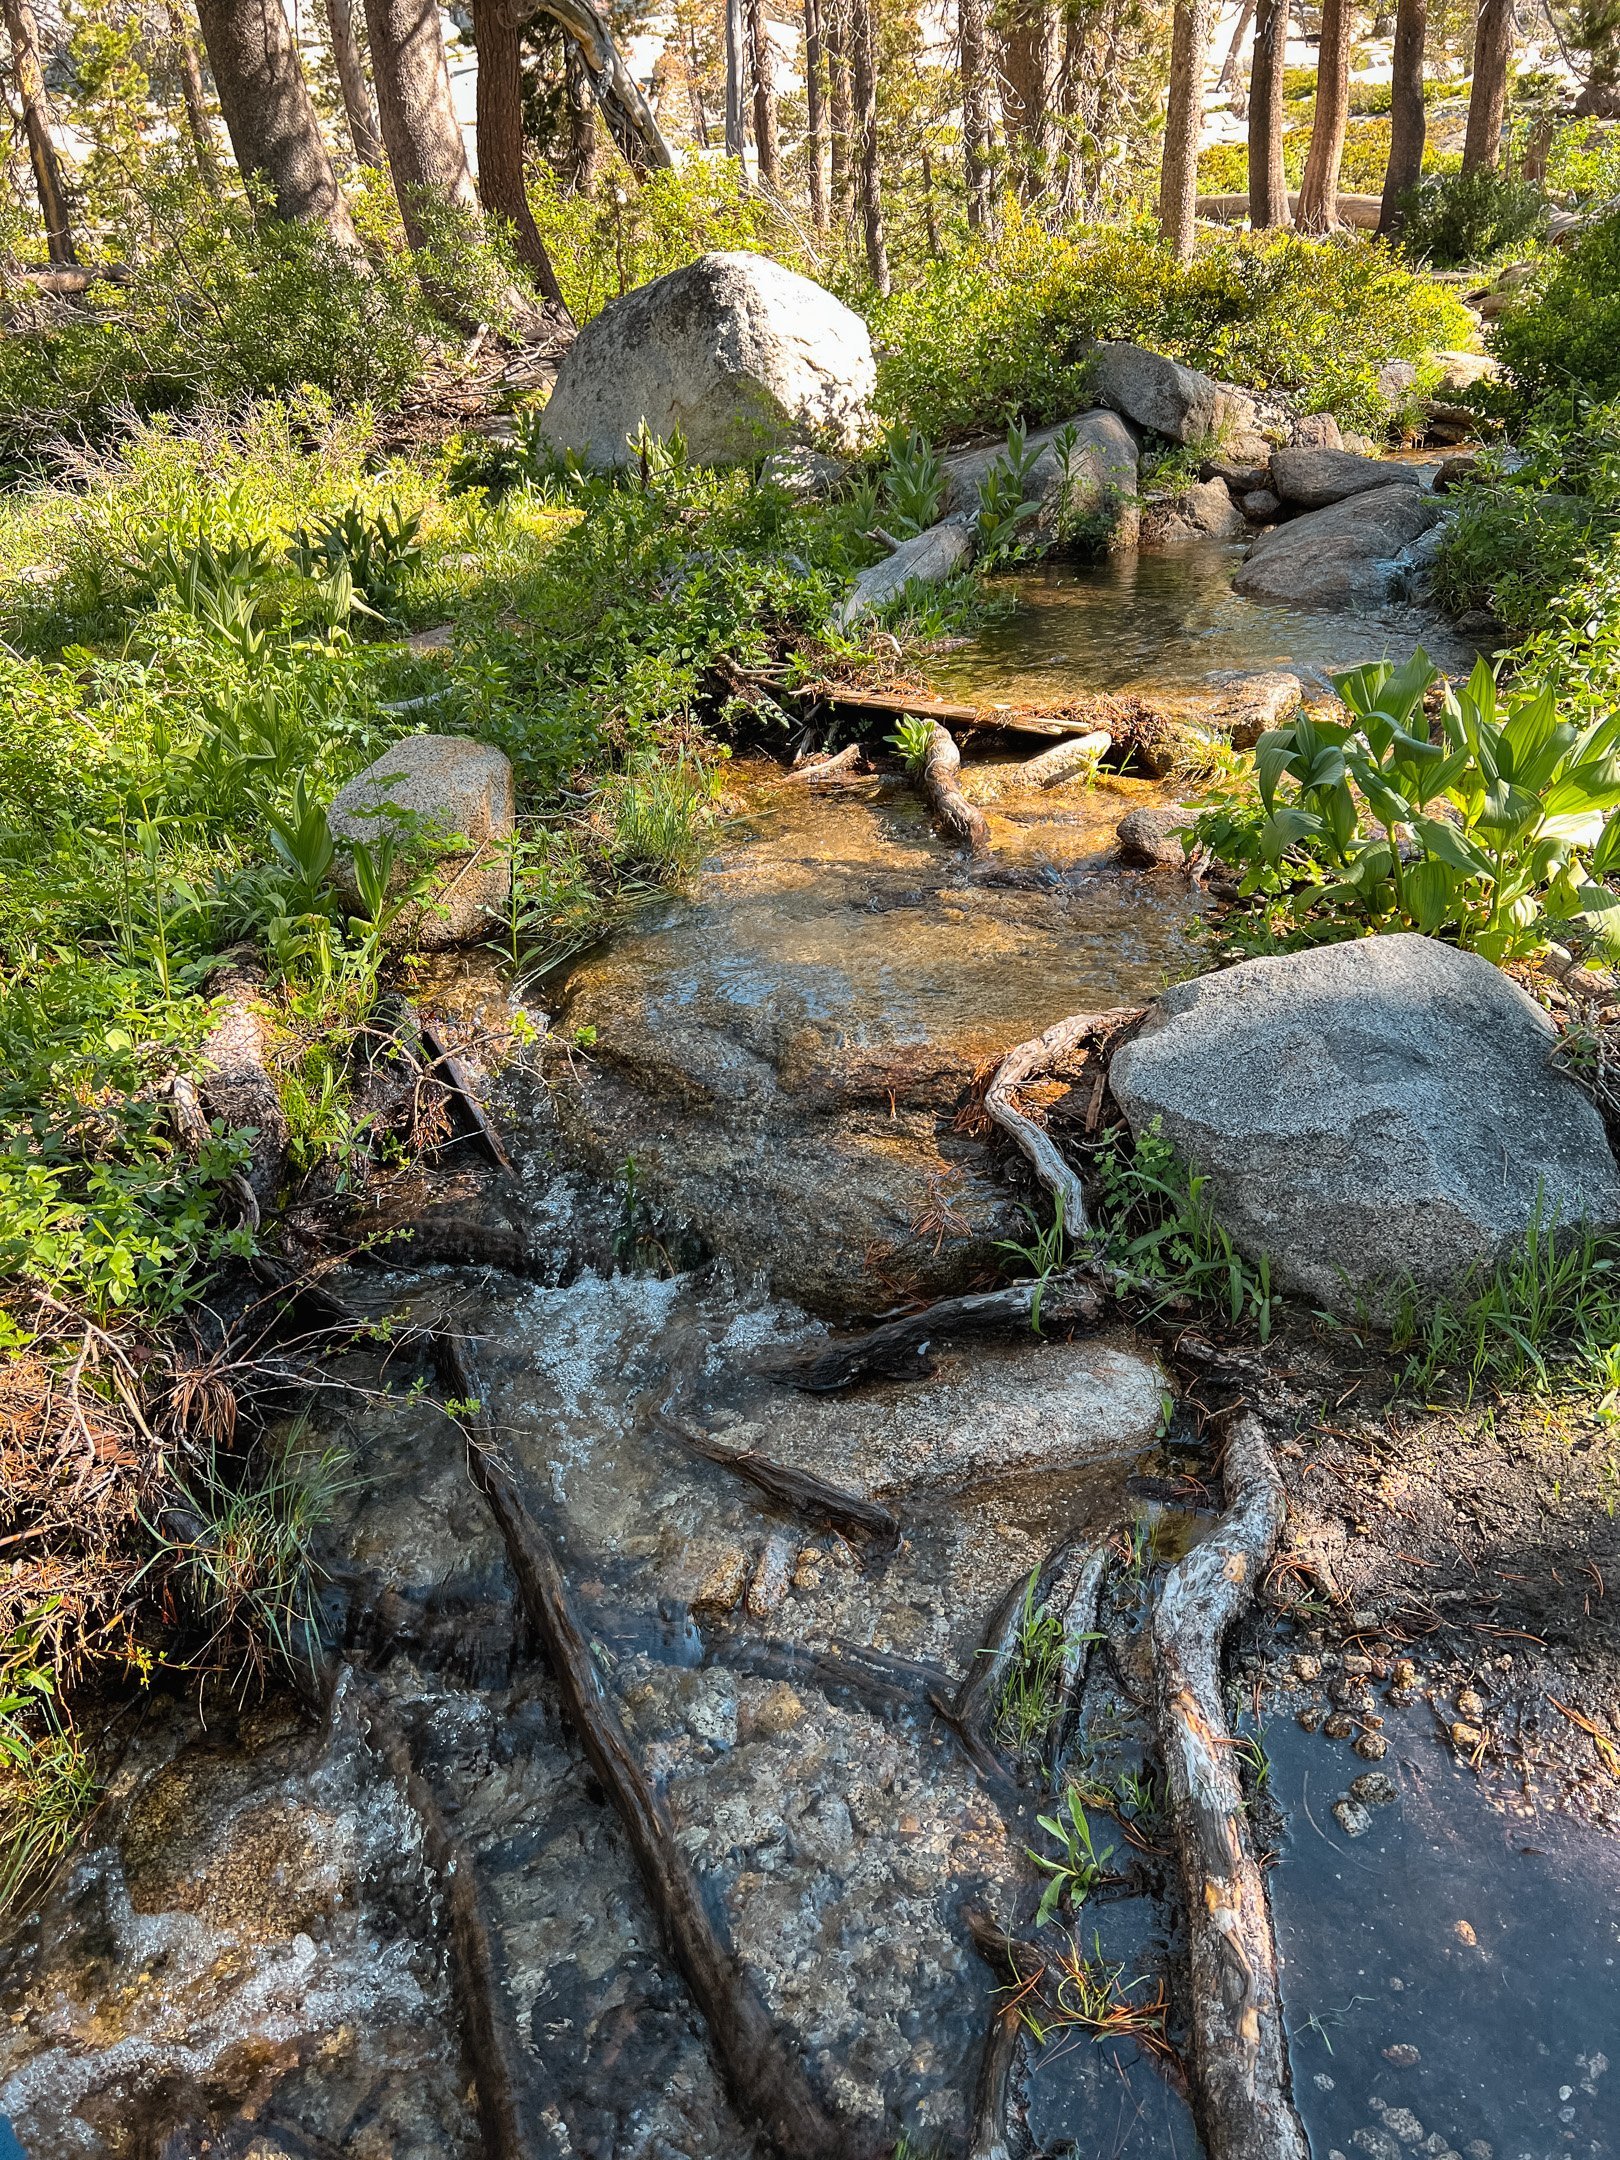
The trail begins to climb at this point - very moderately though. You’ll go in and out of the forest as the trail parallels a small creek. At around 1 mile of hiking, you’ll come to the sign marking the boundary of Desolation Wilderness. After exiting the trees, you’ll quickly come upon the trail split to Grouse Lake. Follow the signs and keep left at the junction.


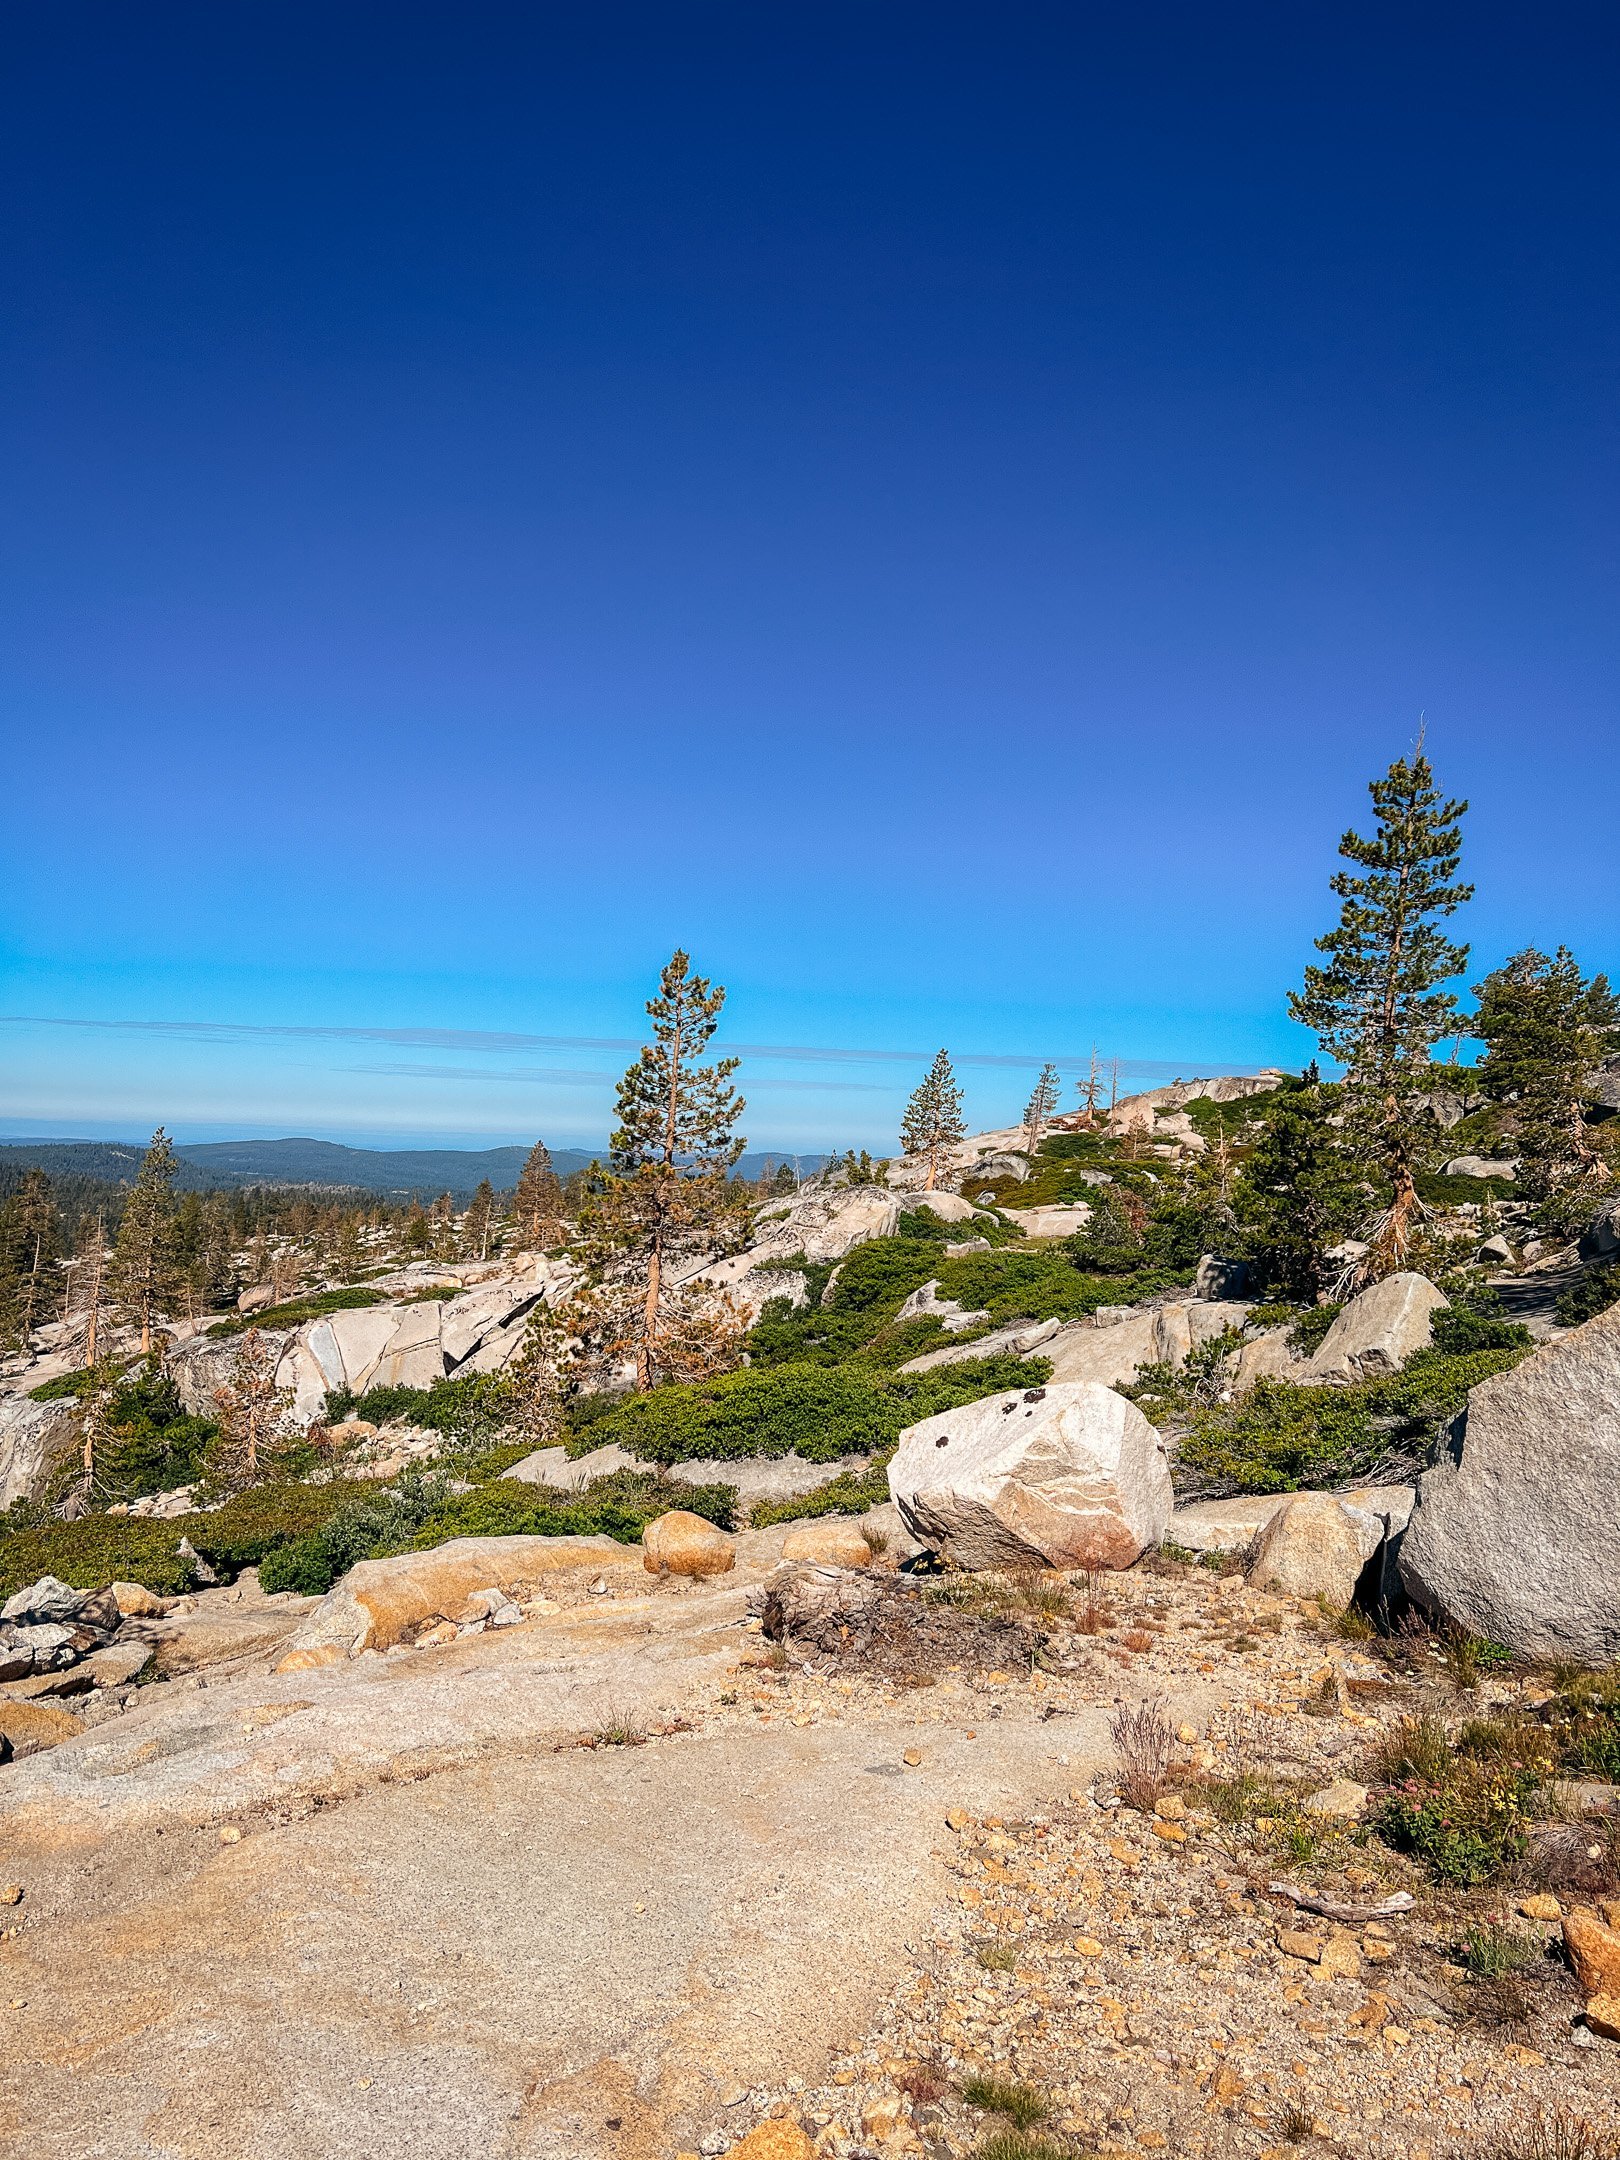
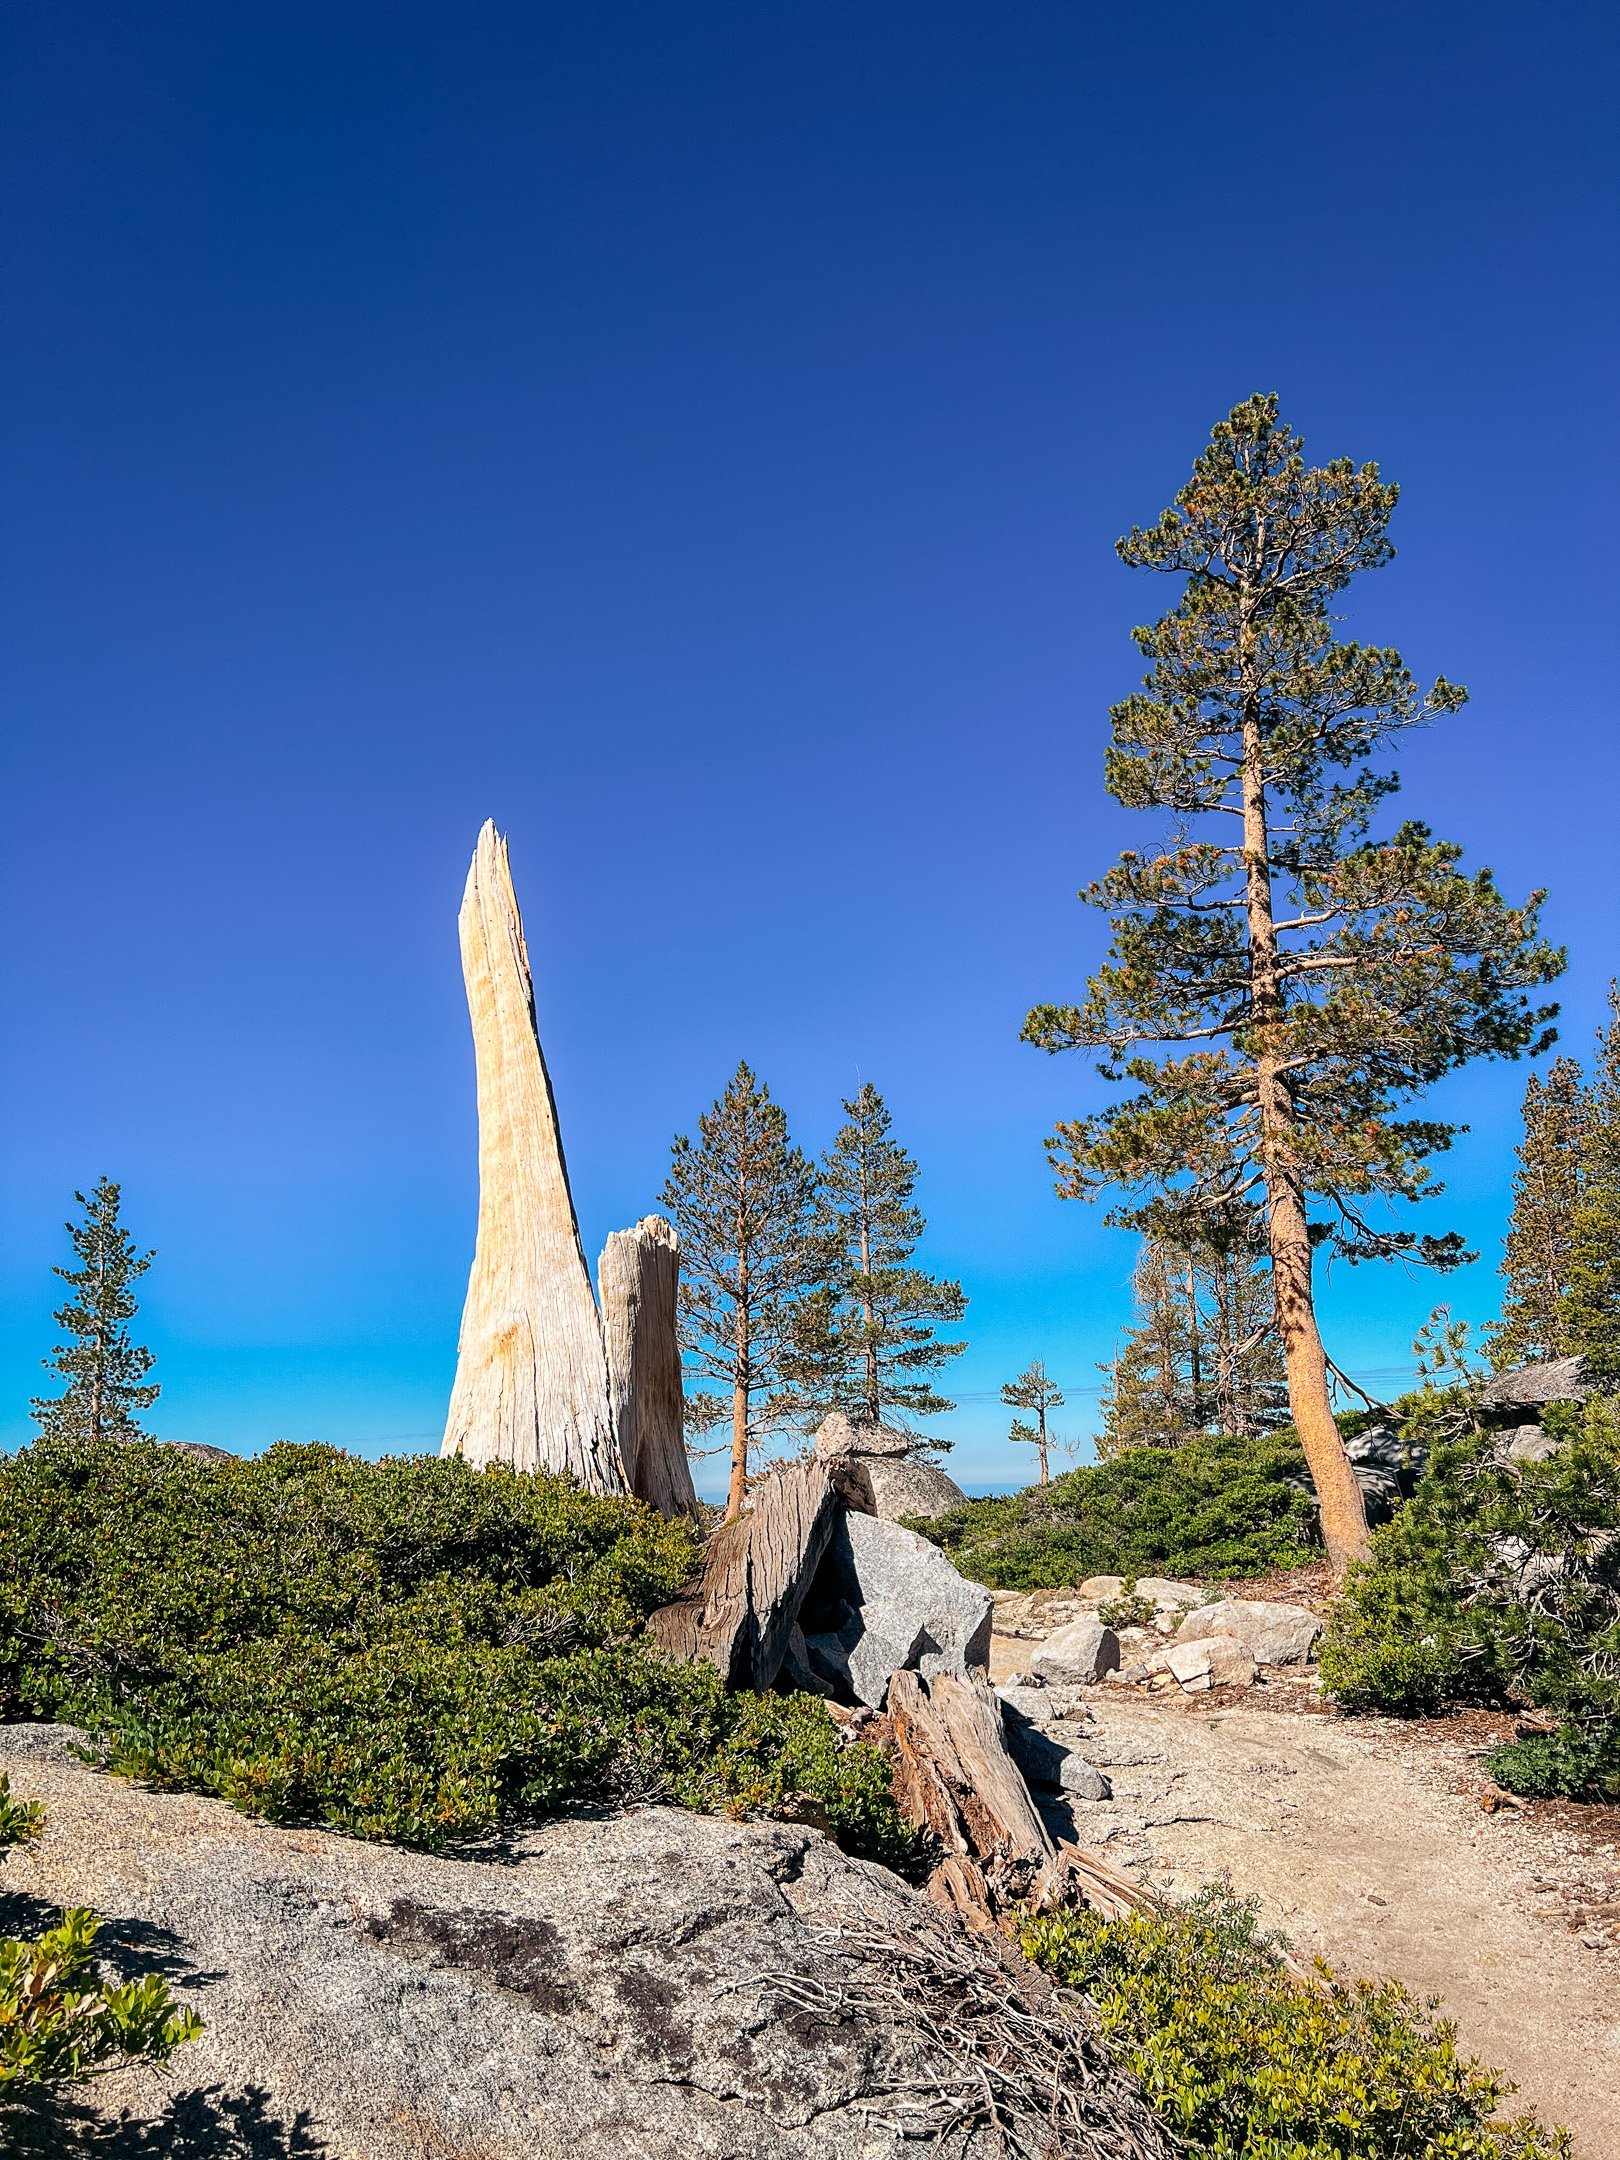
The trail is mostly above treeline from this point on, so make sure you’ve got your sunscreen on! Distant mountains are visible ahead, while looking back offers views of the rolling mountains of Northern California. The steepest part of the trail is coming up - there are some big steps in the rocks as the trail switchbacks up the exposed granite. Be careful of your footing as the rocks can be unsteady.

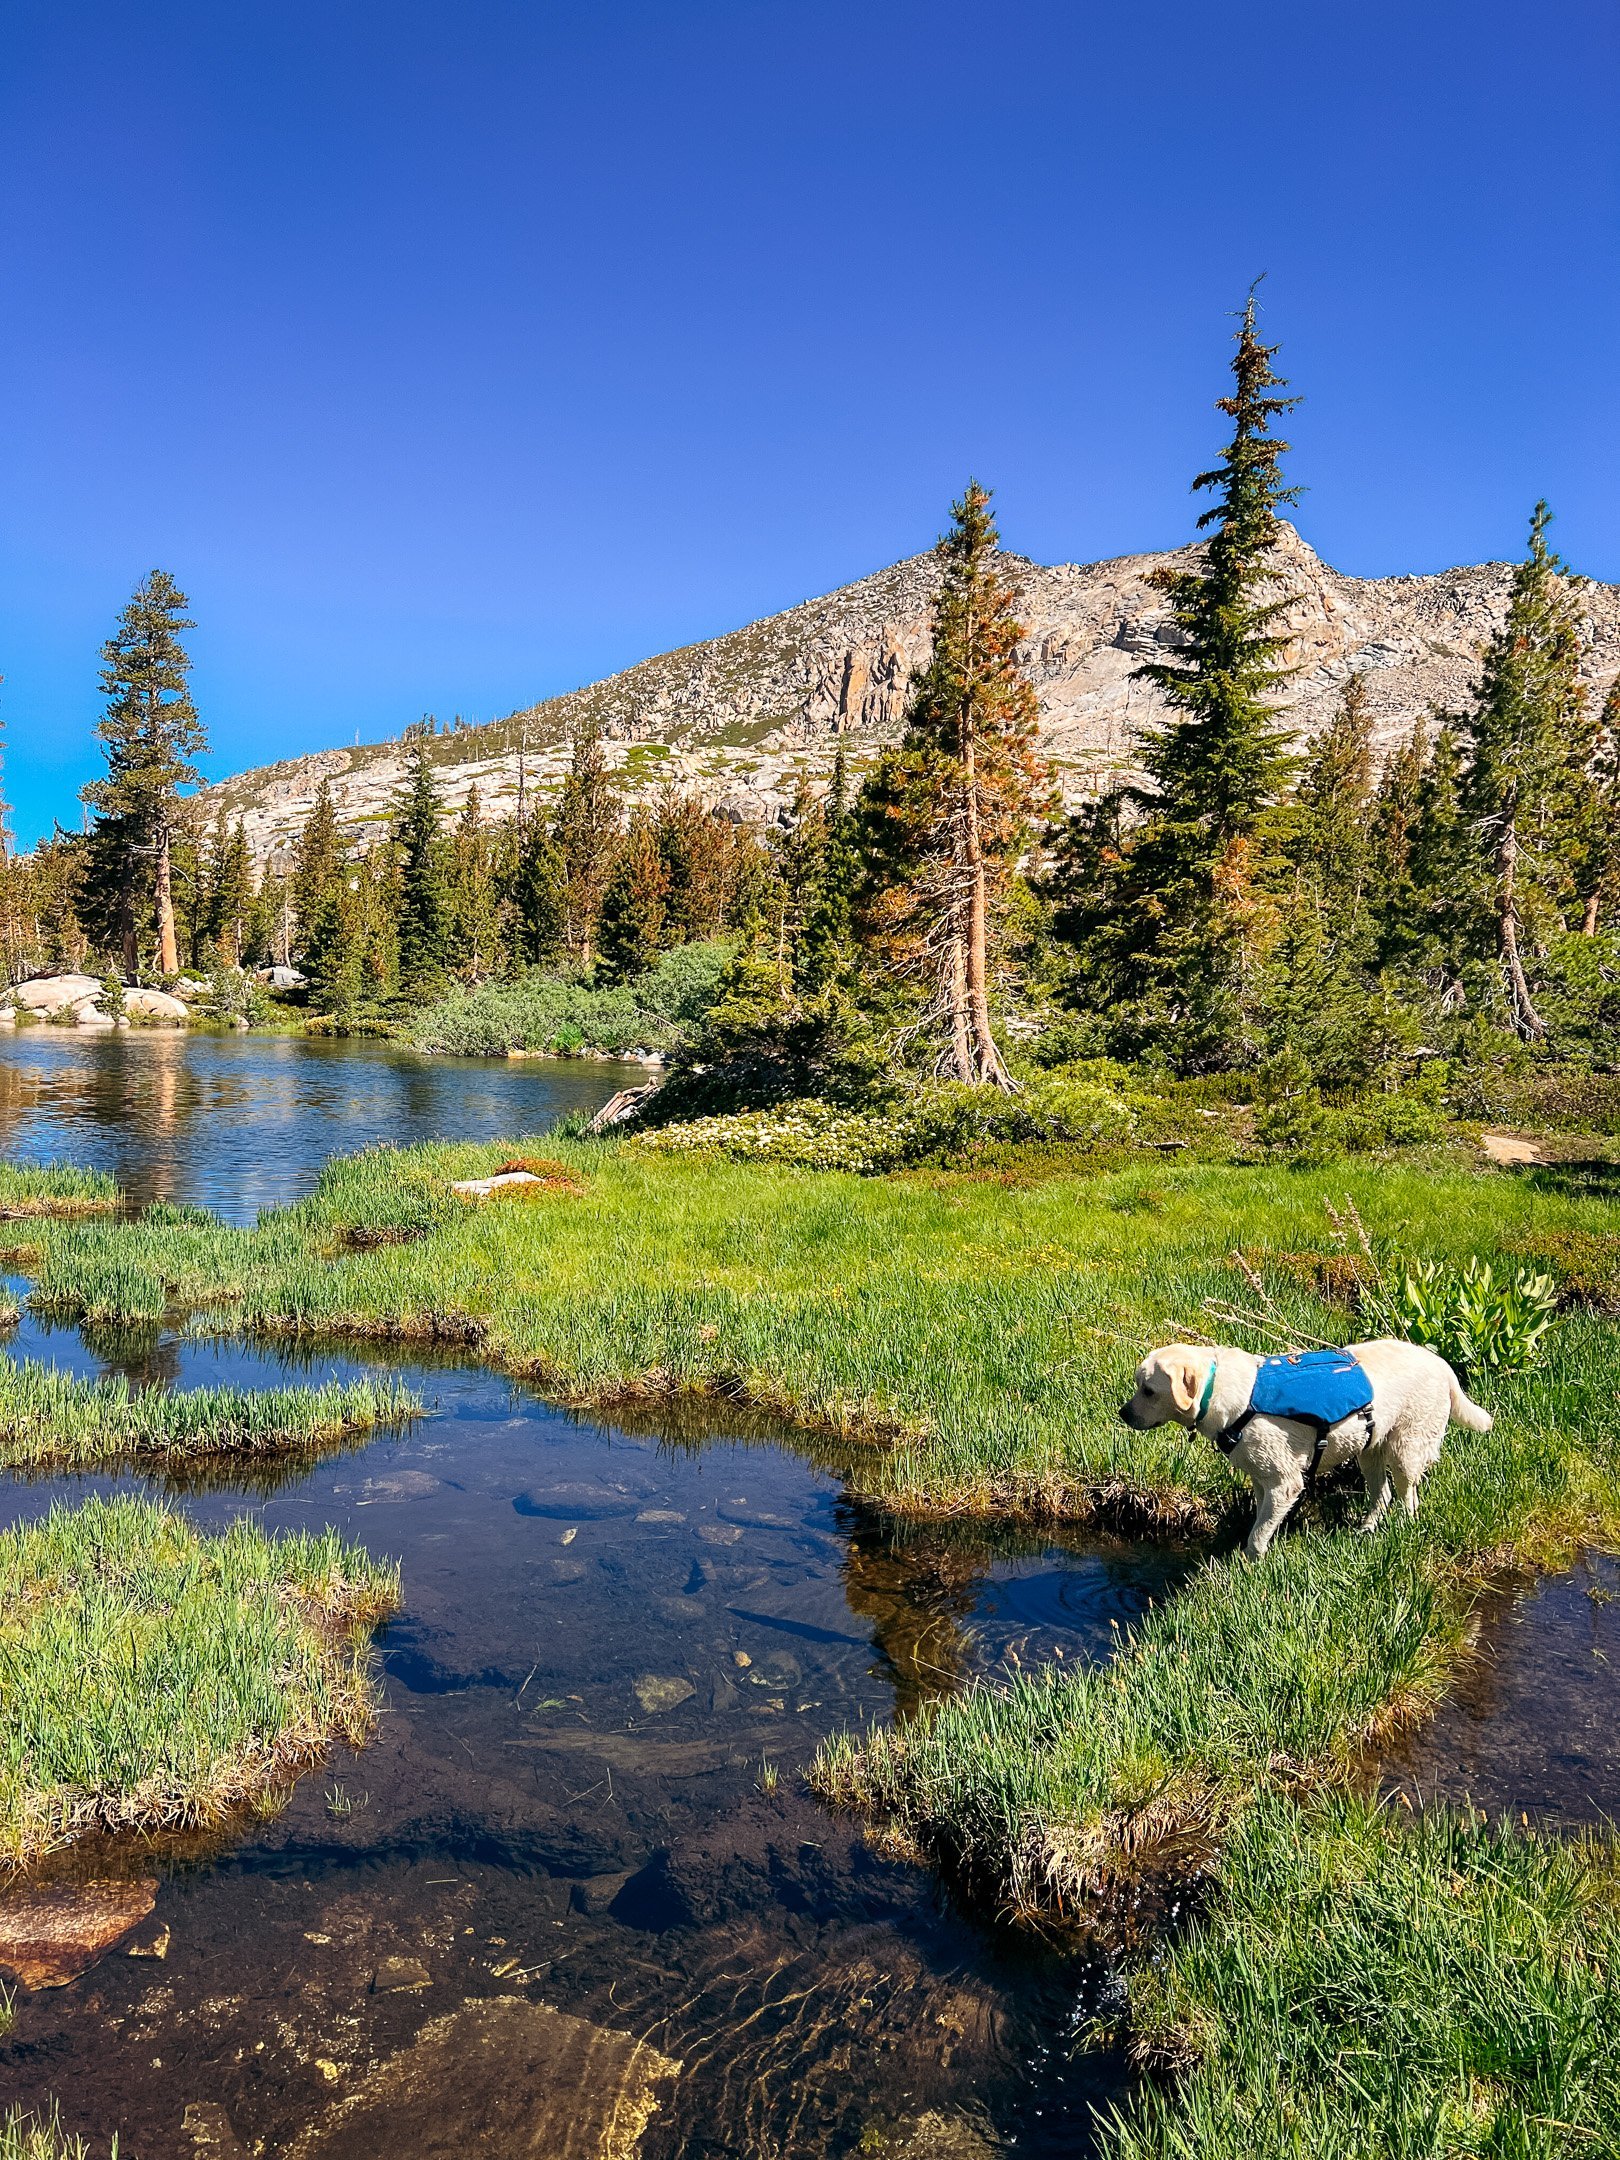
Once the trail flattens out a bit and you are within eyesight of water again, you’re getting close to Twin Lakes! The trail meanders through the rock and some marshy meadow (probably dry in the fall), until leading you to the outlet of Twin Lakes, which has a washed away footbridge. From this point, you can traverse across the granite to the shores of Twin Lakes, or walk a little closer to the lake along the water and find the rocky ford to get to the other side, which is what you’ll need to do to continue. In high snow years, this could be a tricky crossing since the water is decently deep around the rocks.

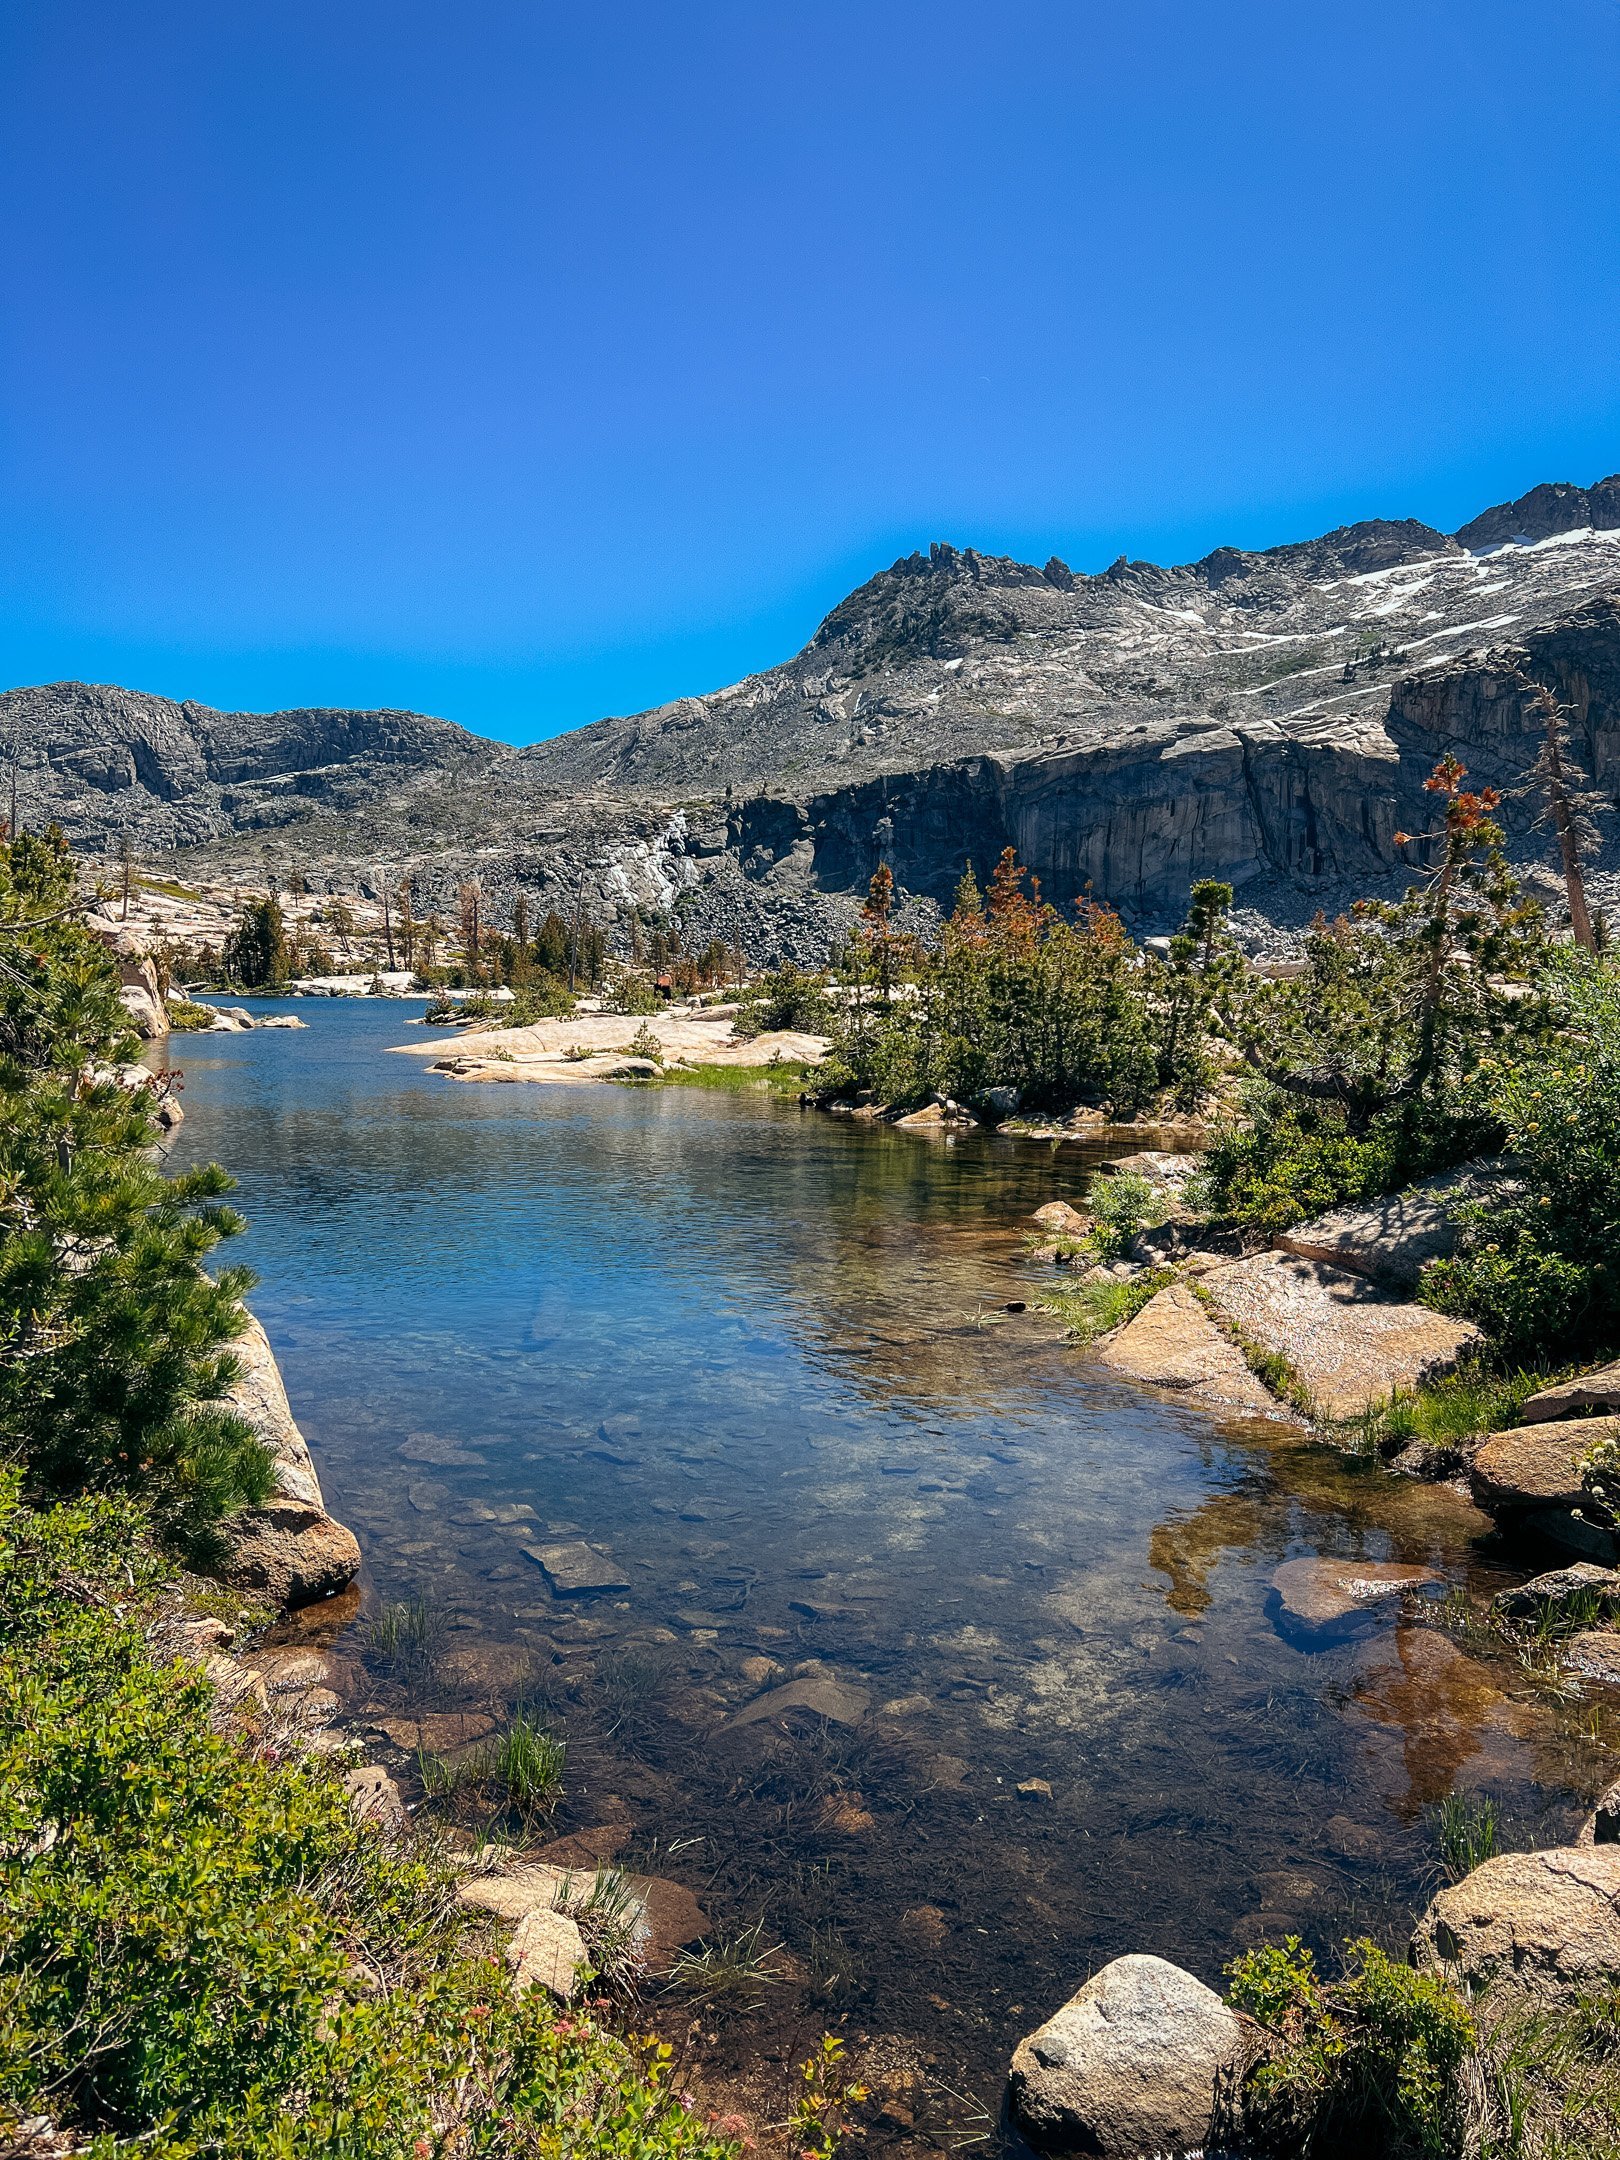
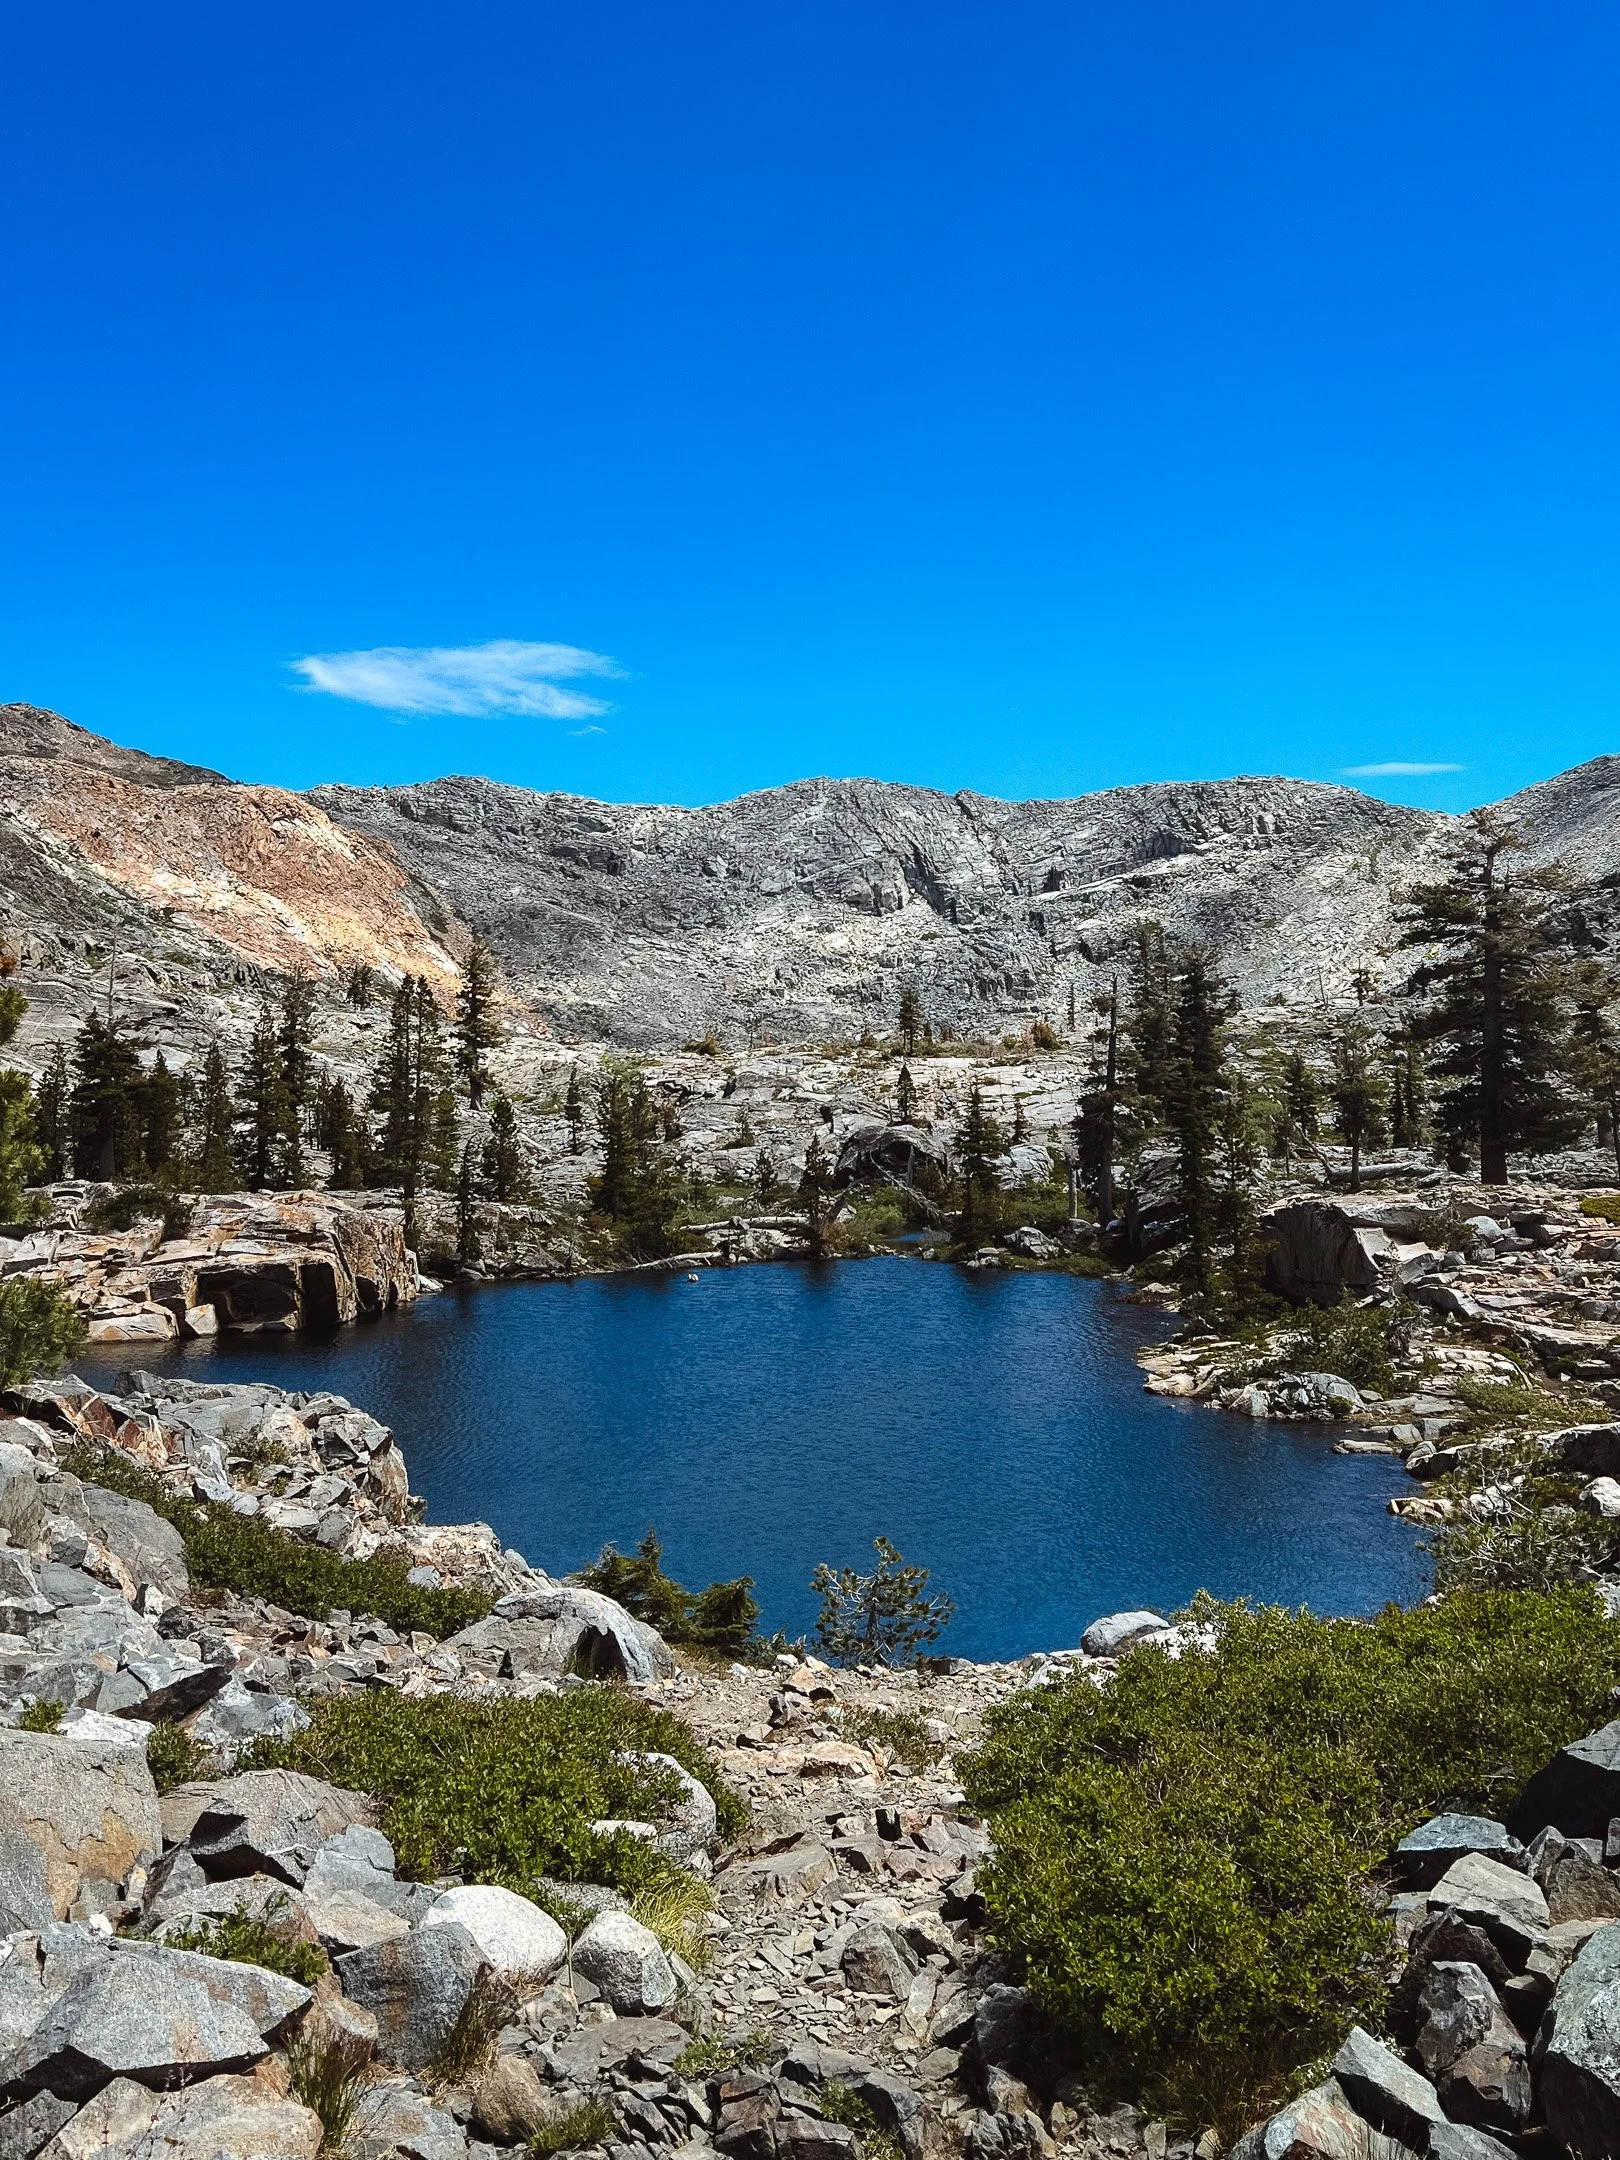
After crossing the outlet, you’ll hike inland along the lake. You’ll see an abundance of campsites on the sloping granite shoes, but keep hiking up the trail to continue towards Boomerang Lake. The trail gets pretty rocky around here, but it still easy to follow. Boomerang Lake is a nice little pond with some camping opportunities on the north side of the lake and the southeast side. You’ll have to rock hop across this outlet too - the trail is slightly confusing here since it’s so narrow. But just know that you do need to go over the outlet. After Boomerang, you’ll come across another tarn that kind of looks like an infinity pool. There are set rocks to walk across on the path that could be a little flooded/ muddy. You’ll walk across and climb up the last little incline, and then you’ll basically be at Island Lake!


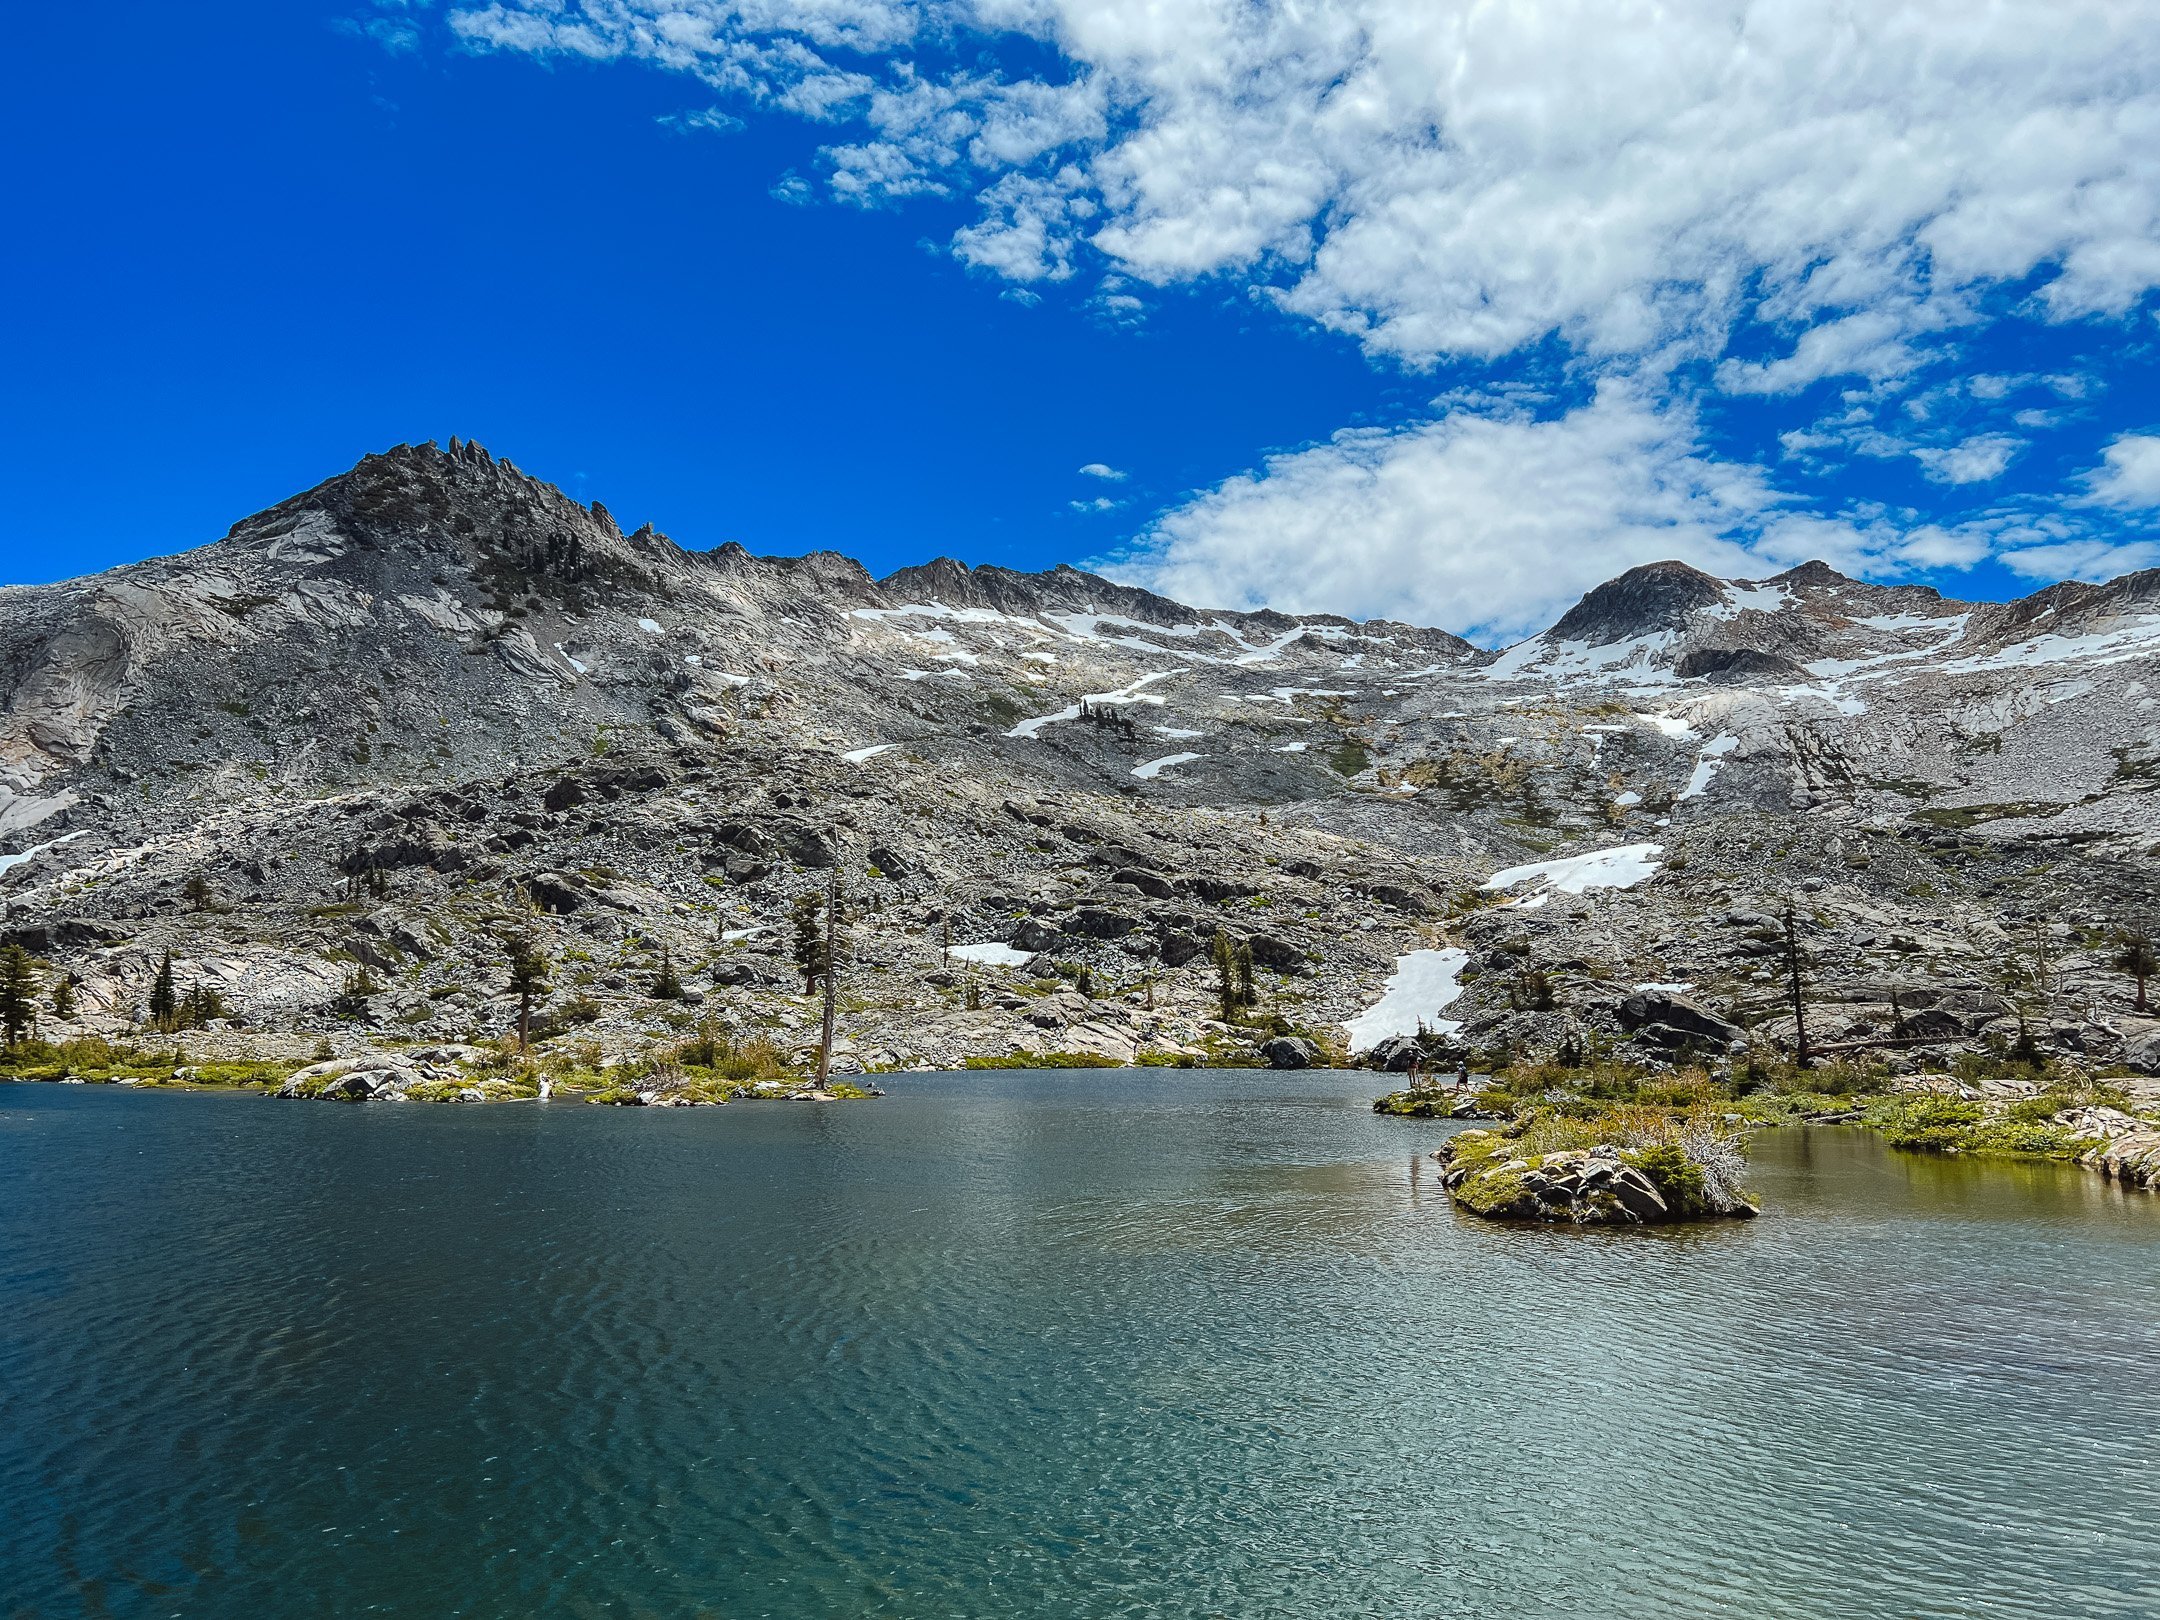
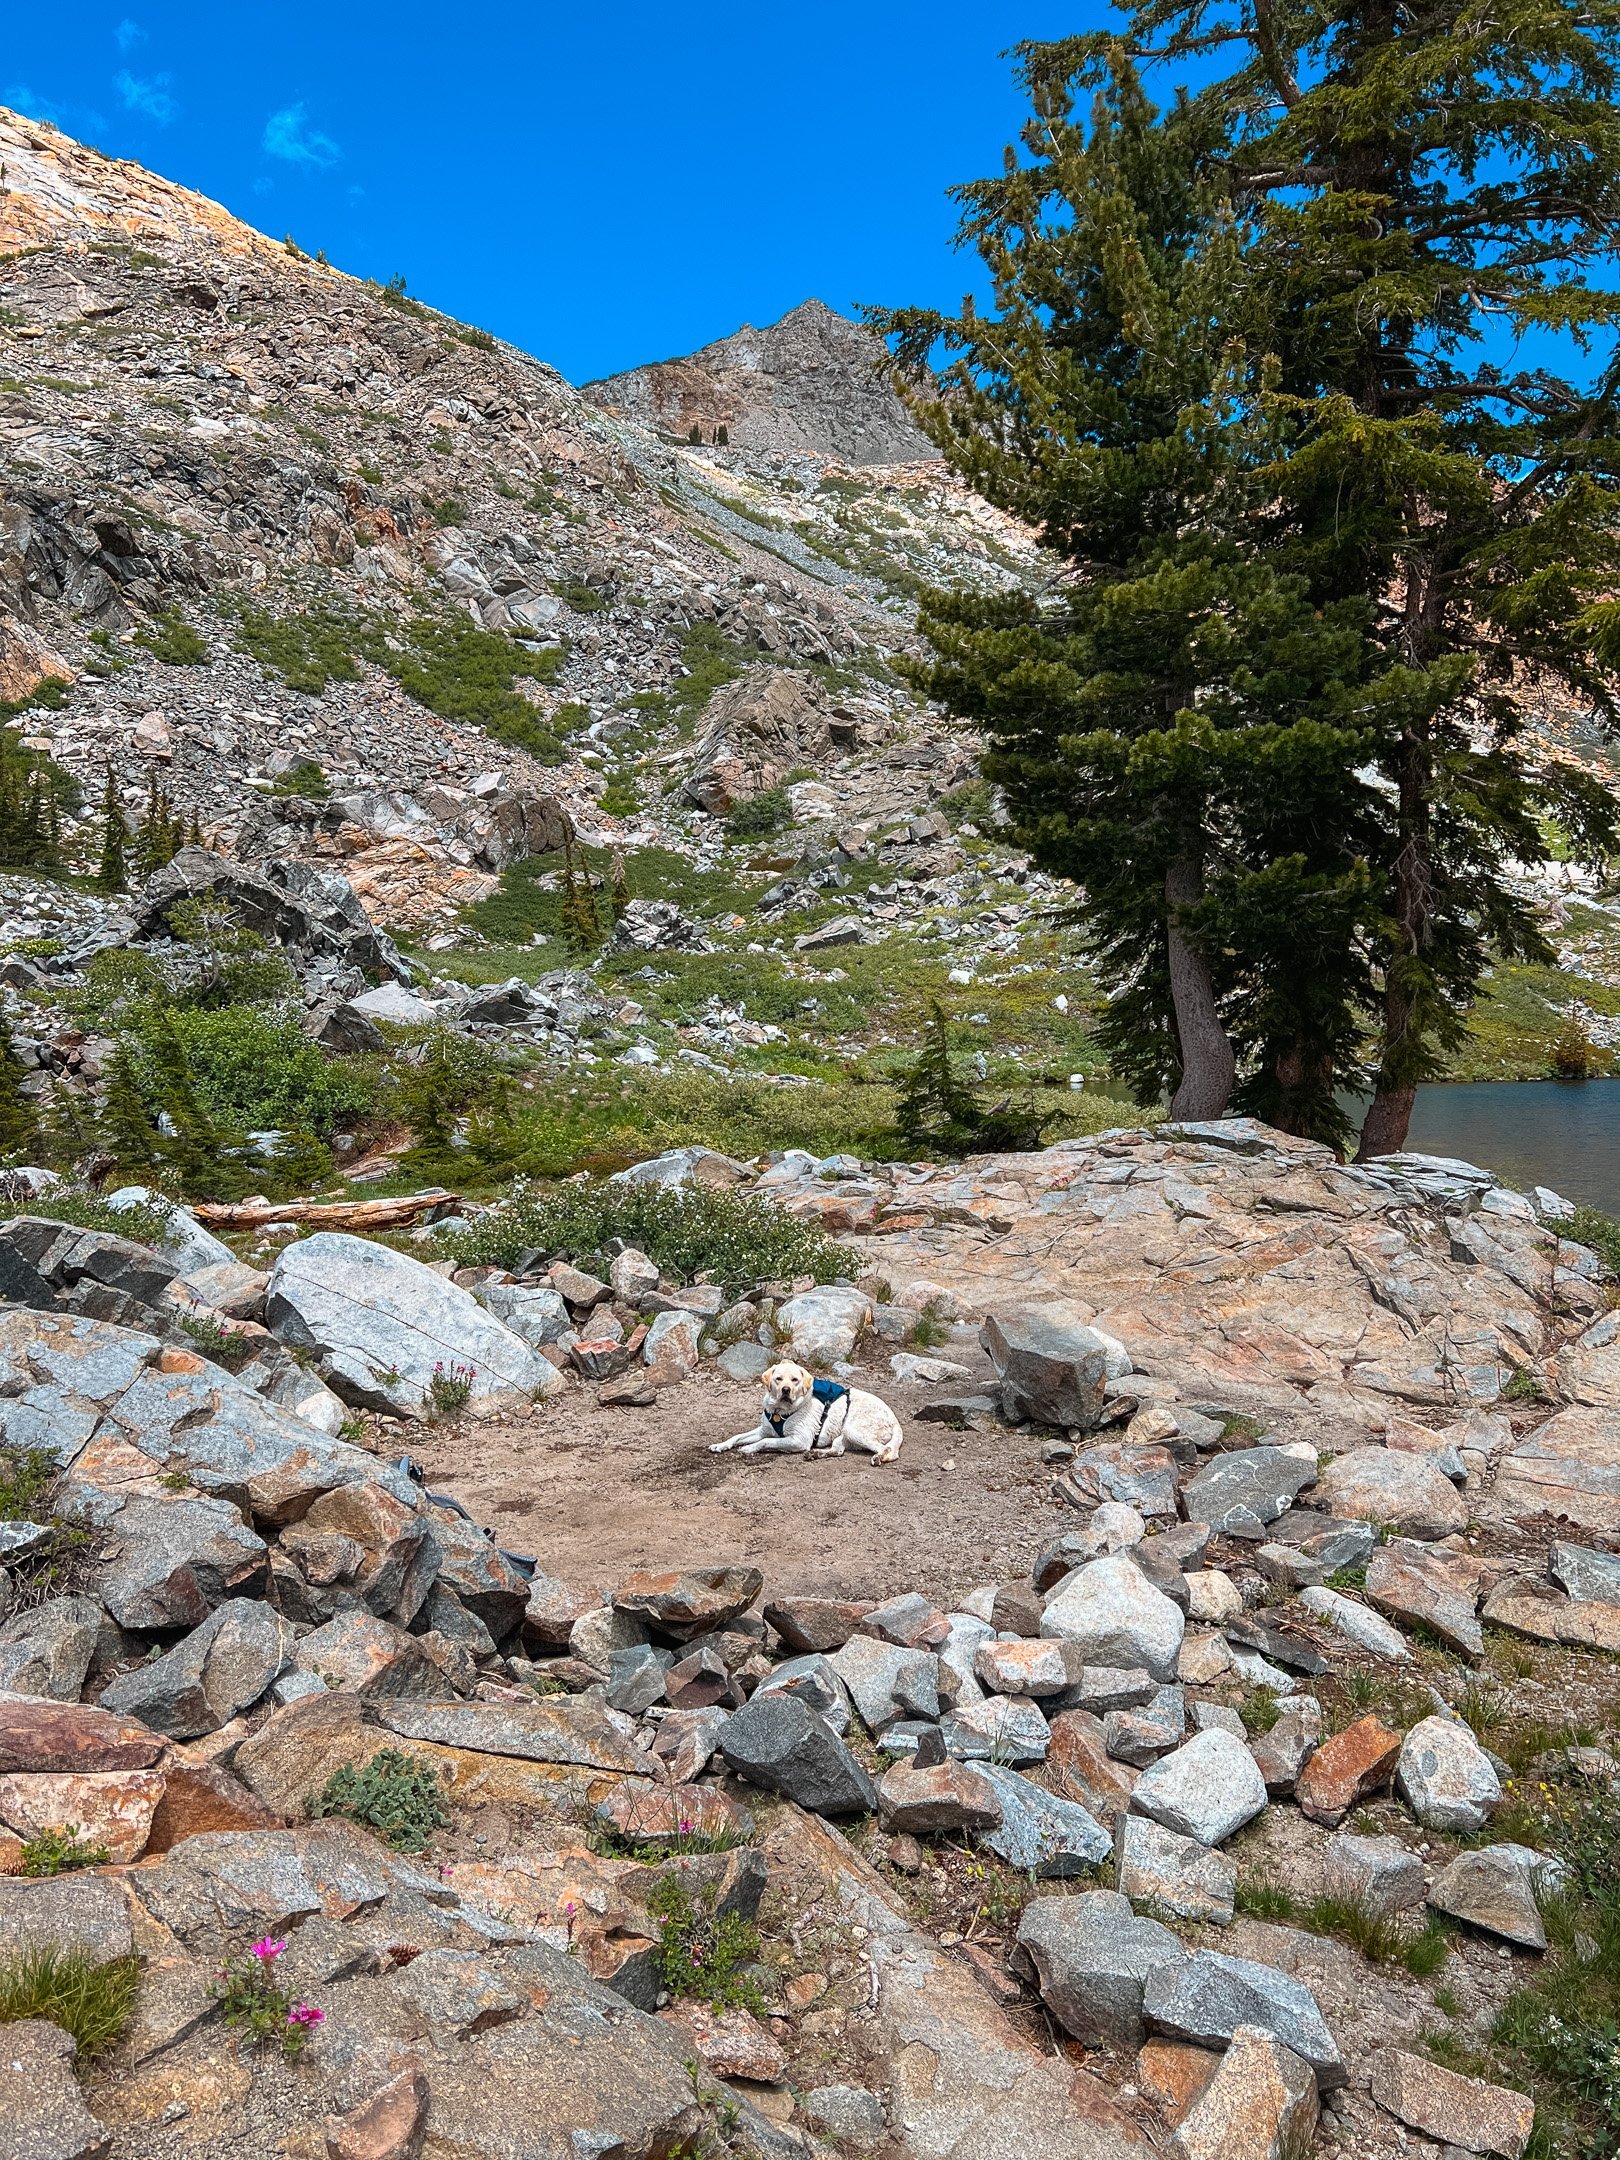
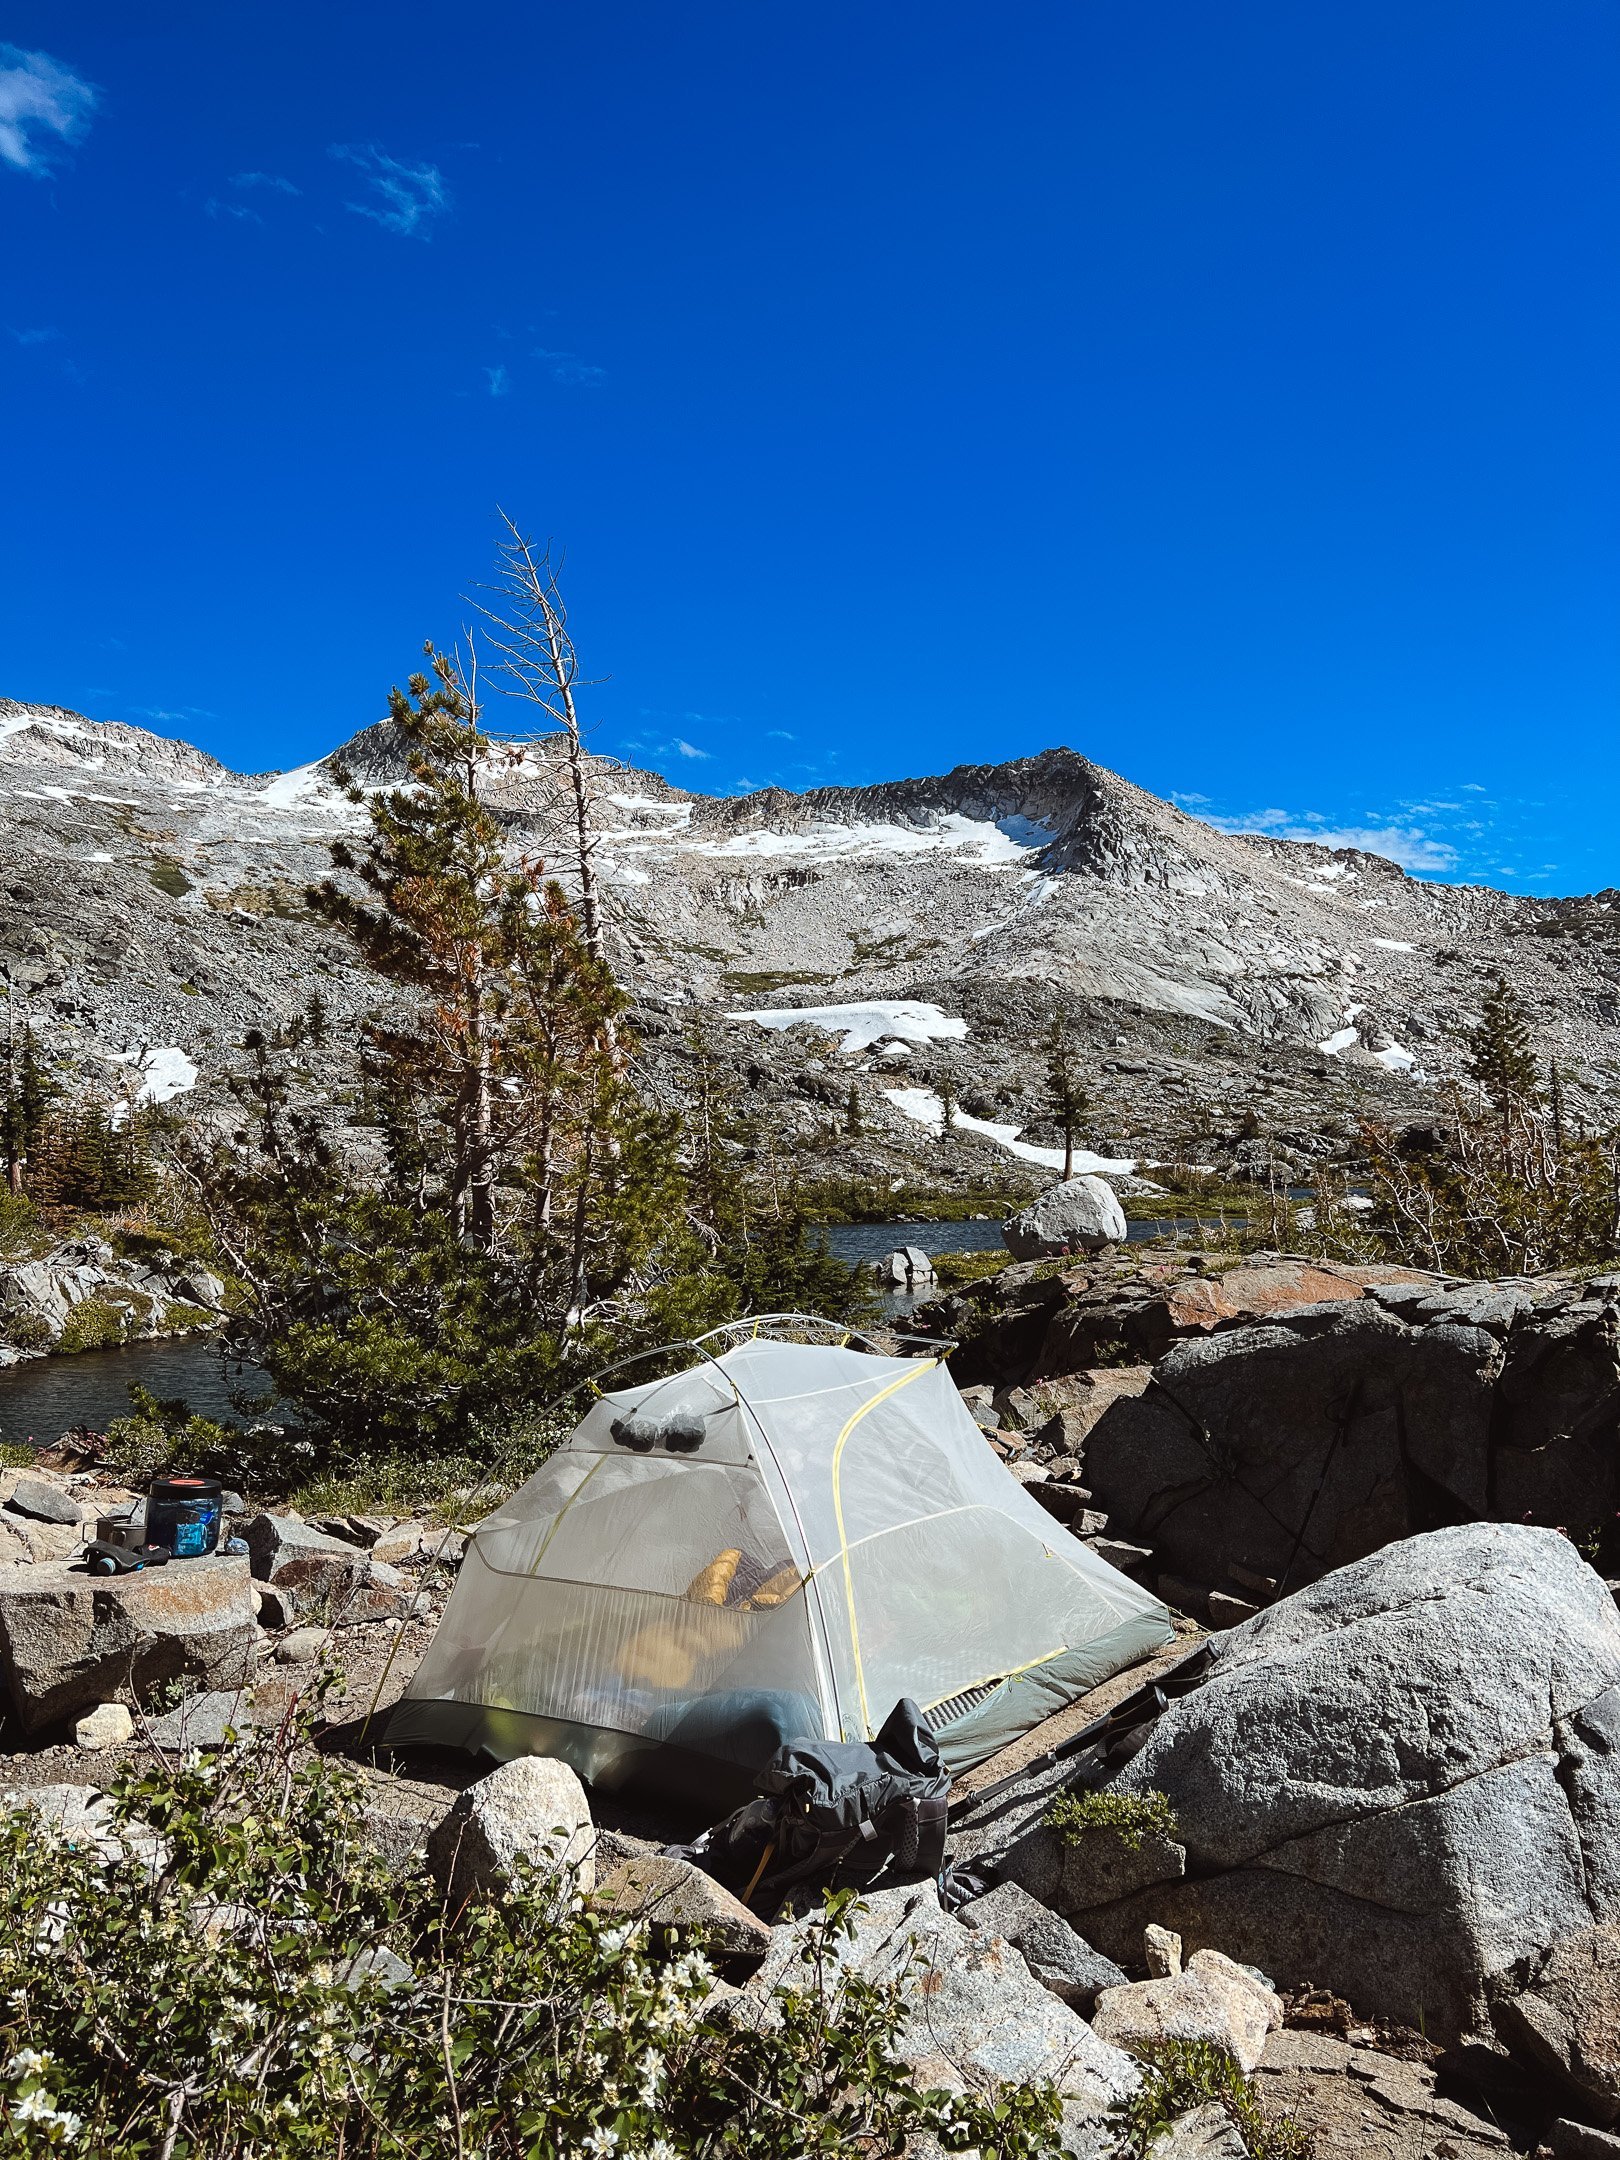

Due to the number of islands right at the end of the trail at the lake, it can be a little confusing to figure out where to go next. We found a use trail on the northwest side of the lake, opposite of Mt. Price. This trail was a bit of a bushwhack in parts, and led to a large rock outcropping eventually. We climbed up on it to find two campsites down by the lake. They were a little closer to the water than I would like, but I felt a little better about camping there once I saw some other sites that were closer to the water that clearly had attempted to be dismantled by rangers. I do believe there is another campsite up on a rock ledge closer to the west side of the lake, which is the one I was trying to find, but I must have missed it. There may also be campsites on the southern side of the lake, but we didn’t end up venturing over there.
This is an out-and-back hike, so just follow your footsteps on the way back to the parking lot!
Permits
Desolation Wilderness has pretty strict permitting rules. Please make sure you understand all of the regulations before heading into the wilderness. There is a very handy-dandy PDF guide to help you make decisions about camping in Desolation.
Desolation Wilderness is split into camping zones, and this is how permits are given out. Island Lake is situated in the Twin Zone (#32) along with Twin Lakes and Boomerang Lake. You must camp in the zone you received a permit for on your first night in the wilderness, but then you are allowed to move to another zone(s) on subsequent nights.
It’s important to note that the neighboring lakes in the area - Grouse, Hemlock, and Smith are in separate camping zones. So you can’t decide midway through your hike that you’d rather go to those lakes. Twin Lakes is the first desirable campsite in this zone.
Permits are required year-round, but the quota season is from the Friday of Memorial Day Weekend to September 30th. 70% of permits are reservable online, up to 6 months and 1 day in advance at recreation.gov.
30% of permits are available for same-day departures at the Placerville Ranger Station, Taylor Creek Visitor Center, and Lake Tahoe Basin Supervisor’s Office. As of 2022, these offices open at 8 am, and popular permit zones sell out quickly after opening.
Permits cost $6/permit and then an additional $5/person for one night. If you are staying 2 or more nights, that cost is $10/person. These fees apply even in the non-quota season. The $6 fee is only for reservations, not same-day permits.


Campfires
Campfires are ALWAYS PROHIBITED in Desolation Wilderness. Do not make a campfire, even if you see fire rings.
Bears
As of July 18, 2022, bear canisters are now required in Eldorado National Forest and the Lake Tahoe Basin Management Unit.
This is a shift from before, when bear canisters were just recommended. This is going to be better in the long run, and hopefully, we will see a decrease in the number of negative human-bear interactions! The number of posts I have seen about people losing their food to bears in Desolation was astounding - I can’t believe some people still chose to not bring bear canisters to popular areas even recently. Now, we won’t have a choice! So please be prepared with a bear canister, unless you want to pay a fine of up to $5,000!
Seasonality & Weather
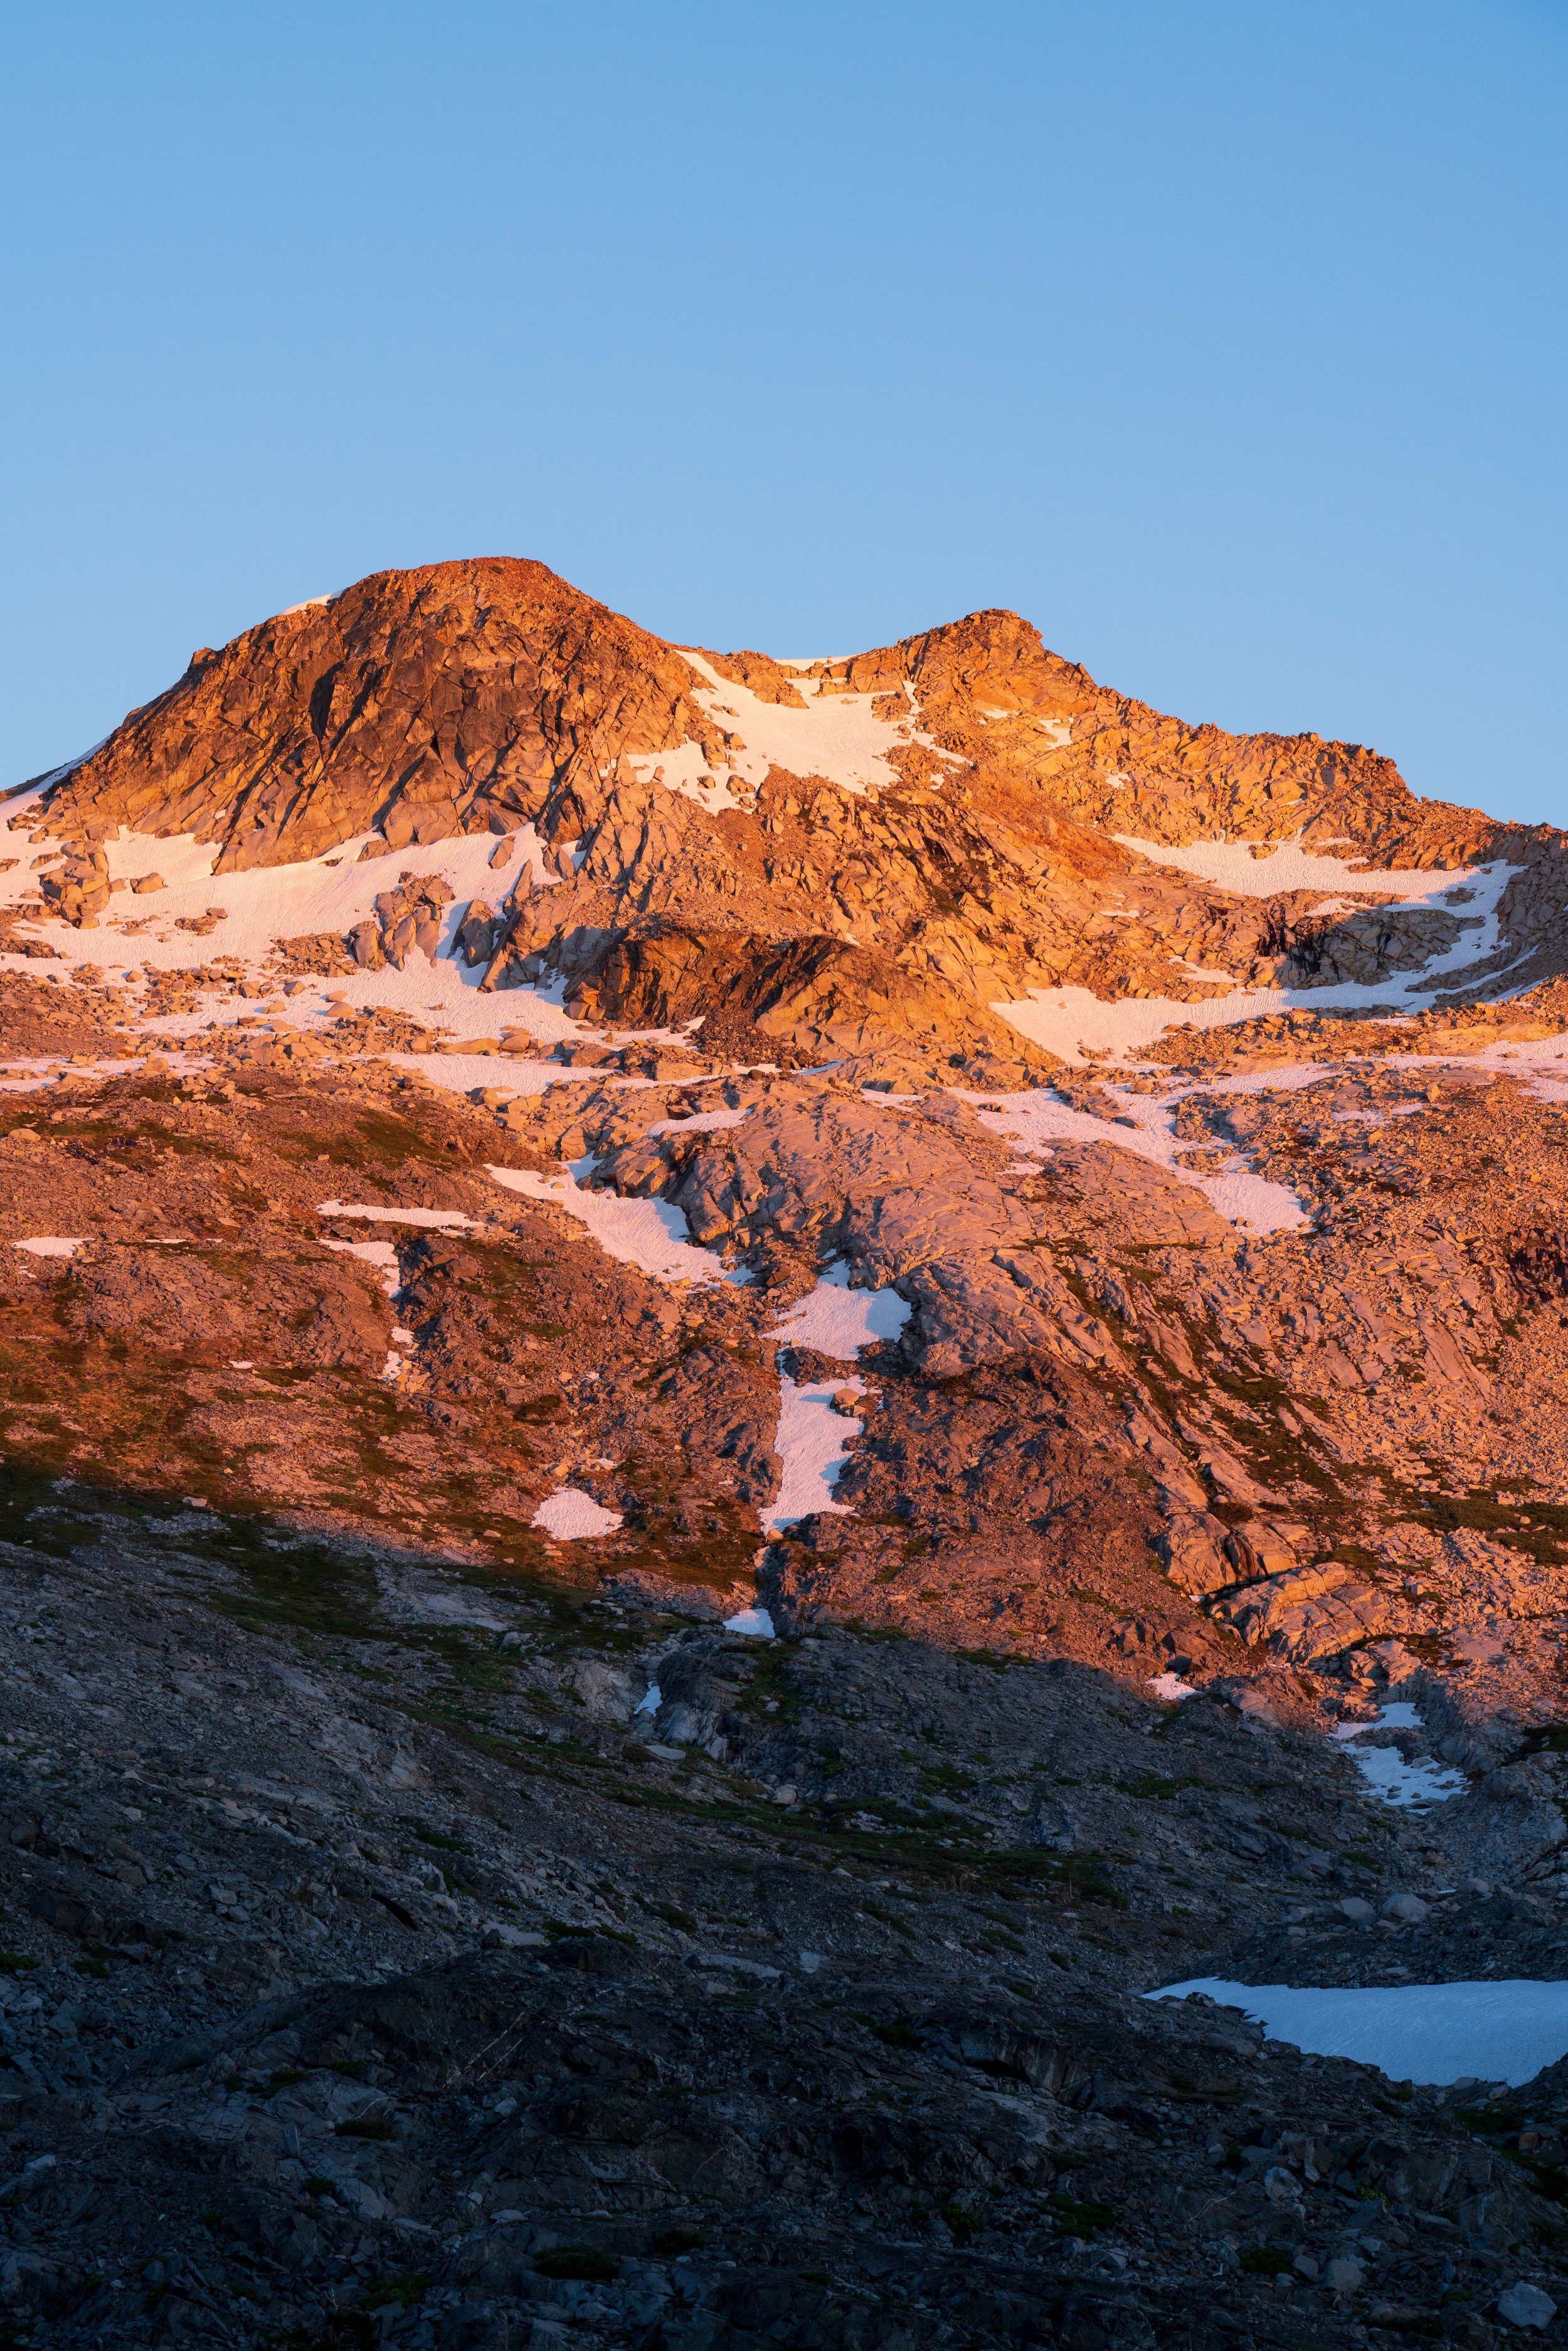
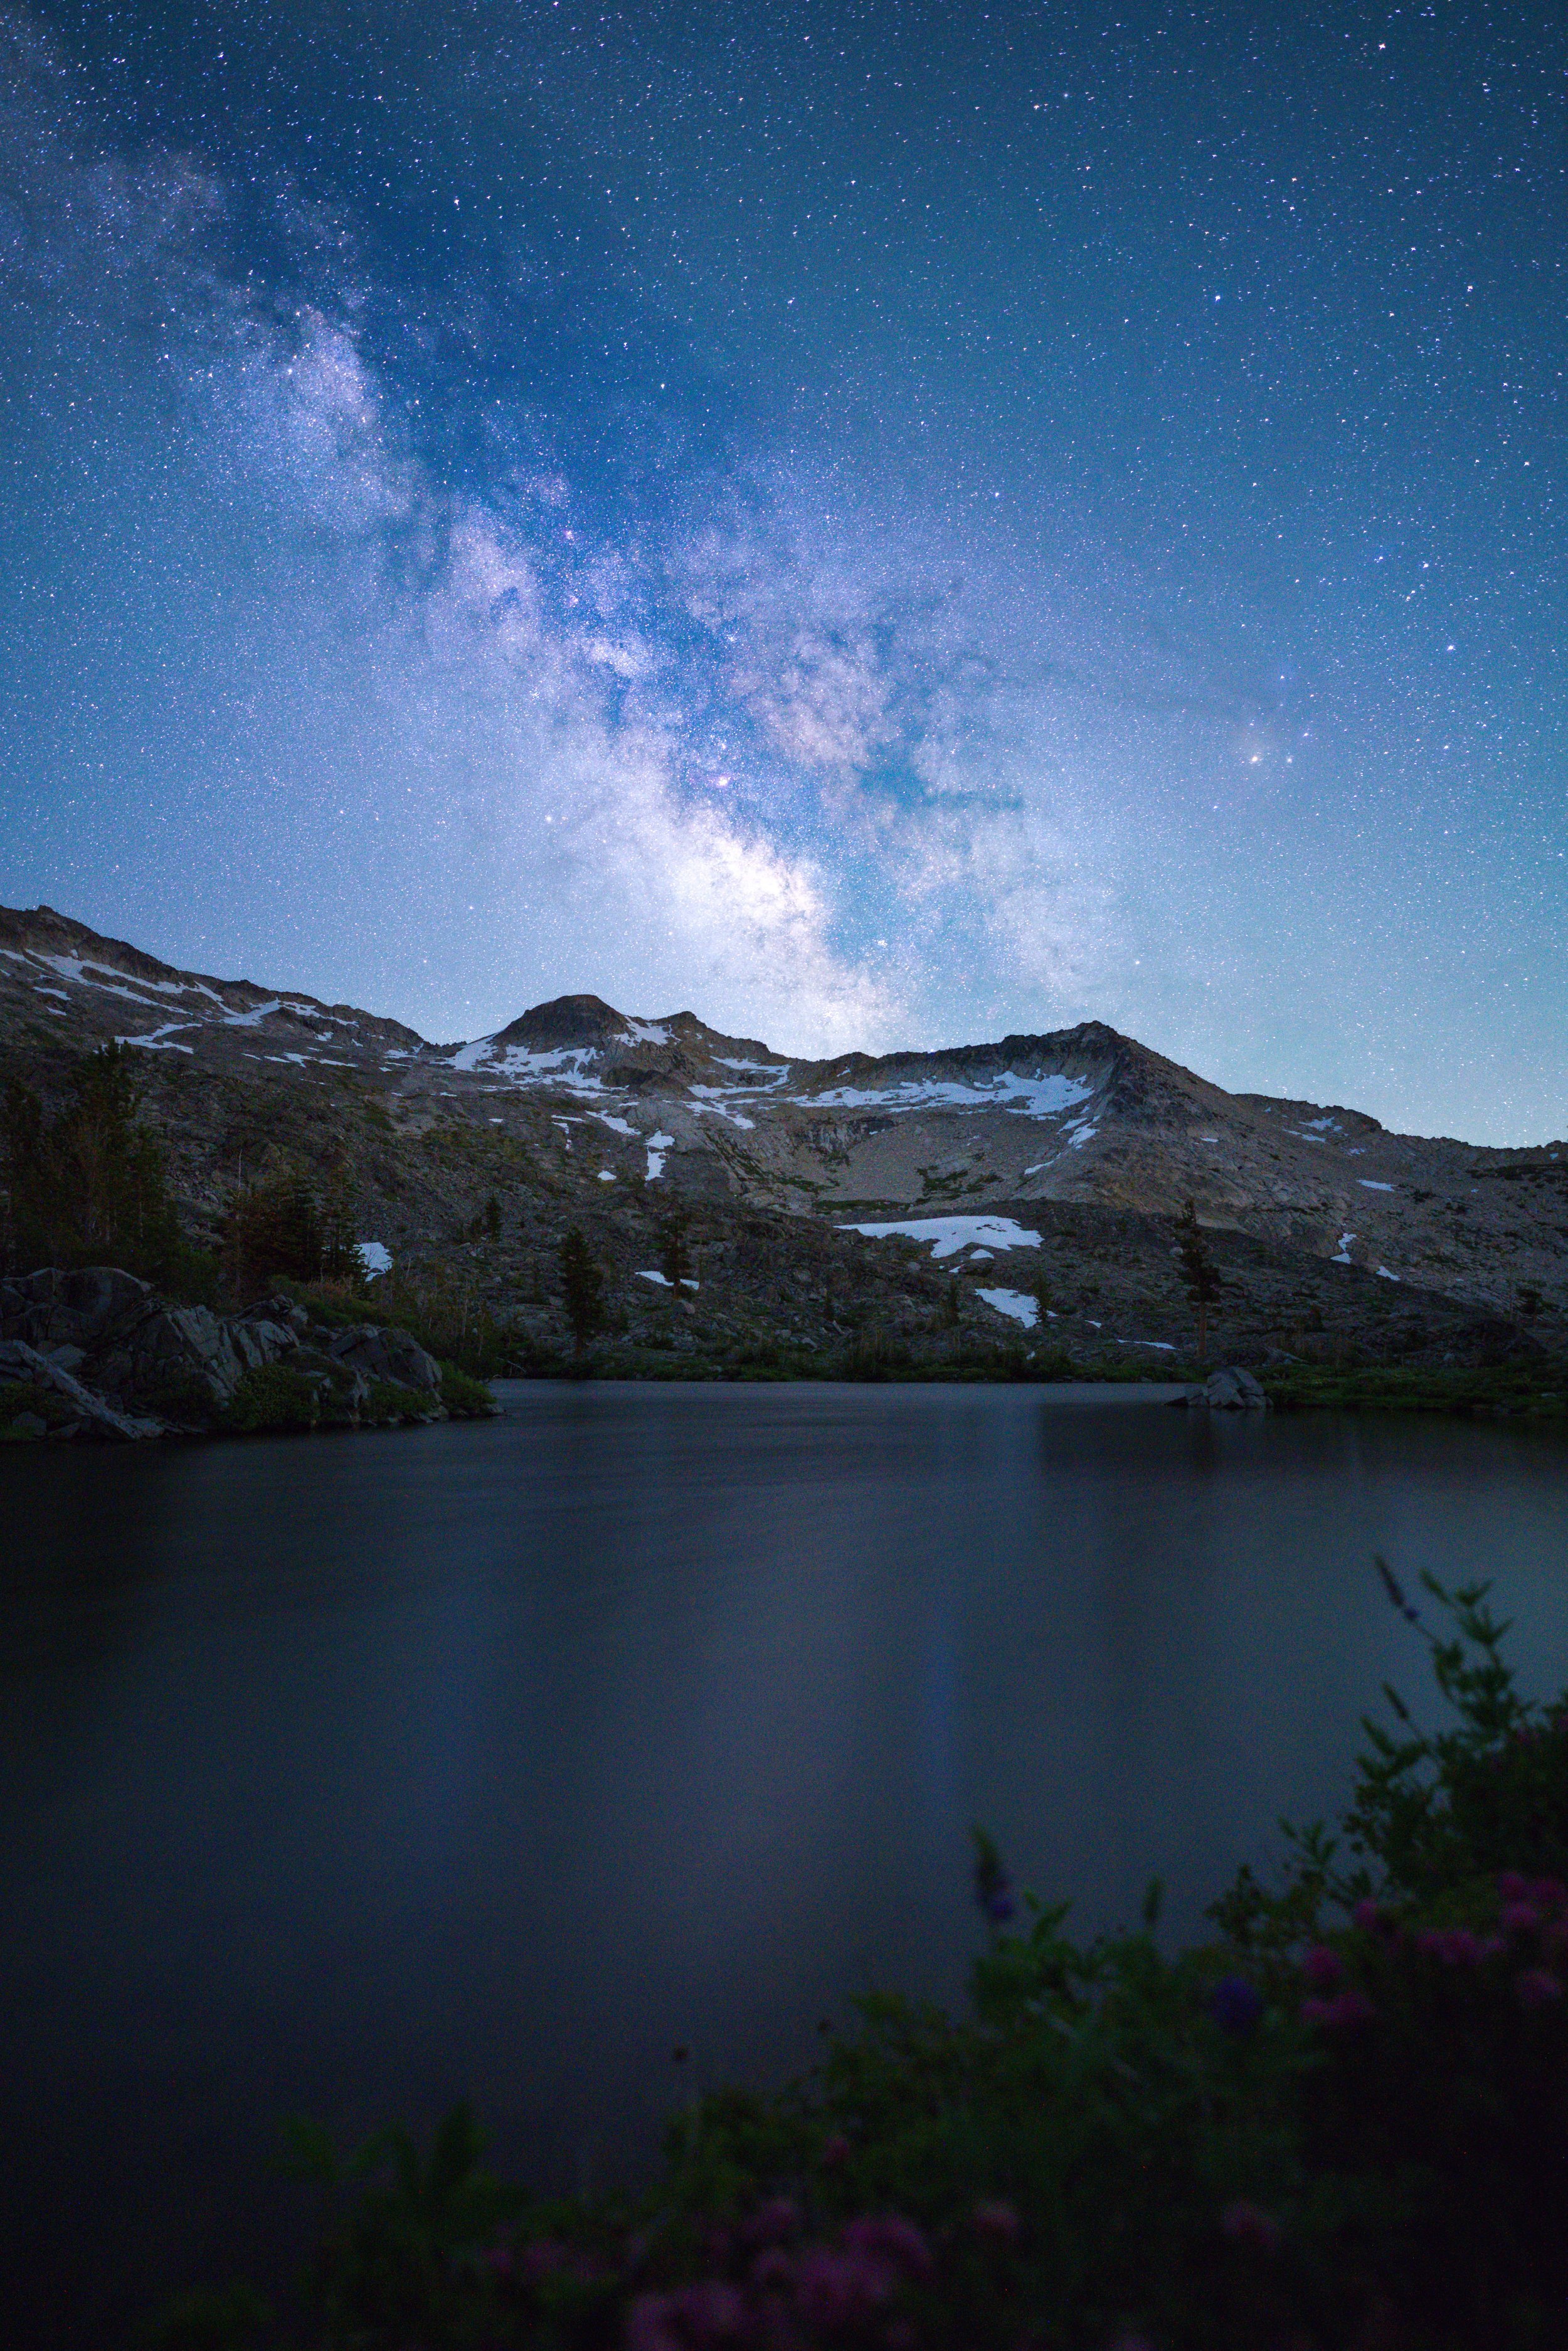
Summer is the most popular time for backpacking in Desolation wilderness, though any time between June to the end of October is potentially feasible for a snow-free backpacking trip. Island lake sits at 8,500 ft, so depending on the snow levels and snowmelt throughout the spring, you might be able to go in a little earlier. The flip side is that with heavy winters, there could be snow on the trail into mid-July.
Generally, thunderstorms can be a possibility once summer starts. They aren’t a daily occurrence, but you should be prepared. Generally, thunderstorm risk dies down towards the end of August and into September. Otherwise, the summer heat can be really strong in Desolation. The altitude doesn’t get as high here as it does in the southern Sierra, so heat is more of a factor. You should be prepared for warm days while backpacking in the summer, and carry plenty of water and electrolytes.
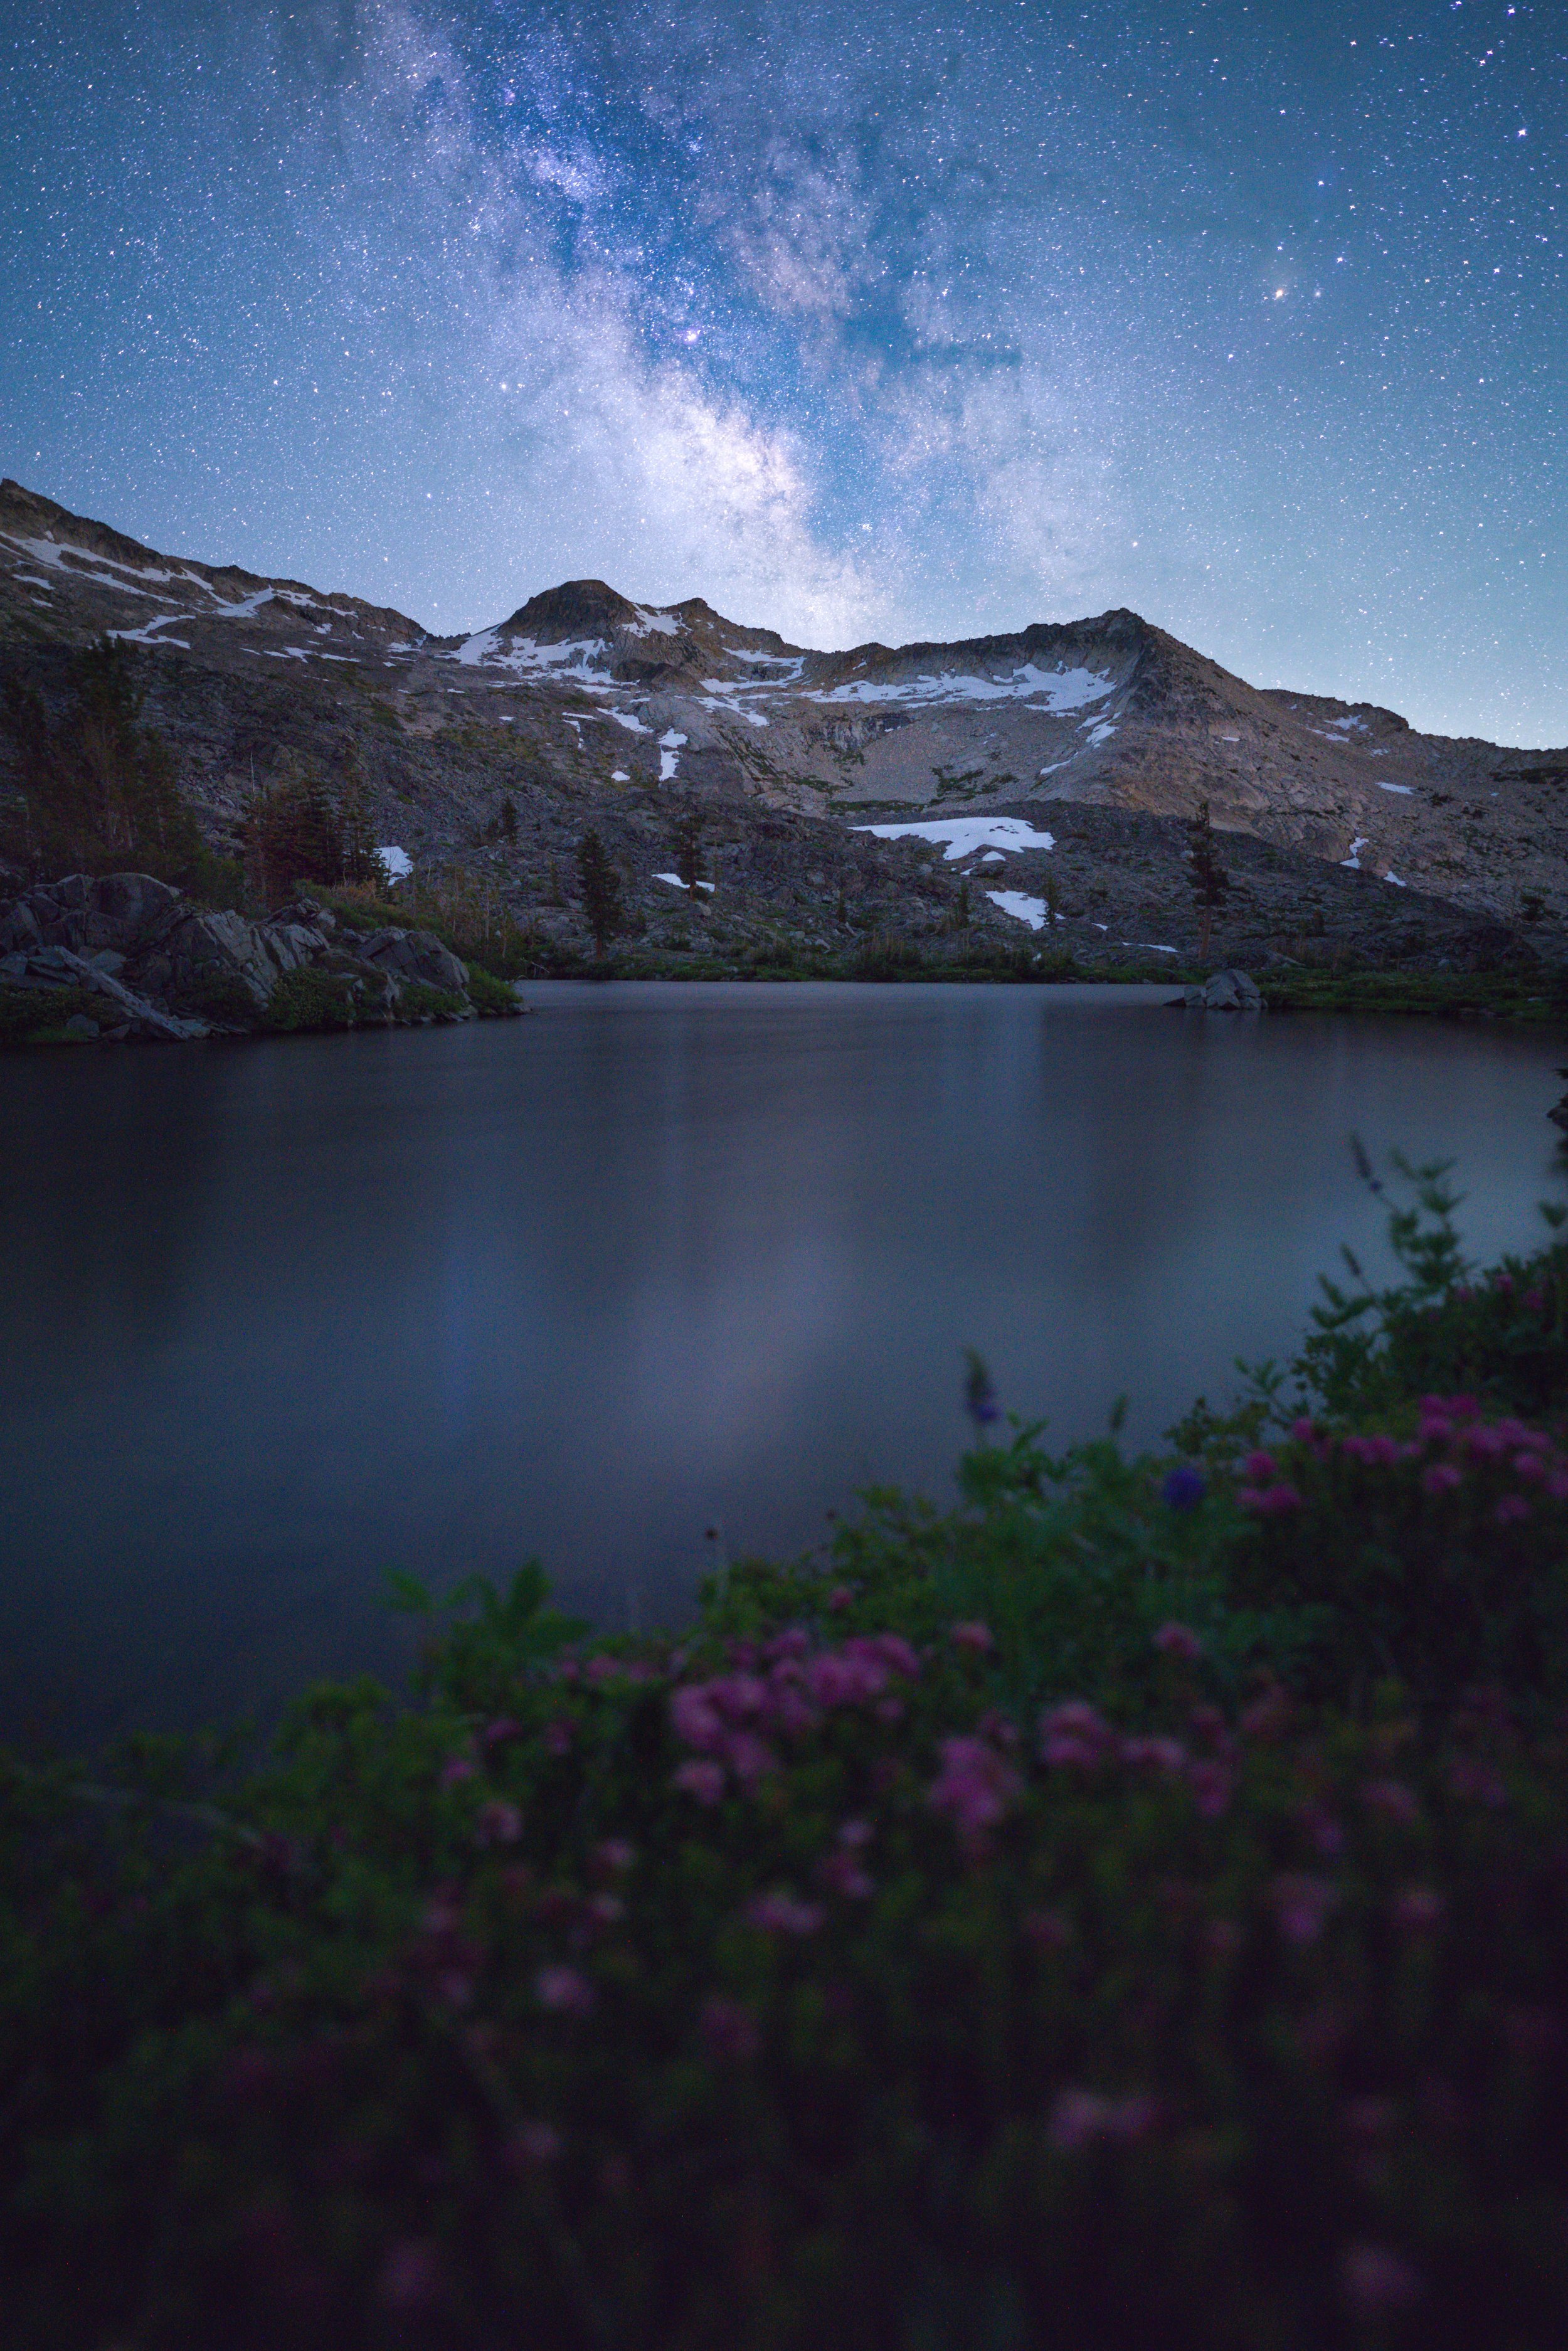
You’re still in the mountains, so it can get cold at night. Most people will want a sleep system rated between 15*-30* depending on their personal preferences.
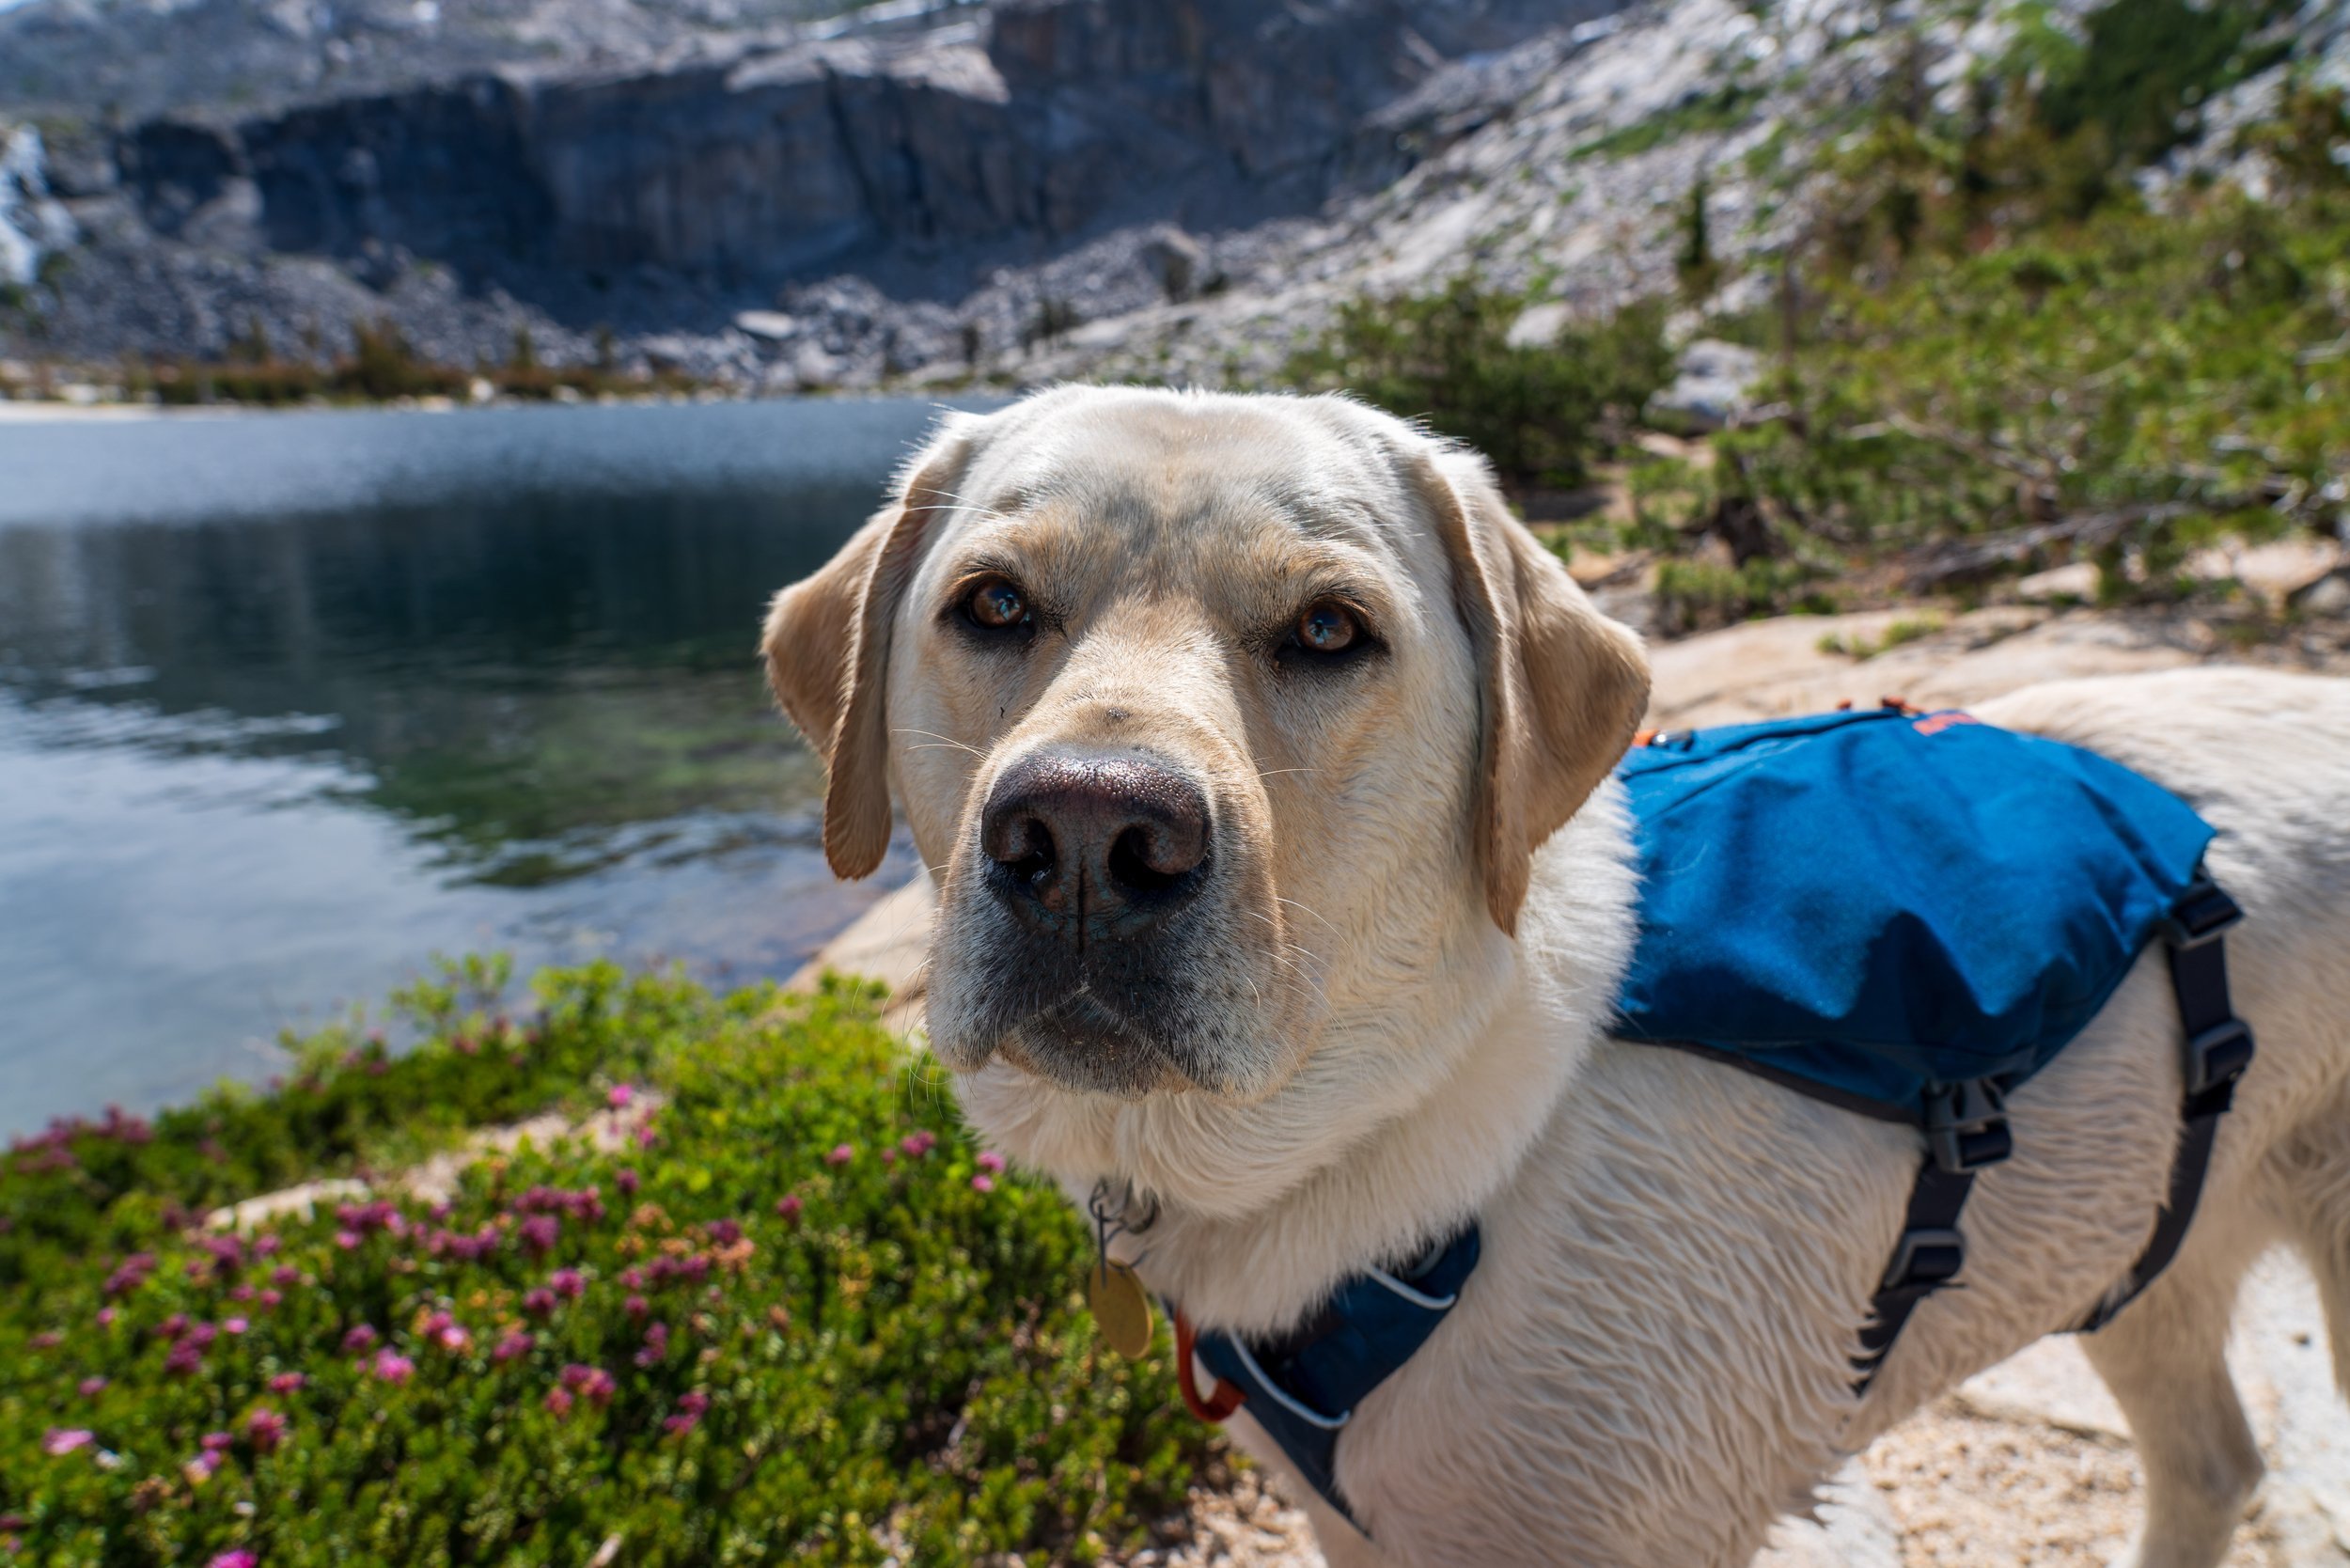
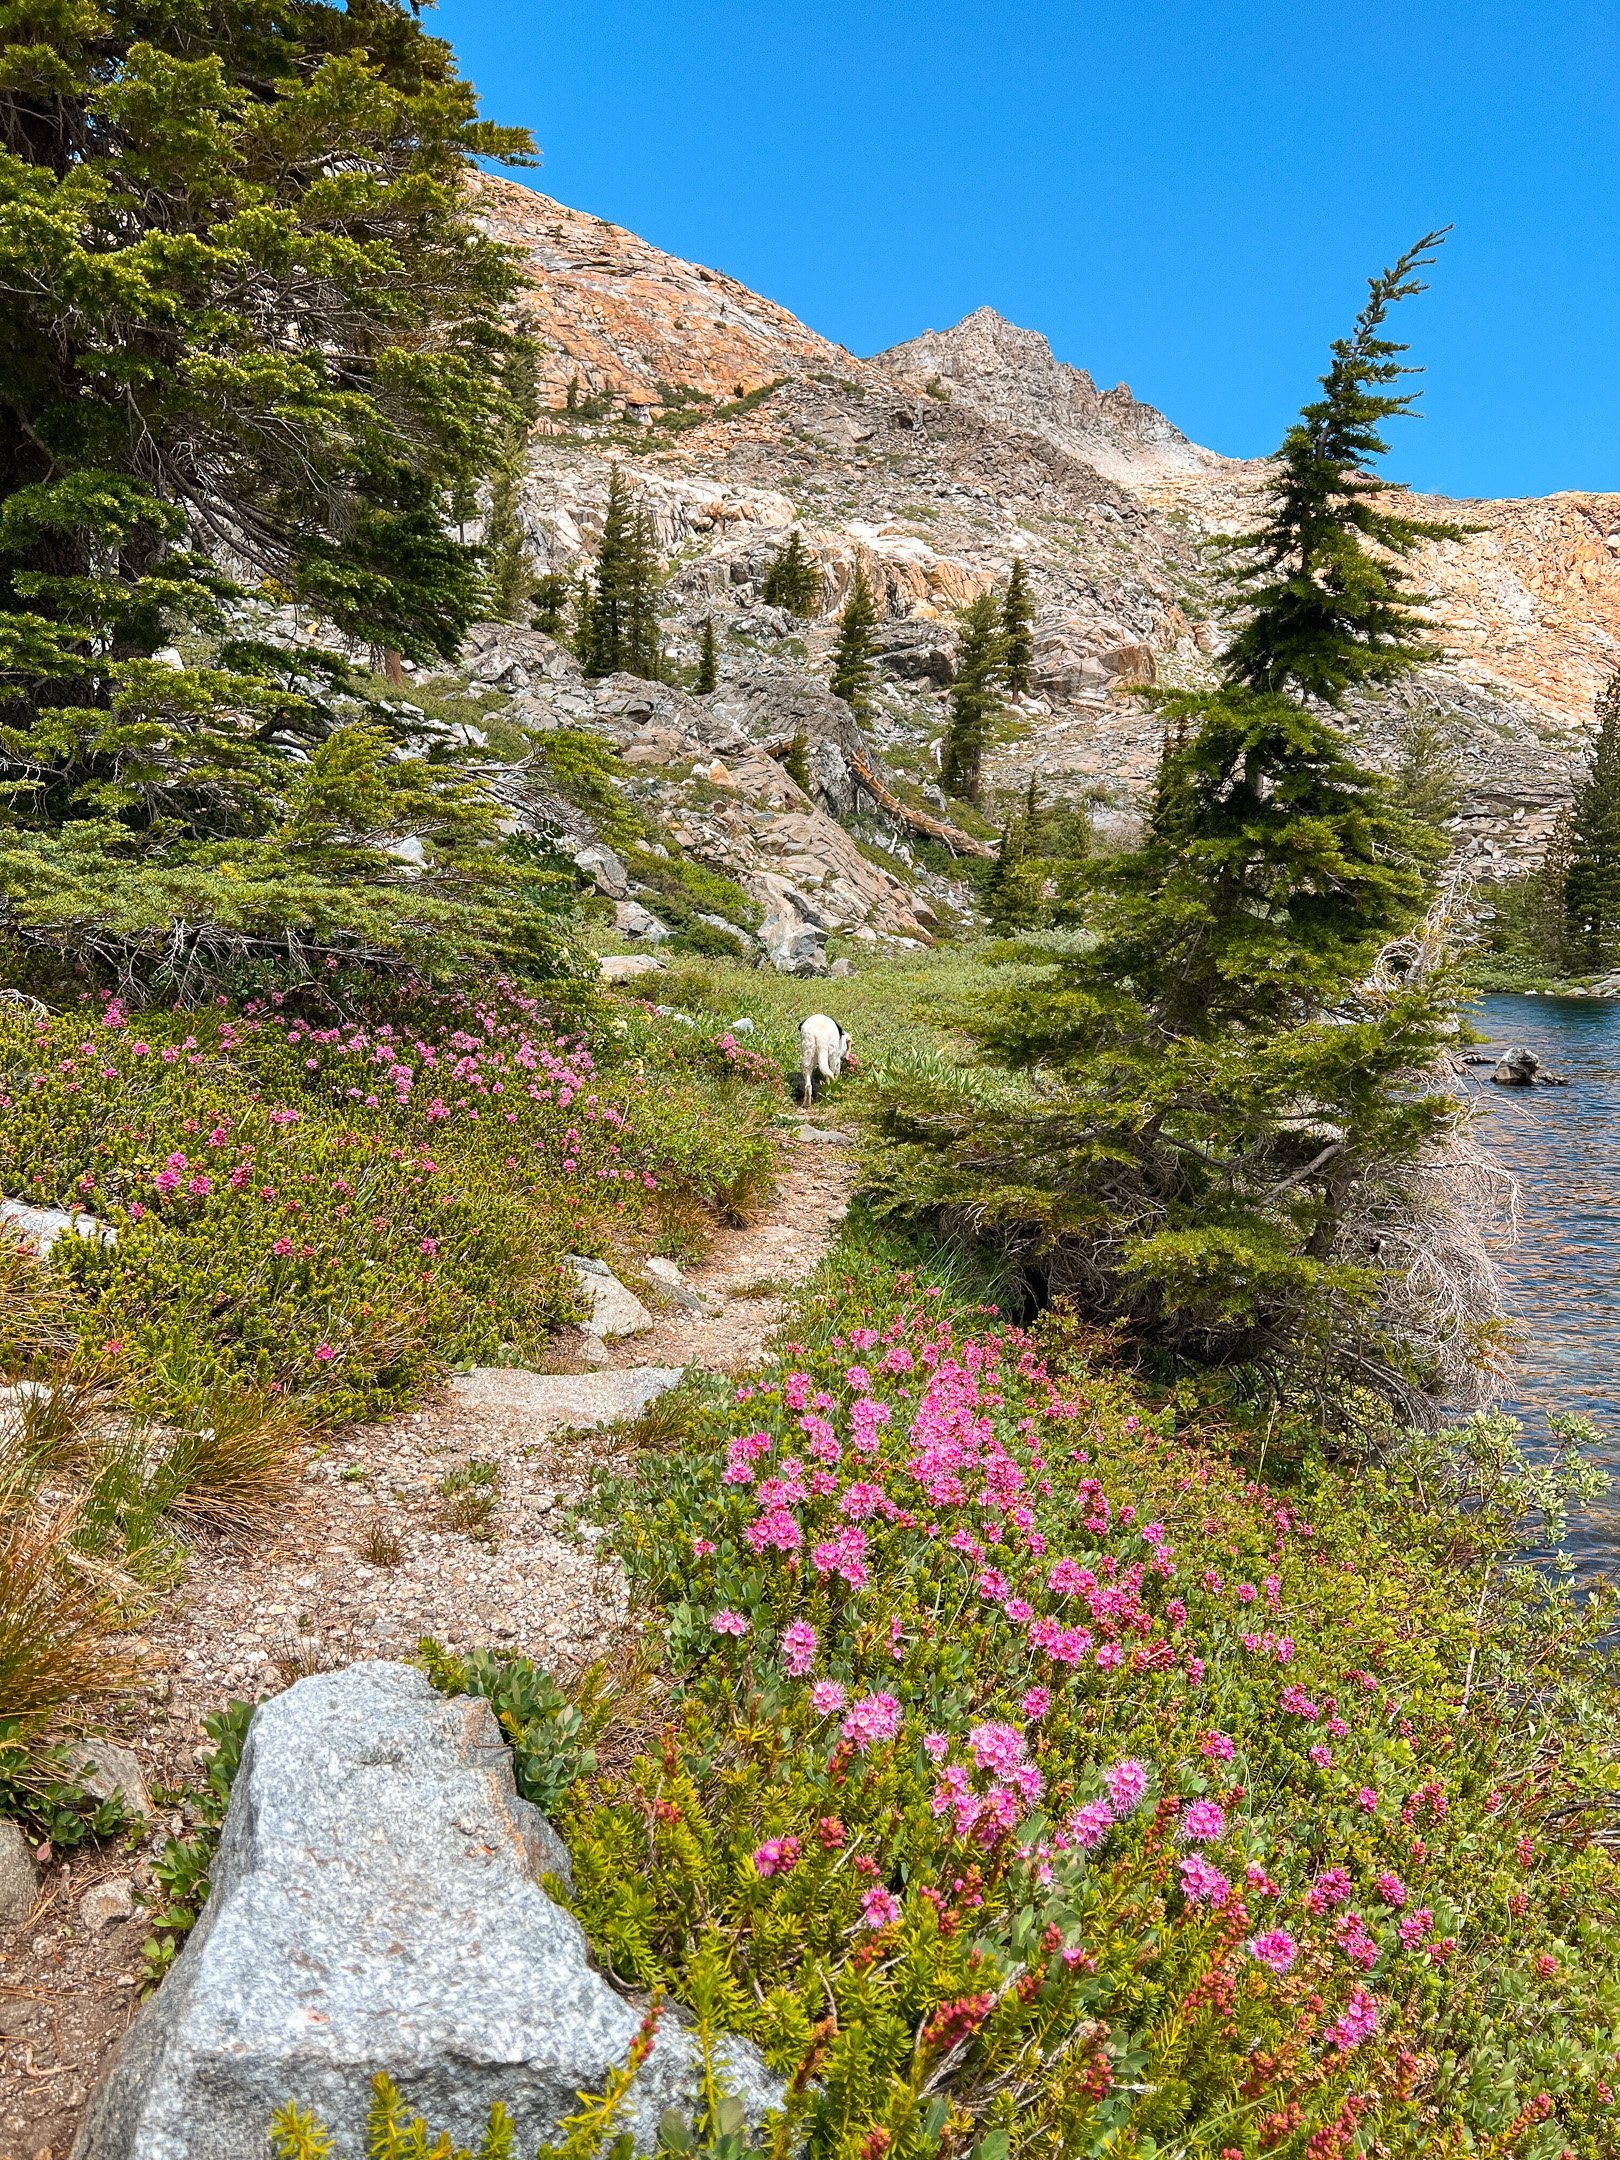
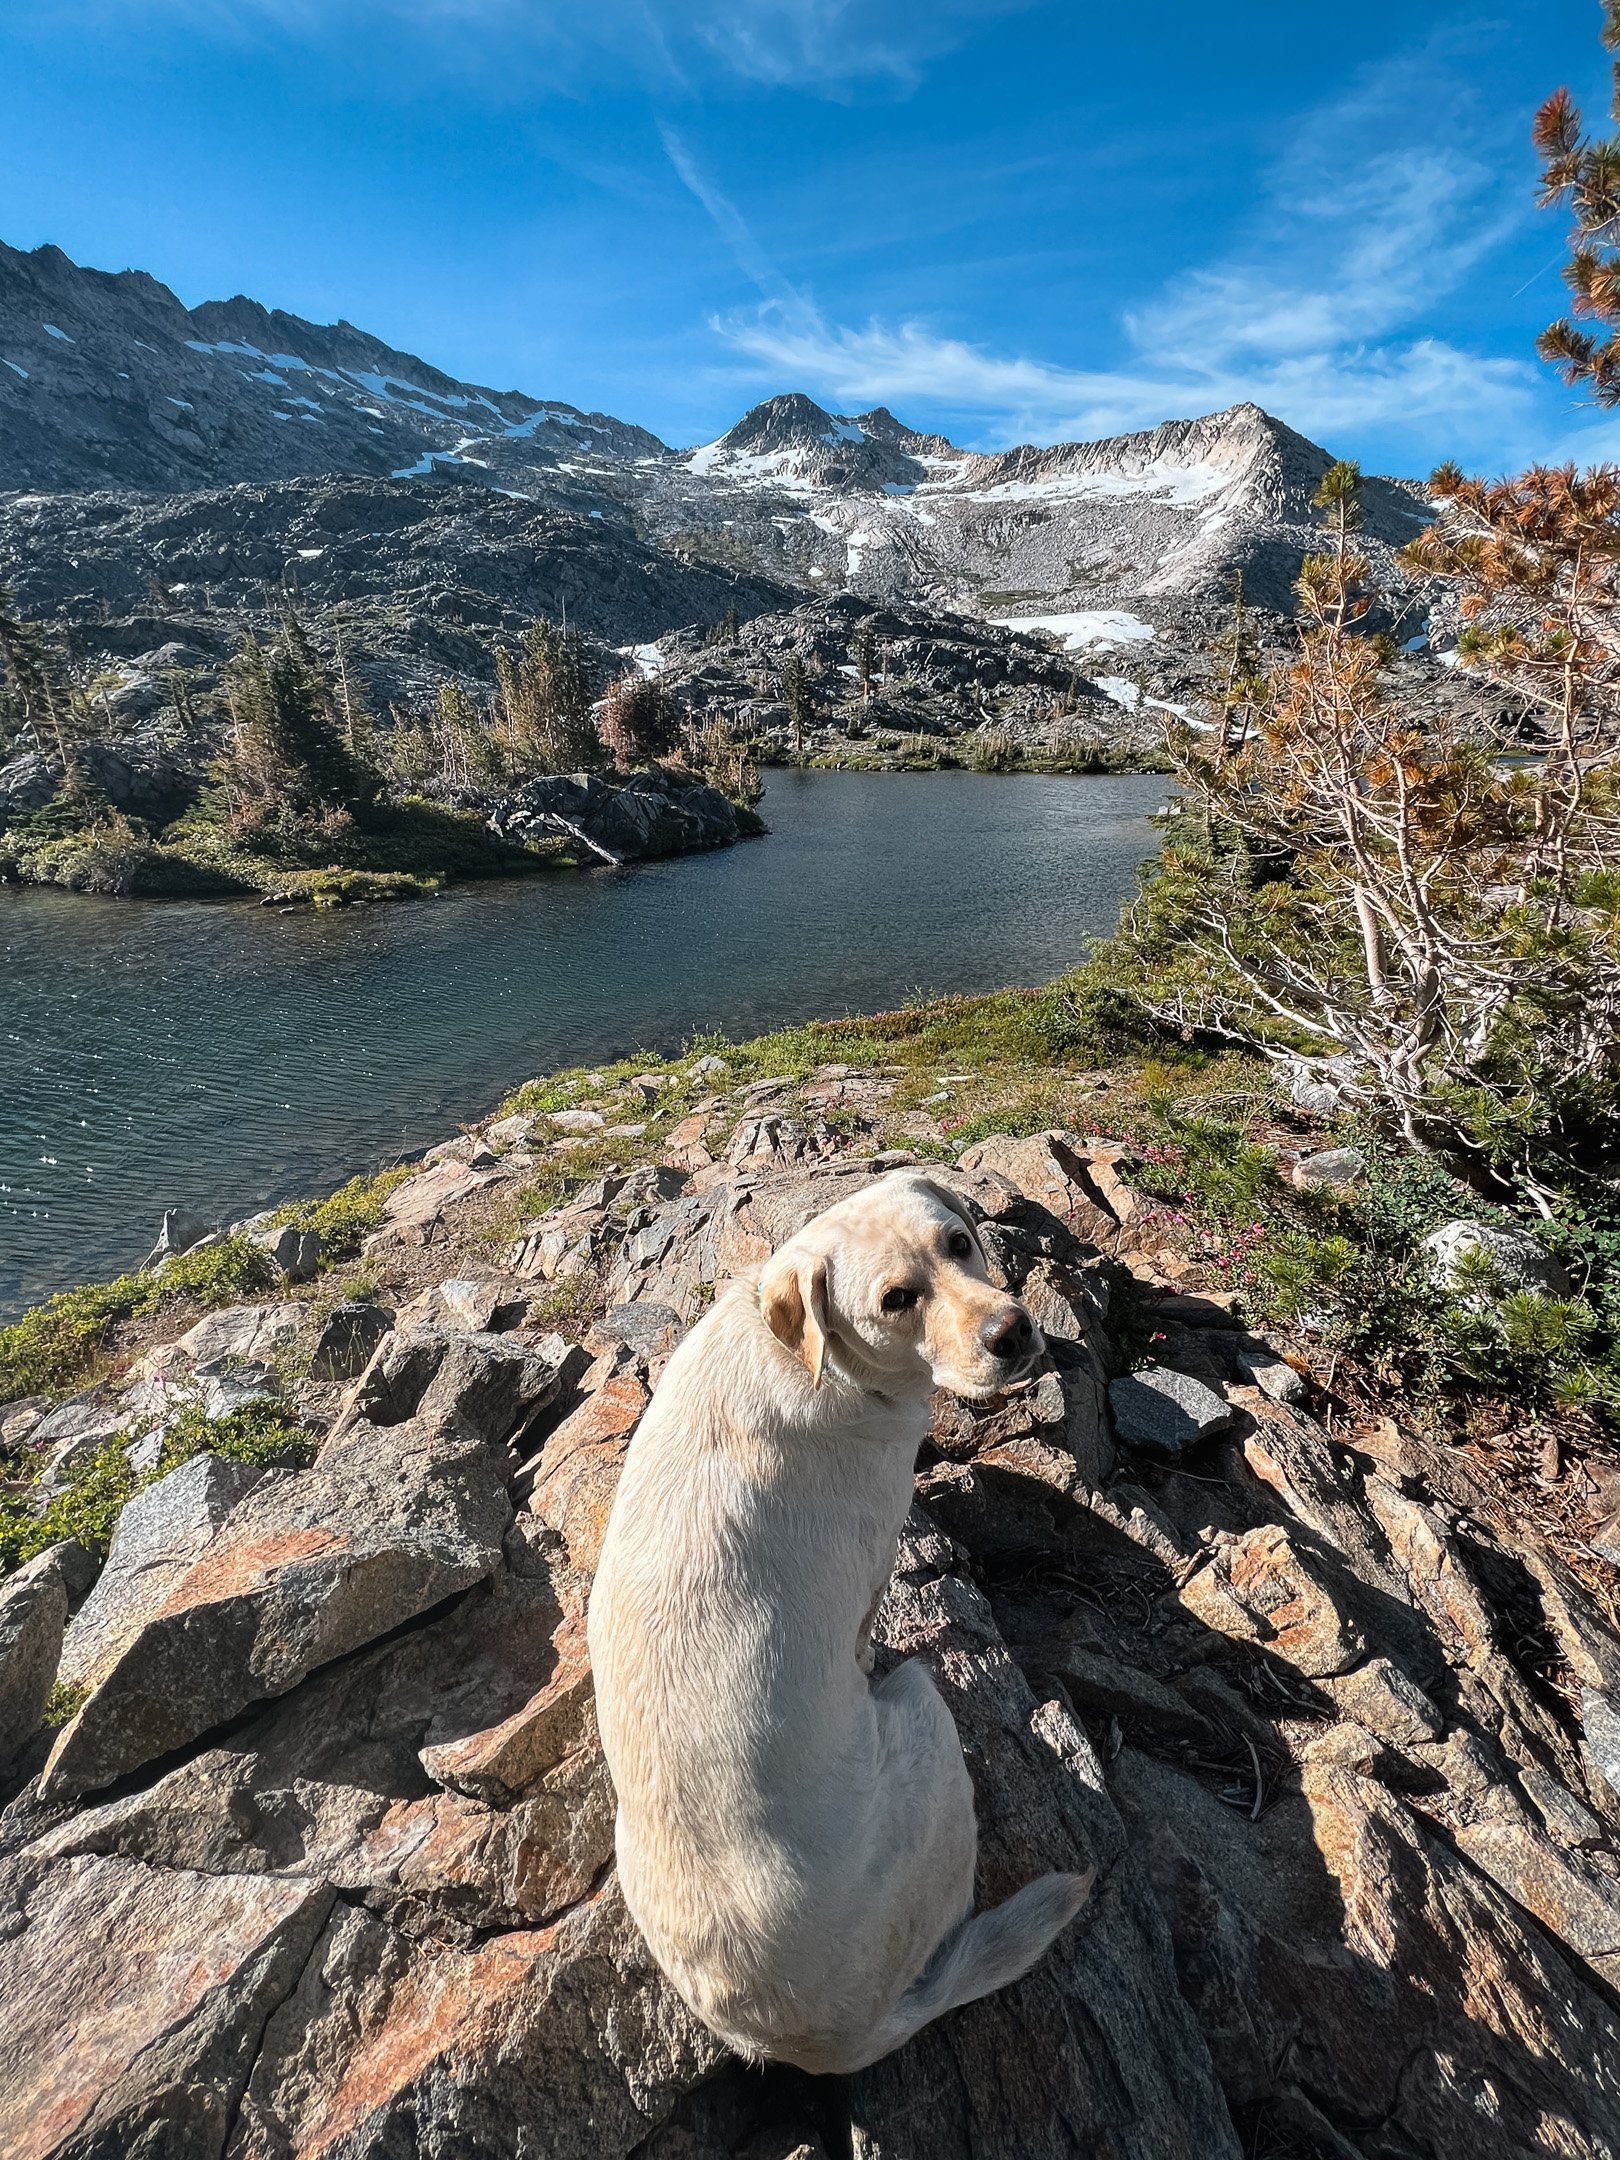
Bonus: If you want to see beautiful wildflowers like those below, make sure you go around July. These were taken July 2-3, 2022.


Trailhead & Parking
There is a small, paved parking lot at the end of Wrights Lake Rd, aka Forest Service Road 12N23. There’s room for approximately 25 cars. There’s a pit toilet that is regularly cleaned and stocked during the summer. If you arrive at the trailhead and there are no parking spaces, you’ll have to turn around and go back towards the car campground, where there is an unpaved overflow lot. The hike to the trailhead will add another 2 miles round trip to your hike. Parking does cost money at this lot, but when you get a wilderness permit for the Wrights Lake trailhead, you’ll be able to print a parking pass when you print your permit.
There’s a small sign at the end of the lot pointing to a gated road. You’ll follow that to the trailhead board, where the trail starts. If you are day hiking, you can fill out a permit here.
