
The Ultimate Trans-Catalina Trail Hiking Guide
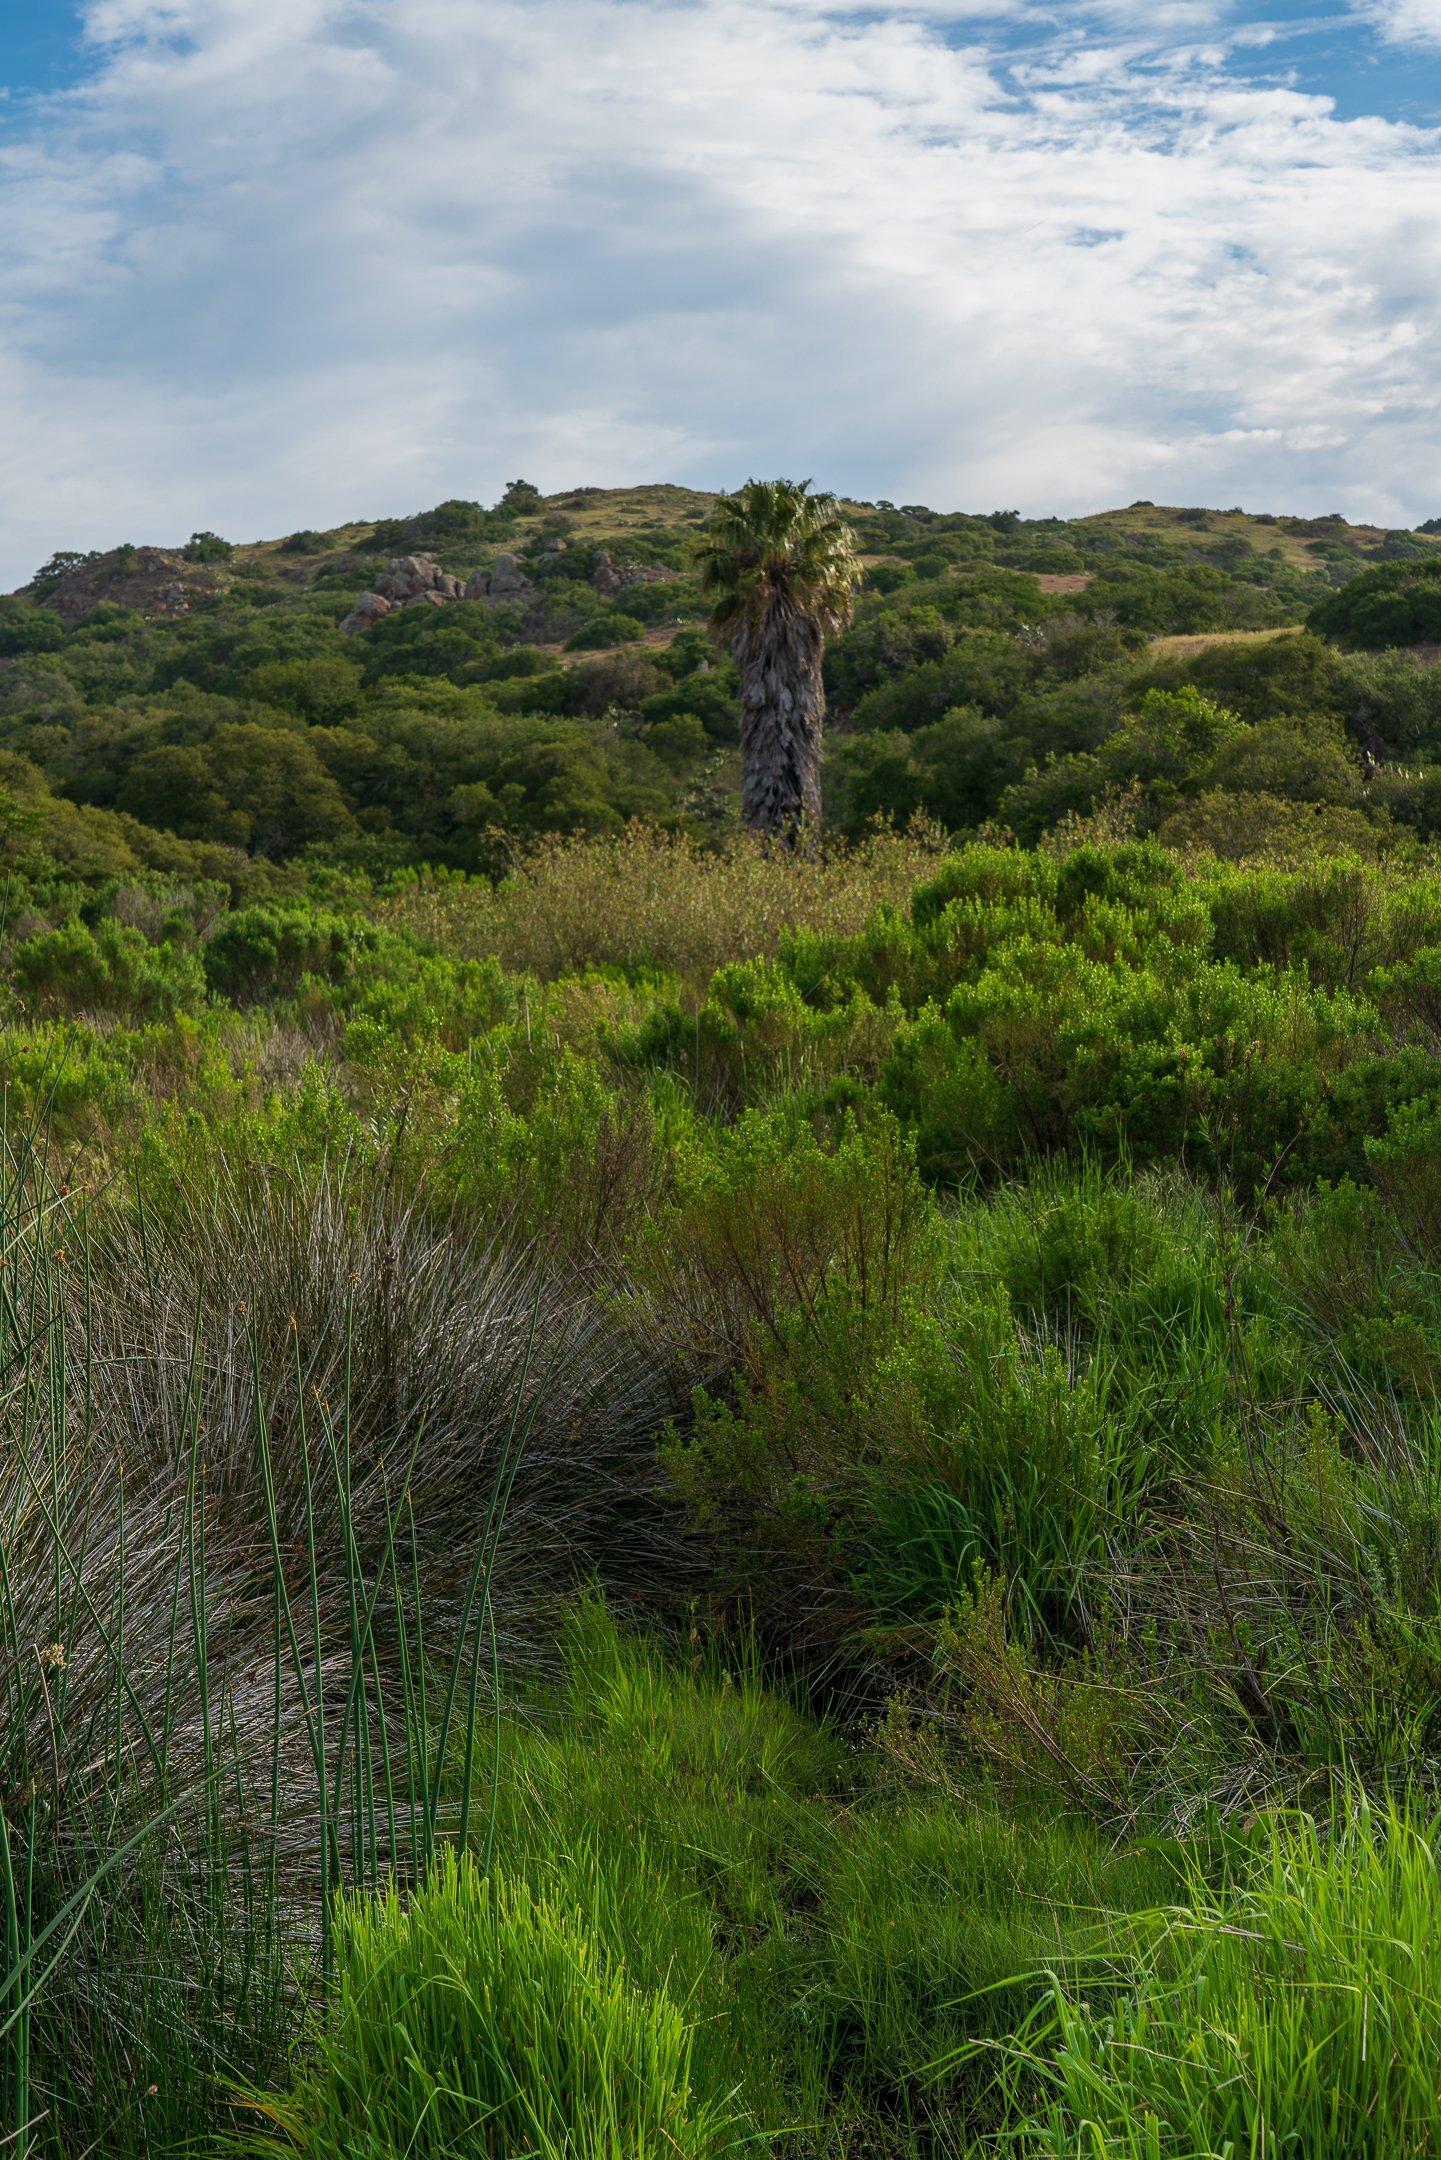
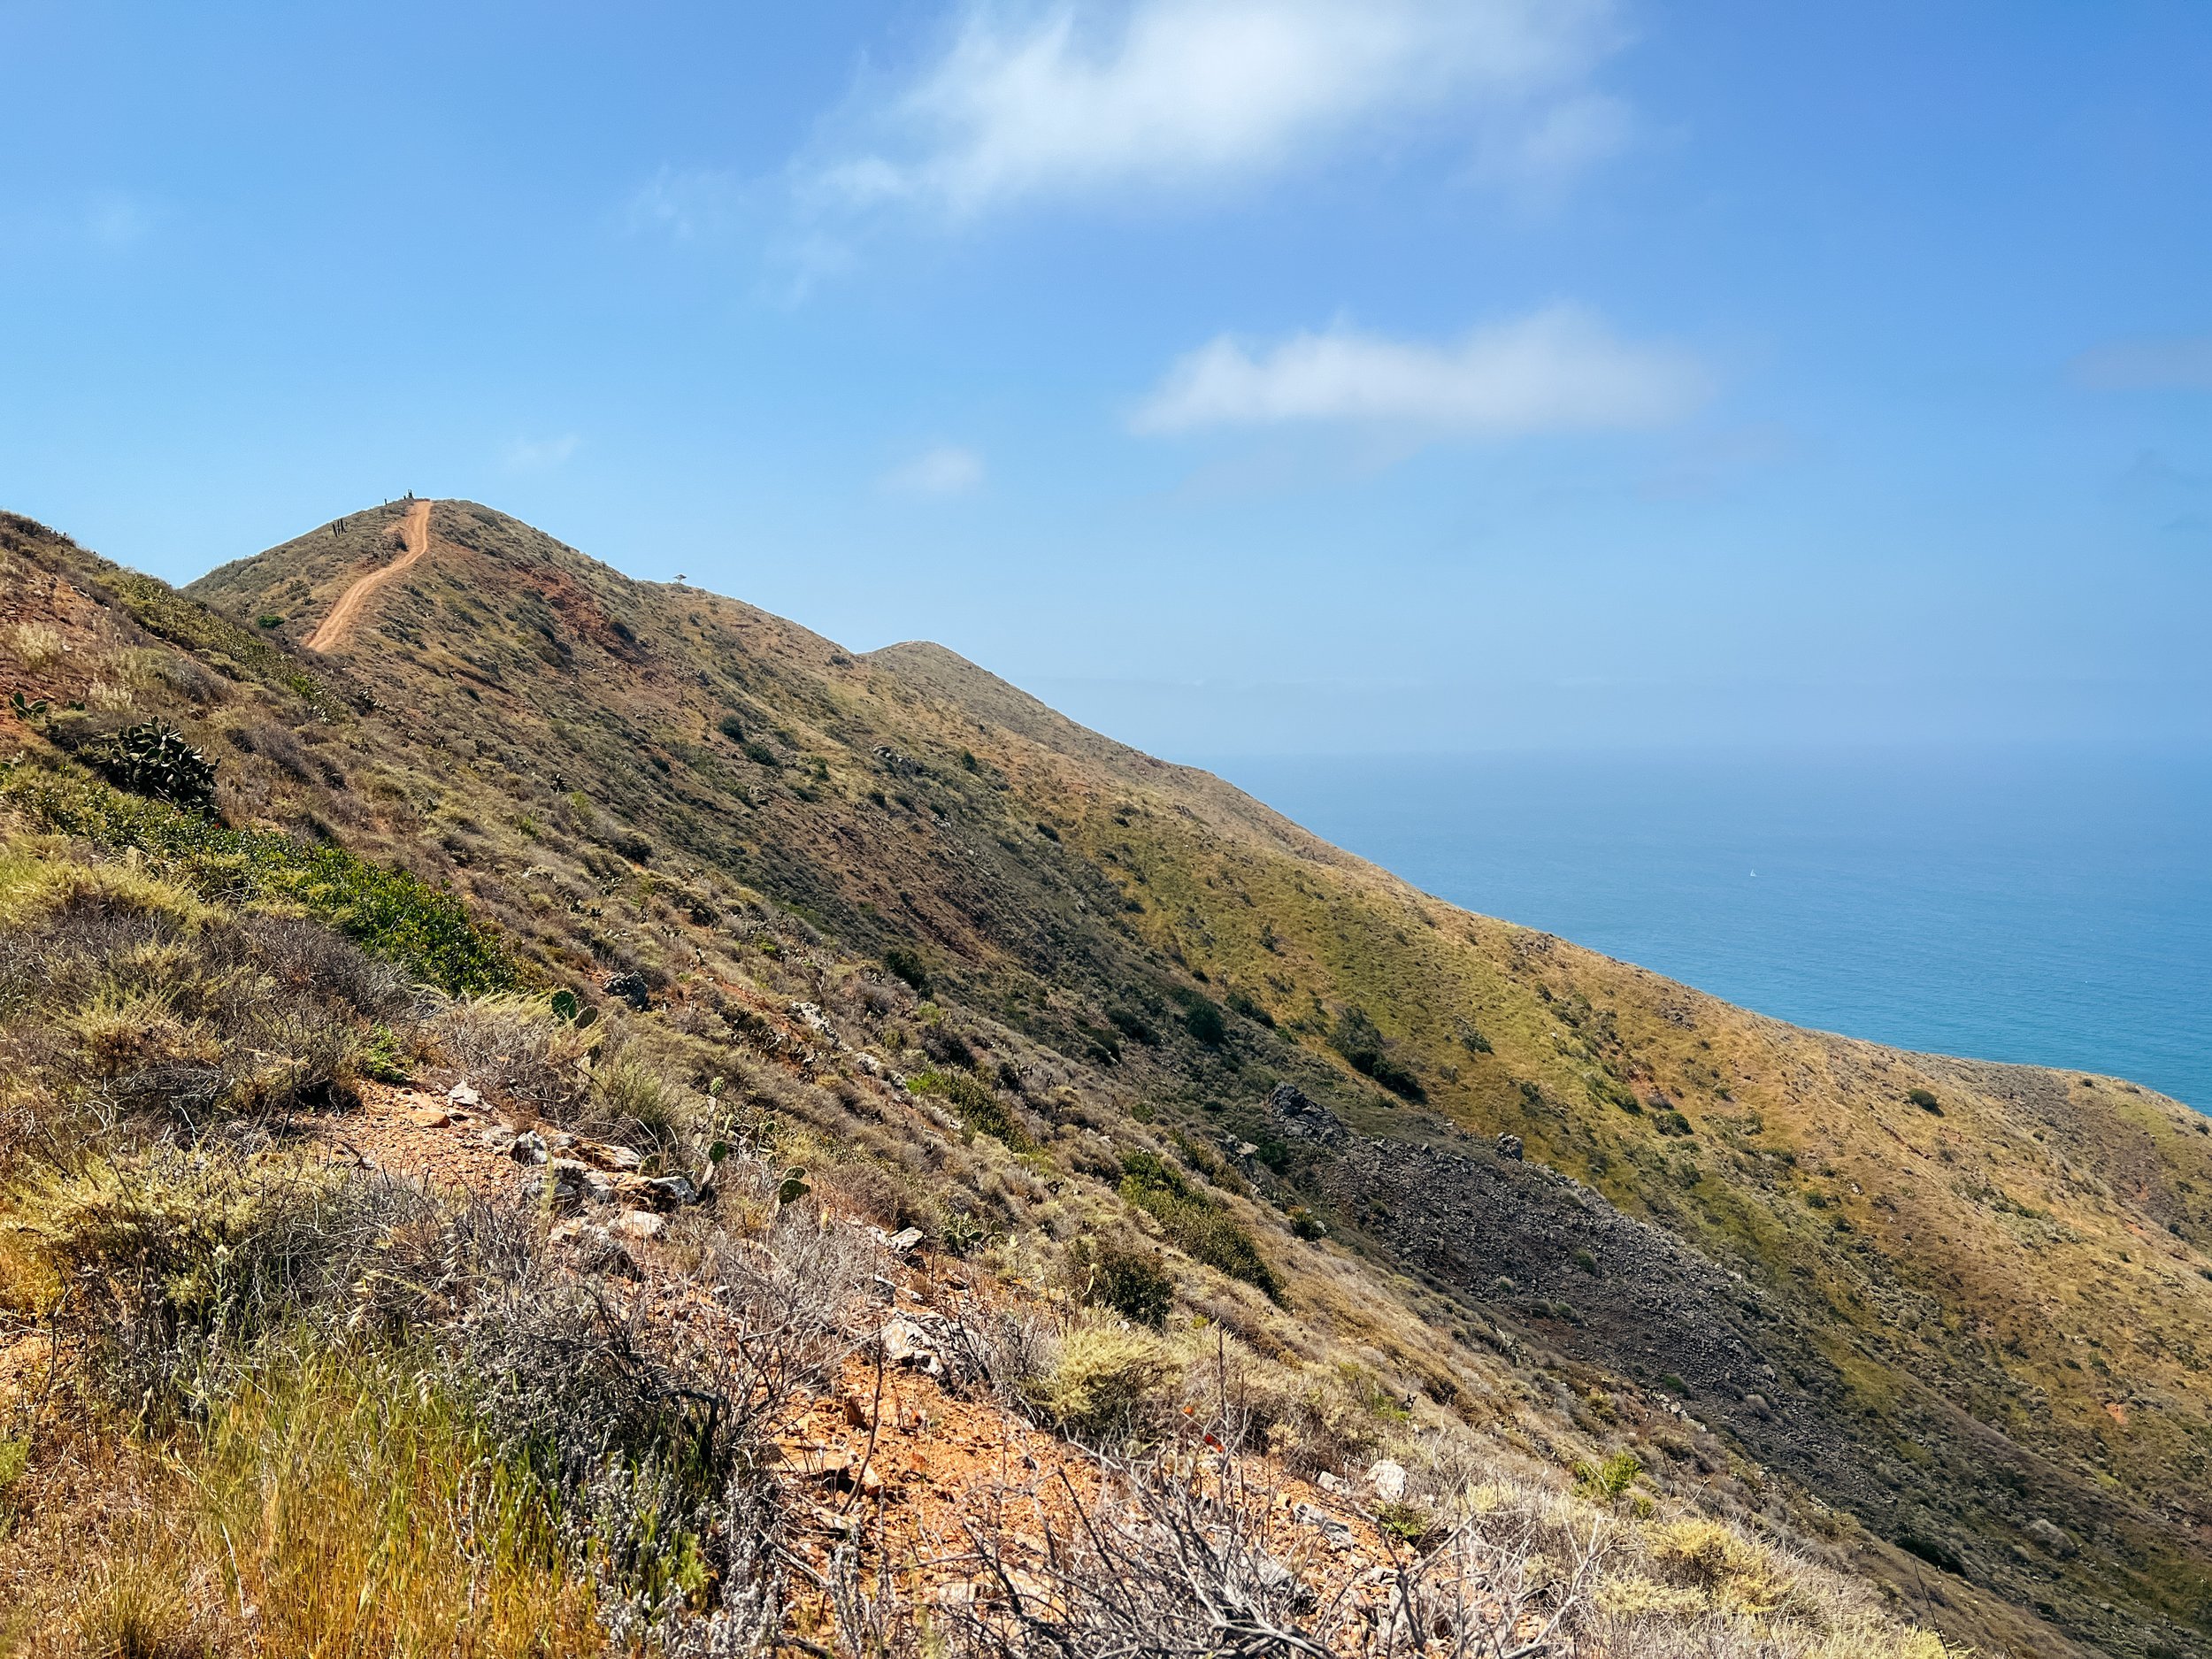
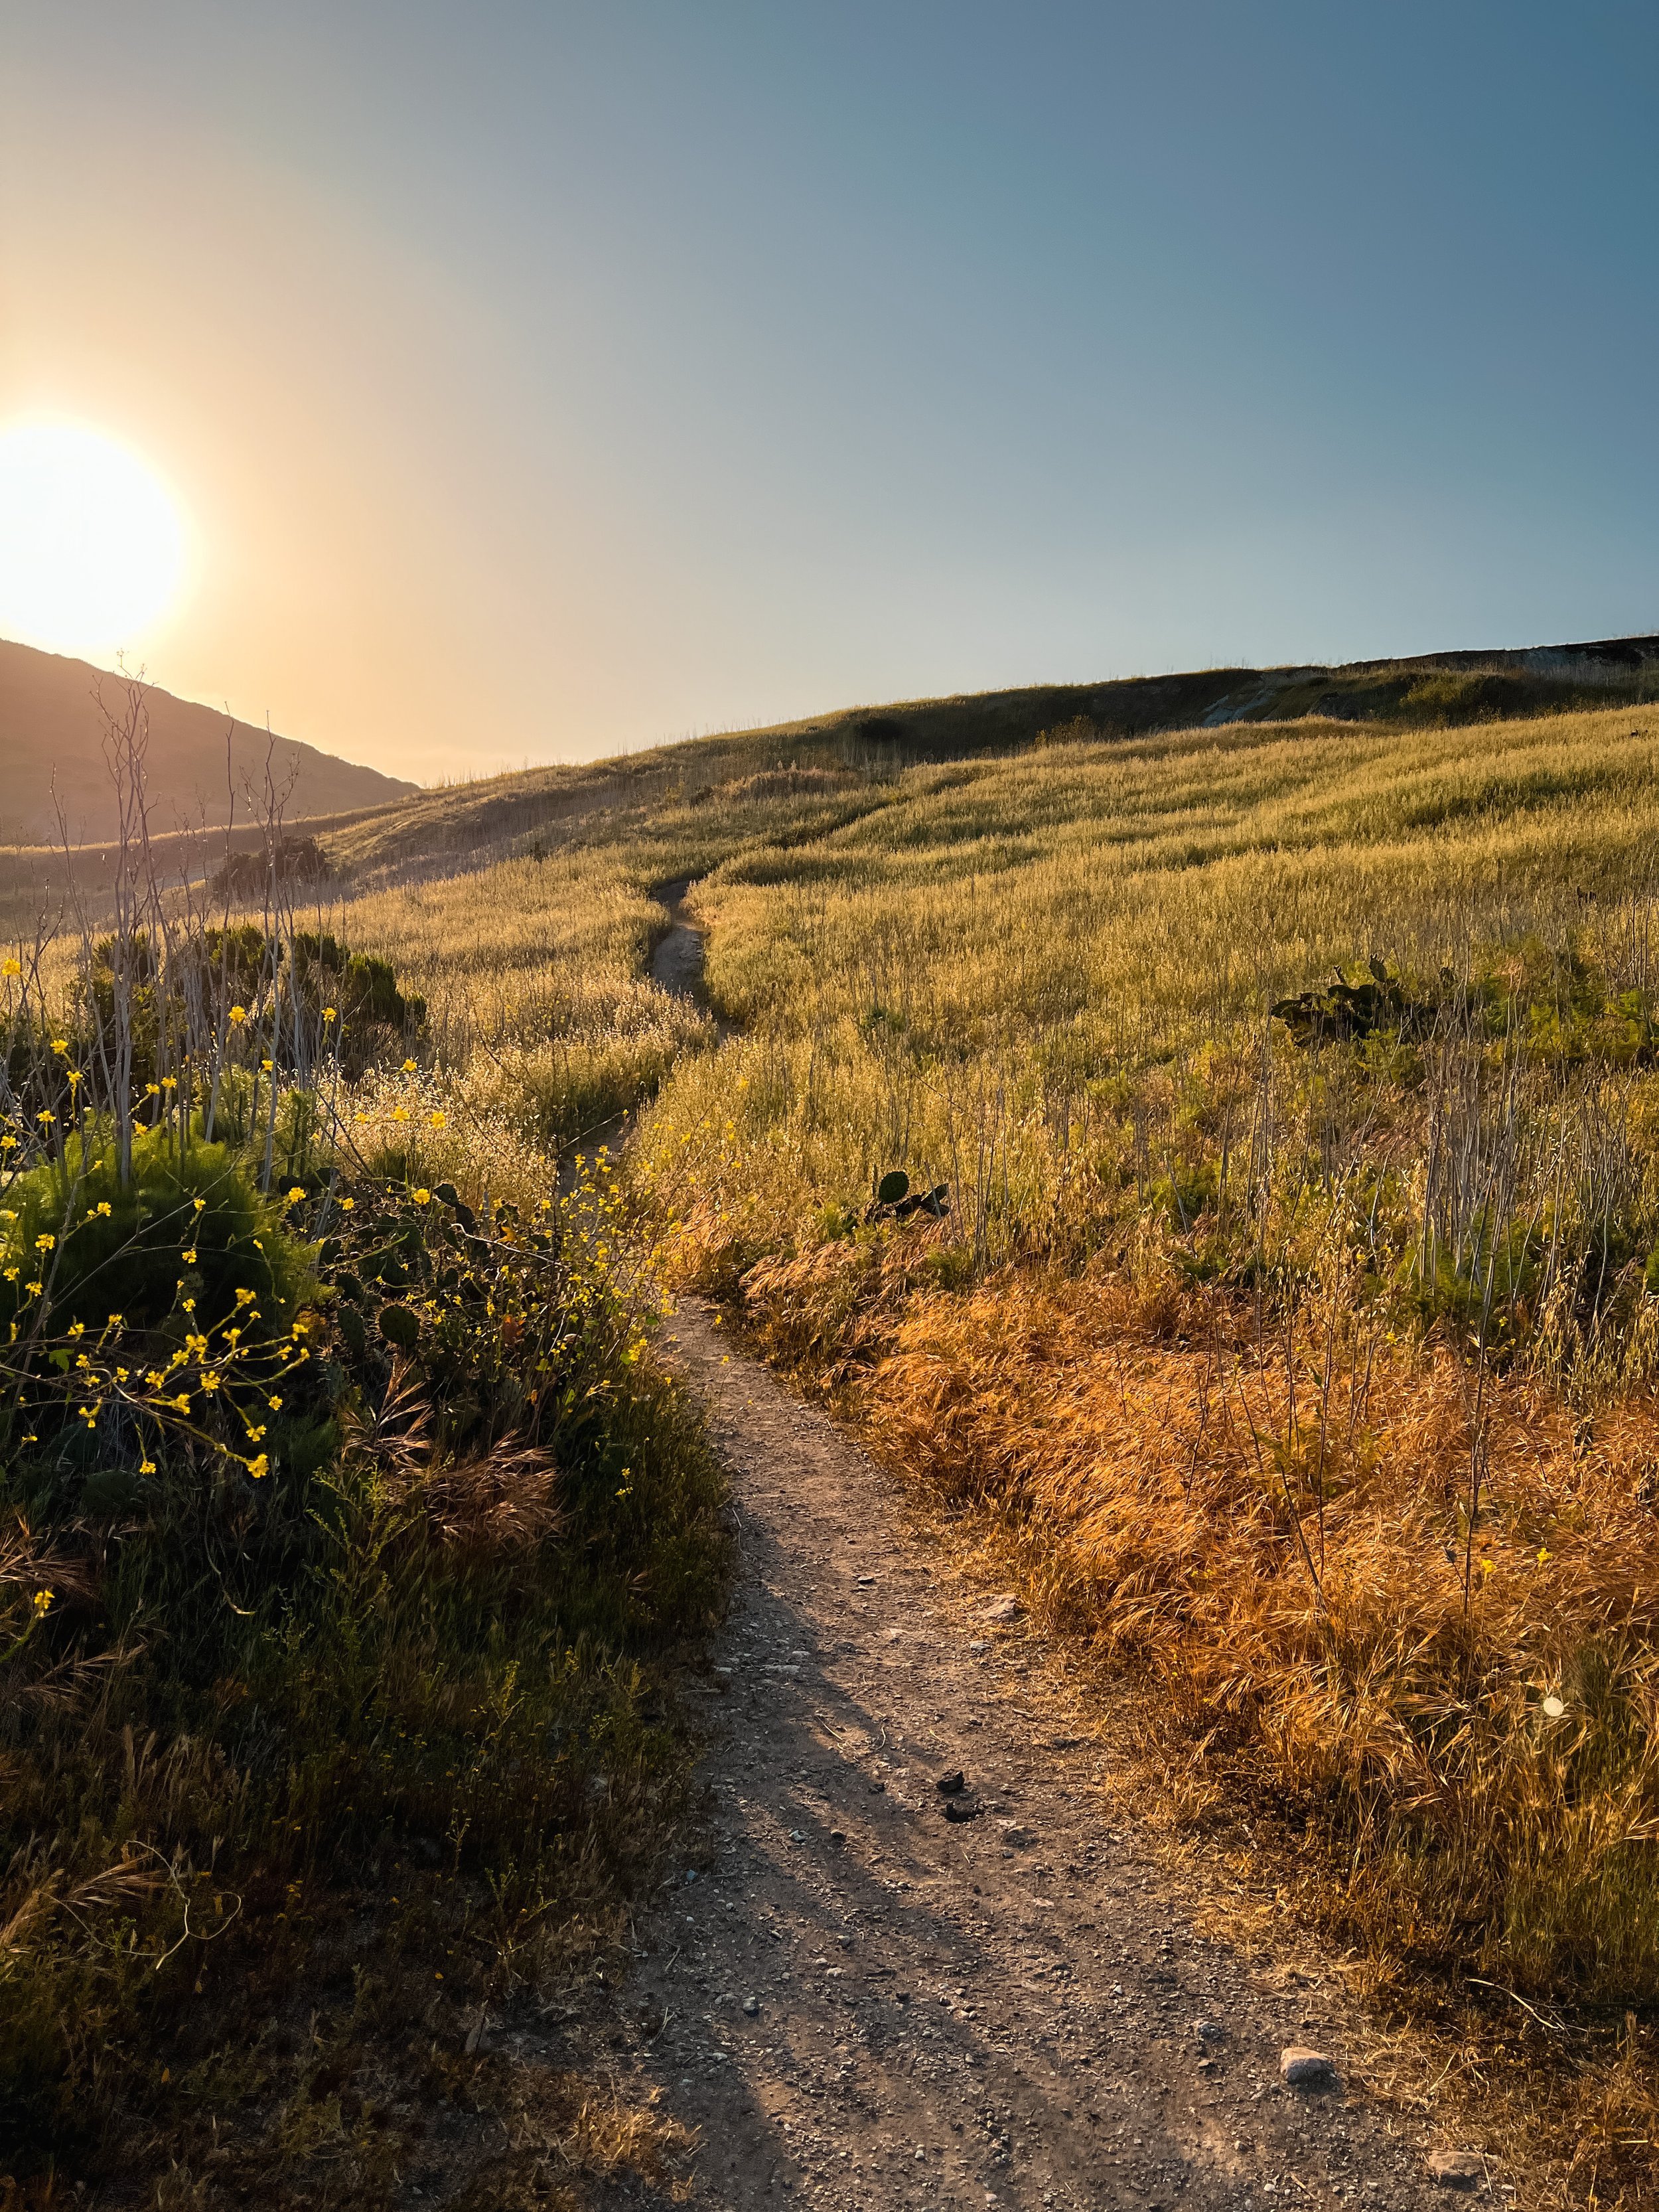
The Trans-Catalina Trail is great for so many reasons. First, the scenery. There aren’t too many places where you can be 1,000+ feet above sea level, walk next to cacti, and have an ocean view, all at once! This trip is also great for beginners wanting to test out a multi-day overnight. The campgrounds are set, so you don’t need to find your own sites, there are animal boxes at most sites, water at spigots so you don’t need to filter water, restaurant opportunities almost daily, and shaded rest benches along the way. There are also some unique wildlife opportunities on this trail: Bison, island foxes, rattlesnakes, and your usual sea life: seals, whales, pelicans, and more!
Keep on reading for an overview of the trail, how to plan, and what to expect while hiking!


Trail Stats
Where: Santa Catalina Island, Southern California
Miles: 38.5
Elevation Gain/ Loss: +/- 8,500 ft.
Time to Complete: 3-5 days
Trail Type: Point-to-point
Permits Required: Yes, campground reservations are required, 100% reservable online in advance
Pets Allowed: Yes, but not at Hermit Gulch or Two Harbors
Trailhead: Avalon and Two Harbors
Each color represents the section of trail between campgrounds.
Trip Planning & Logistics
Permits
Your campground reservations act as your hiking permit. With that being said, you must have campground reservations! You are not able to just arrive on the island and figure it out on the fly. Campground reservations go live on January 1st at midnight every year, for the whole calendar year.
My experience this year was that the reservation system crashed when I attempted at midnight. I tried for ~1 hour to make a reservation, then gave up, woke up at 7, and got reservations quickly & easily. I did check later in the week and the rest of the sites were taken for the week we reserved. So, best to reserve early!
I found the reservation portal to be a little finicky in the past, but it looks like they changed it for 2022 reservations, making it easier to book a full thru-hike. You’ll want to select “Book Trail” under the Stay Range calendar menu. This will automatically allow you to book multiple nights in a row without needing to book every campground separately. The only caveat to this booking system is that the online system will not allow you to book single nights at certain popular campgrounds on weekend nights from Memorial Day - October 31st. You can call the Catalina Island Conservancy to help you book single nights. Their phone number is 310.510.4205.
I’d highly recommend playing around on the website before January 1st so you know how the system works. Especially if you are trying to book highly coveted times like weekends and during the spring.
Make your campground reservations HERE.
Cost
As mentioned above, campground reservations are your key to hiking this trail. And they were some of the most expensive campgrounds I’ve ever booked! There is a per person fee and a transaction fee for each site, instead of just paying one flat cost for a campsite! I stayed at Blackjack, Shark Harbor, Two Harbors, and Parson’s Landing with one other person, and the grand total of our campsite reservations $280.38. Parson’s Landing is the most expensive campsite since you must pay $25 for a locker with firewood and 2 gallons of water. If you have more than 3 people in your group, I would pay for two lockers since 2 gallons isn’t a ton of water for everyone’s dinner and water for the day and hike out!
There is also the cost of getting to the island. The Catalina Express is the ferry to get to the island at Avalon and Two Harbors. For an adult leaving San Pedro, the price is $38 each way, for seniors the price is $34.50. The other option is to take a helicopter, but that runs more than $150 per person, and it looks like most outfitters only fly to Avalon, not Two Harbors.
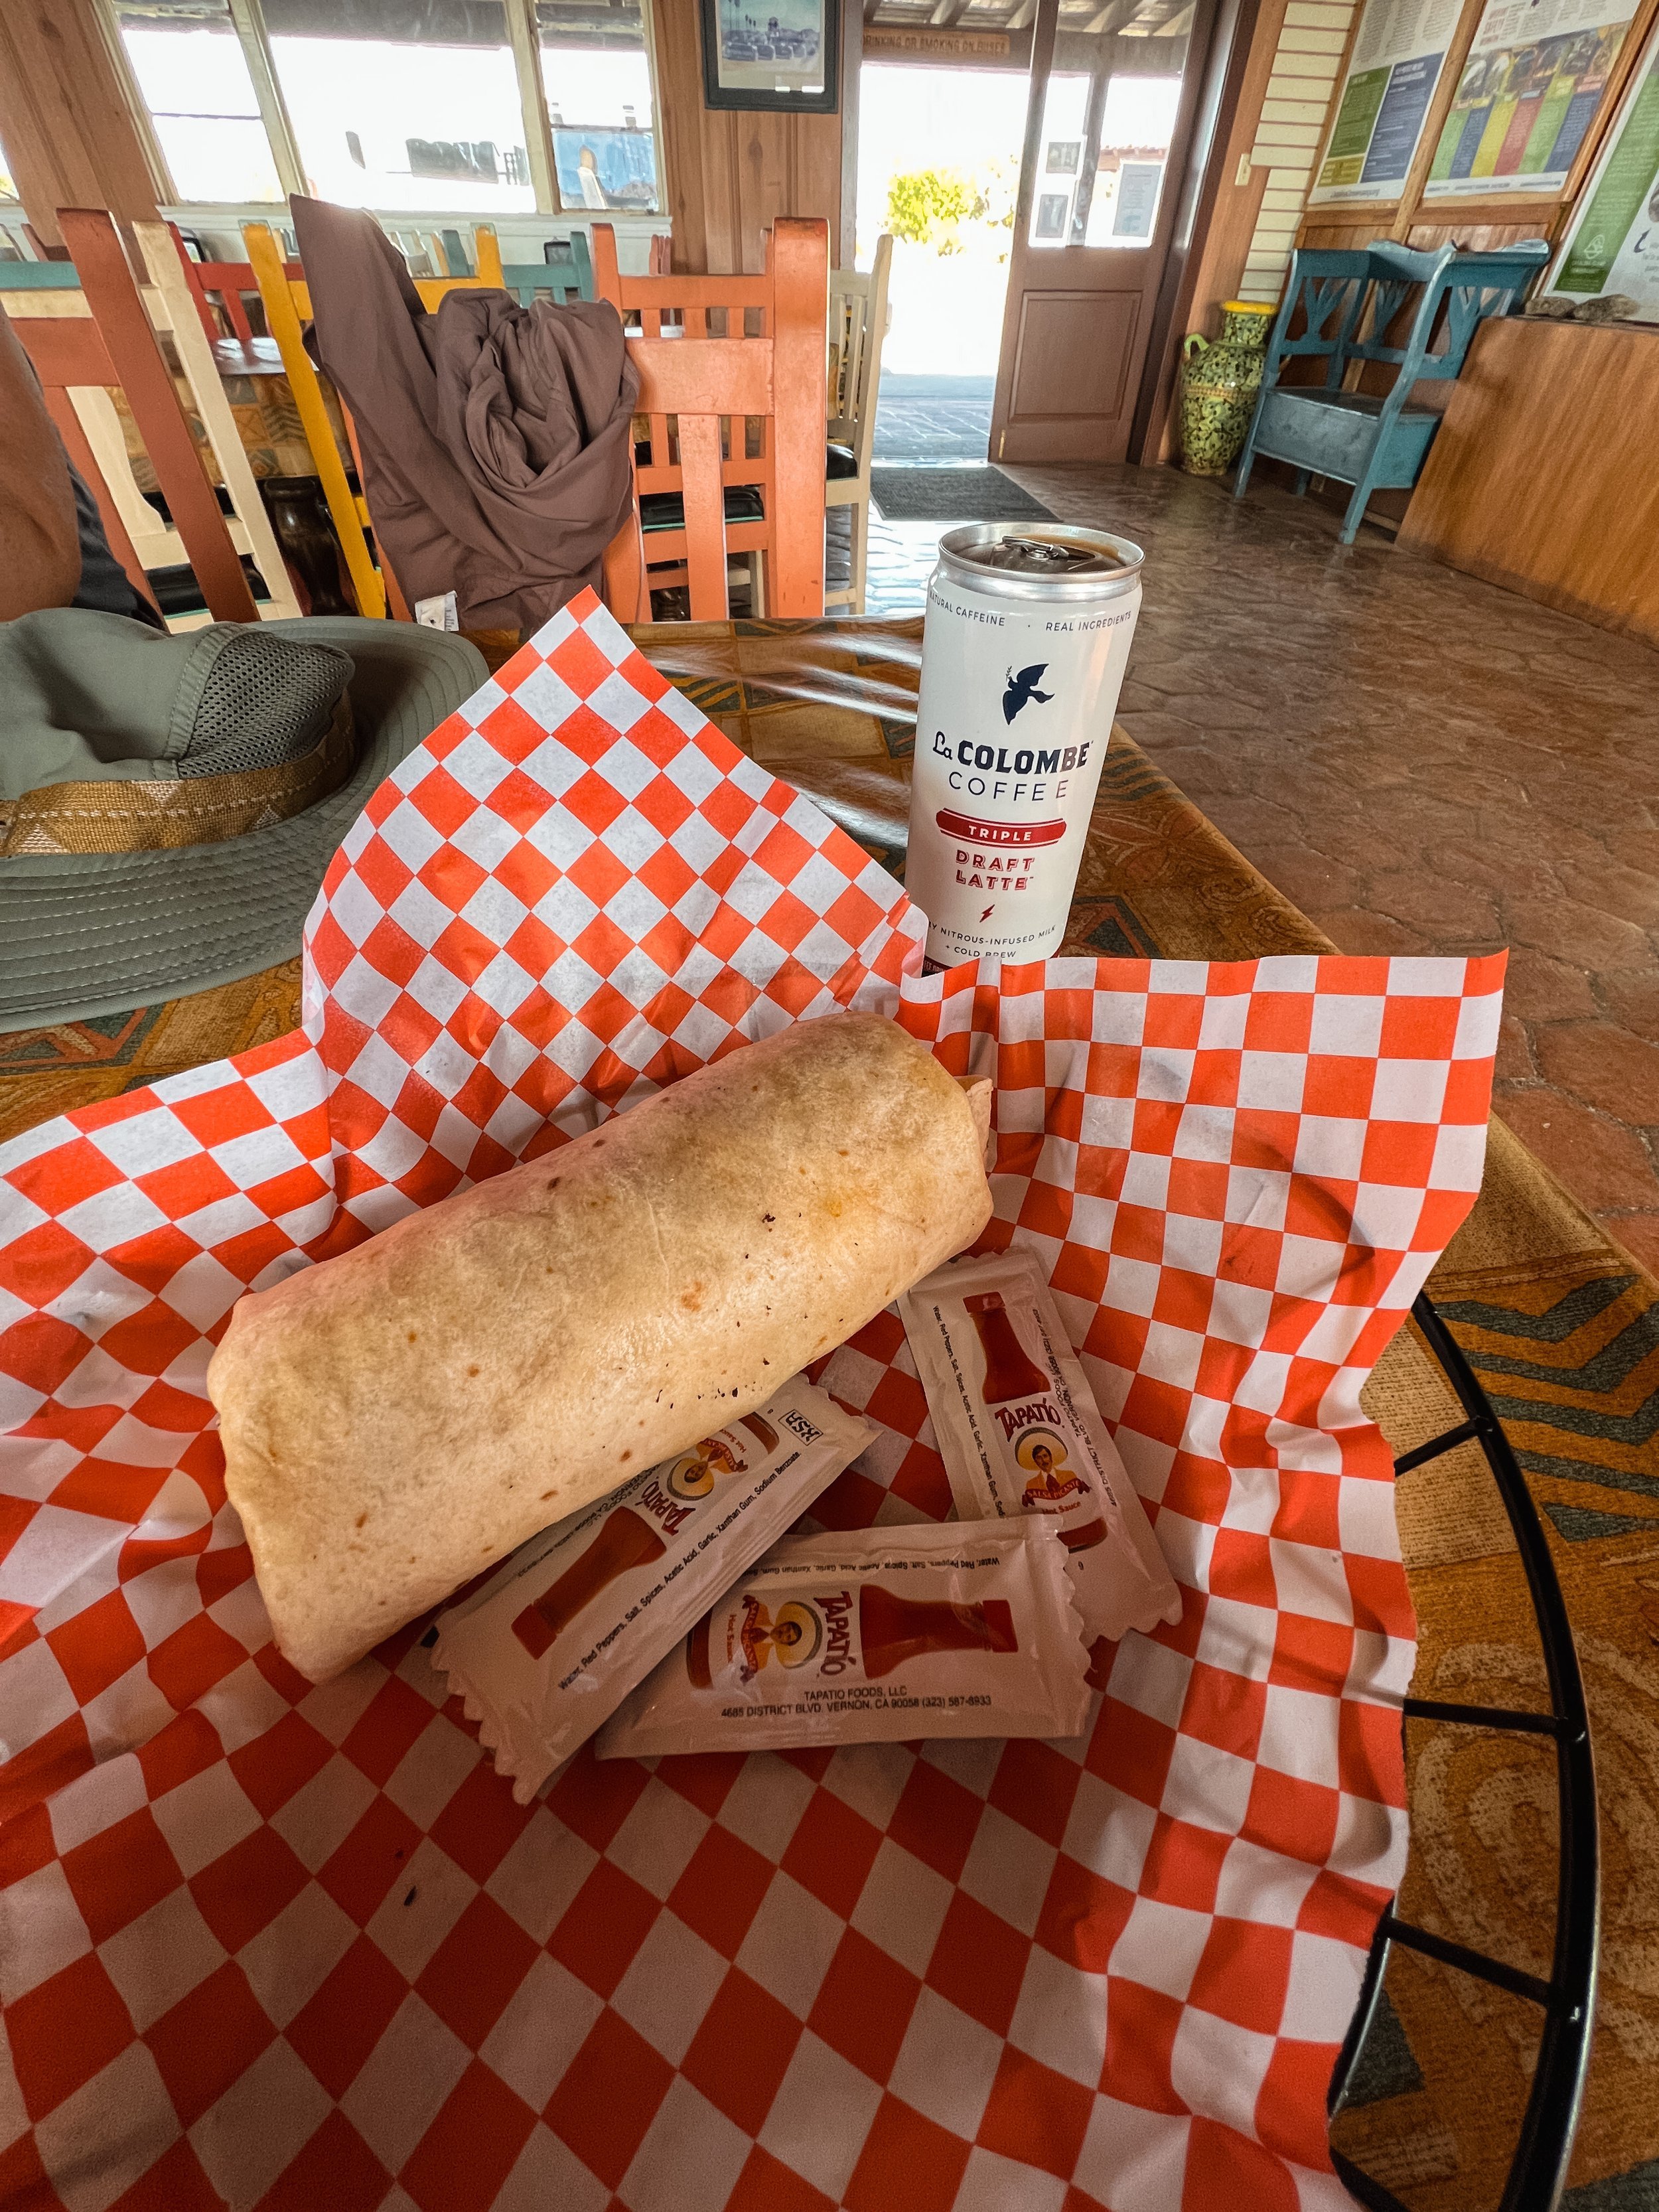
There are also many restaurant opportunities on the trail. These are obviously optional charges, as you can pack all of your food in from home, but it can be pretty hard to resist ice cream at Airport in the Sky or Two Harbors. Give yourself $10-15 to get the occasional snack, or budget $75-100/person if you want to carry less food weight and buy food at every establishment on the trail (food is more expensive on the island).

It’s worth mentioning that you can join the Catalina Island Conservancy and get discounts on certain things. There are multiple membership levels at different prices that will get you 50% off of campsite reservations and 50% off of ferry tickets. This is probably the most beneficial if you are booking with a larger group and can split costs. You’ll have to do the math yourself depending on the number of people you are traveling with to see if joining the conservancy will help you with saving some money. Read more here.

When To Go
The beauty of coastal California is you can really hike year-round and have a great time. Now, just because this is an island in Southern California, doesn’t mean it's a beautiful 70* and sunny at all times of the year. The Pacific Ocean creates its own weather. Fog, wind, and rain are all possibilities: I actually had all of them, even in April! That being said, you won’t ever have to deal with snow on this hike, so even if temperatures are cold in the winter, if you’re looking to escape the snow, this will be a great option!
Late fall through the winter season can see temperatures into the upper 30s, but highs can also soar. Be prepared for wind, and higher chances of rain. There are chances of trail and campsite closures in periods of heavy rain in the winter.
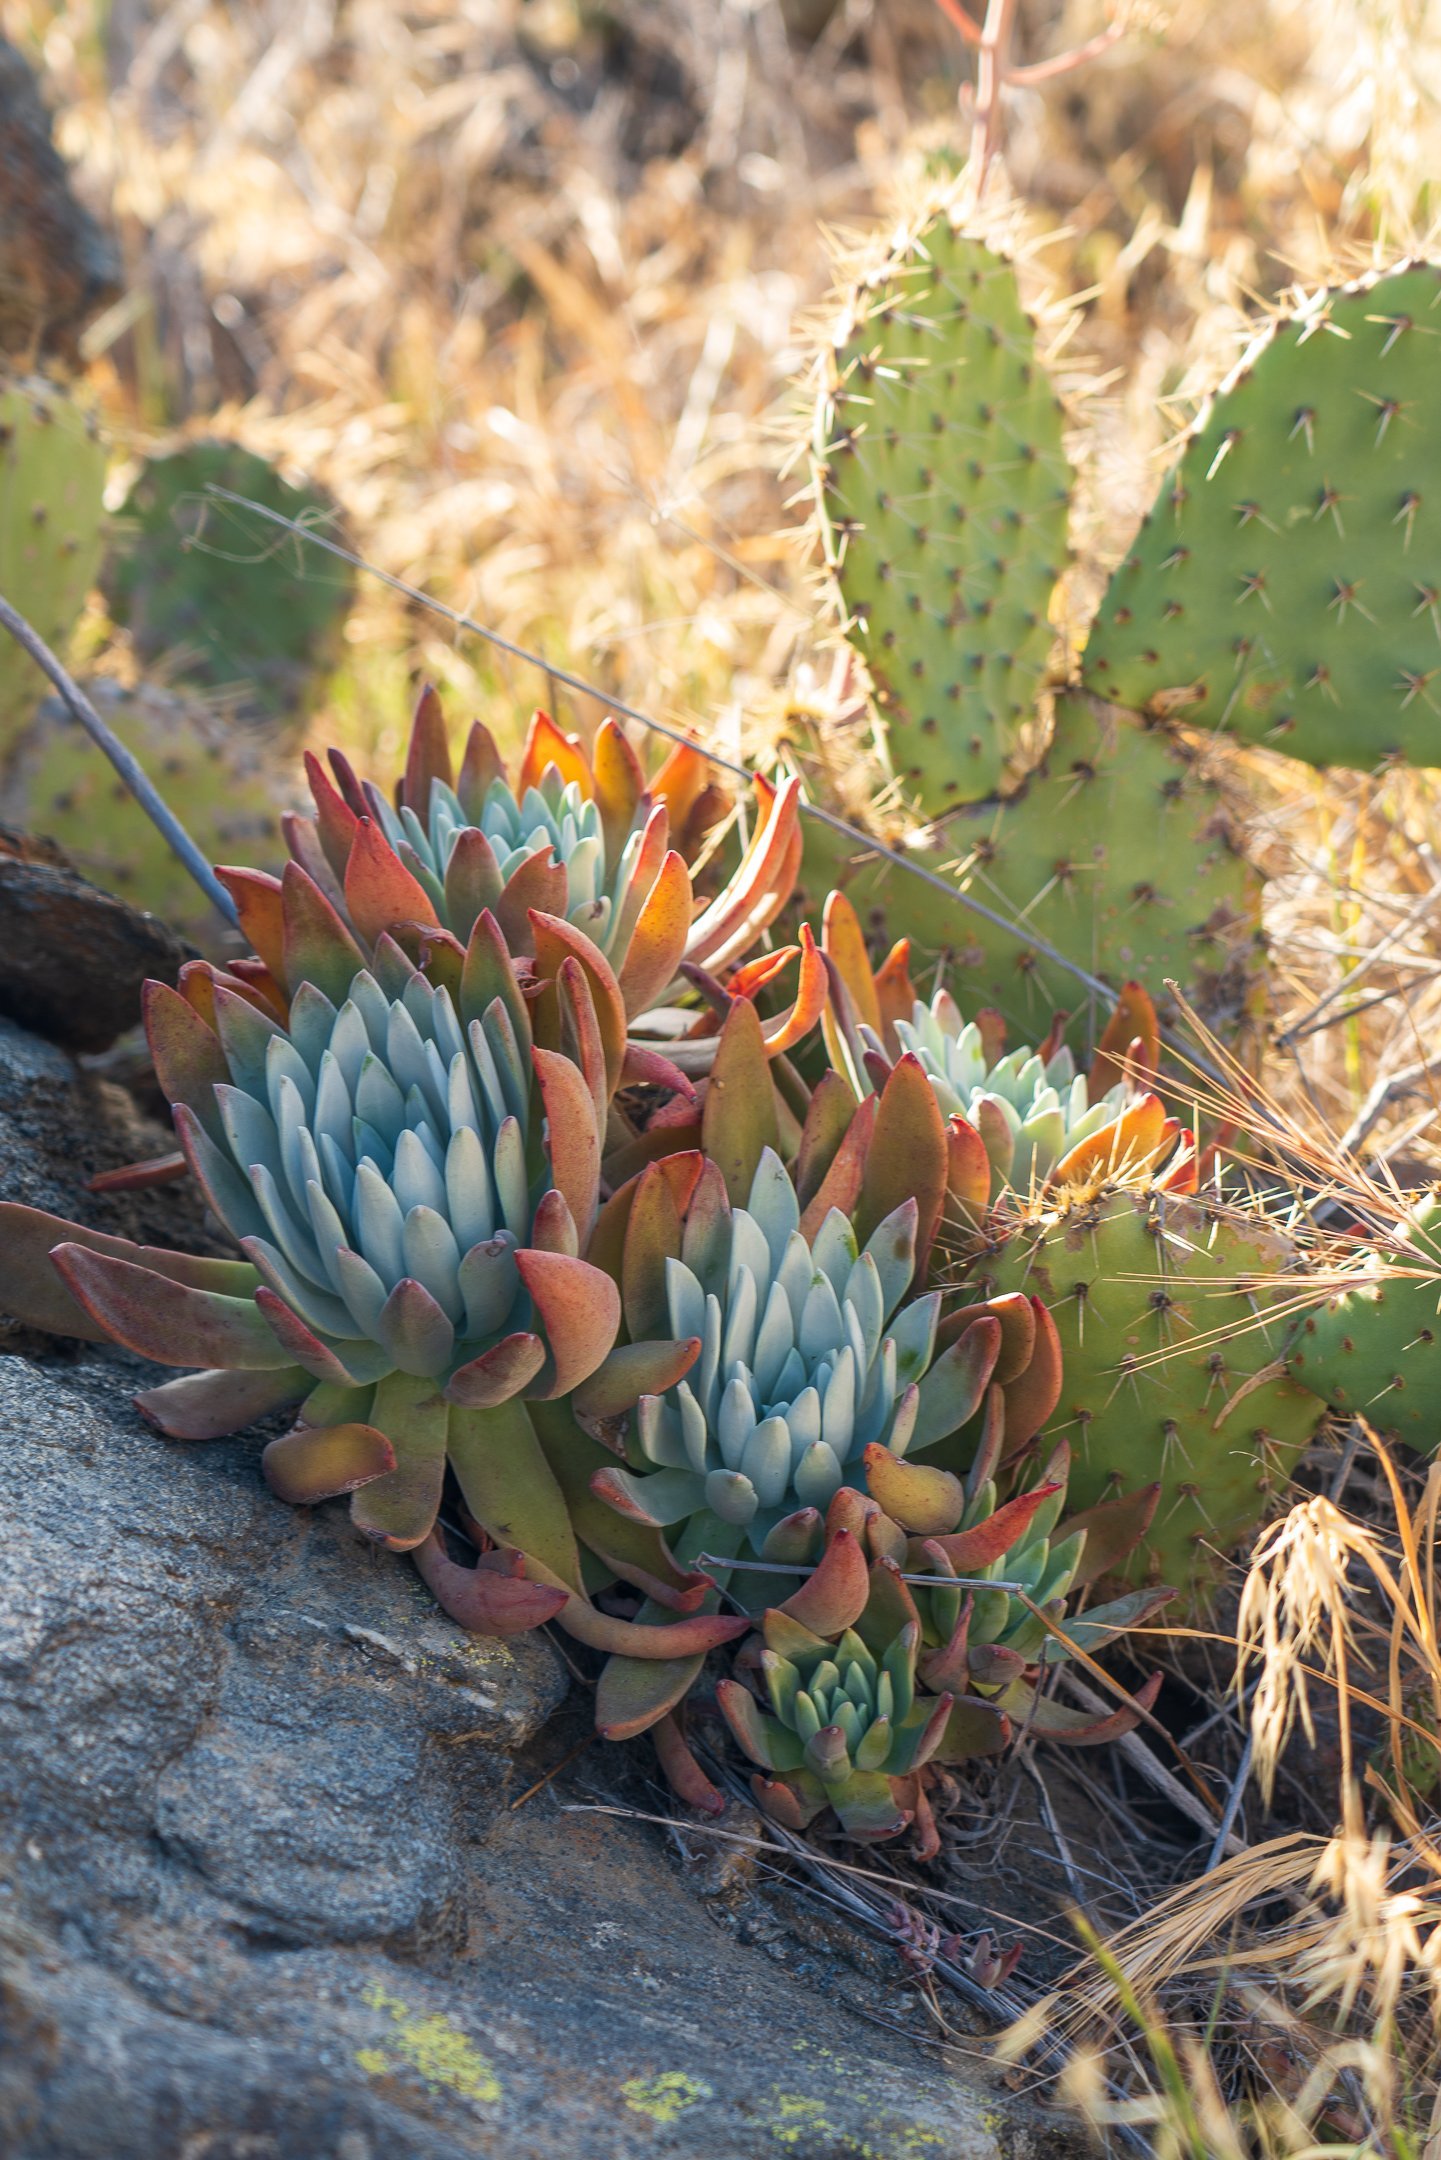
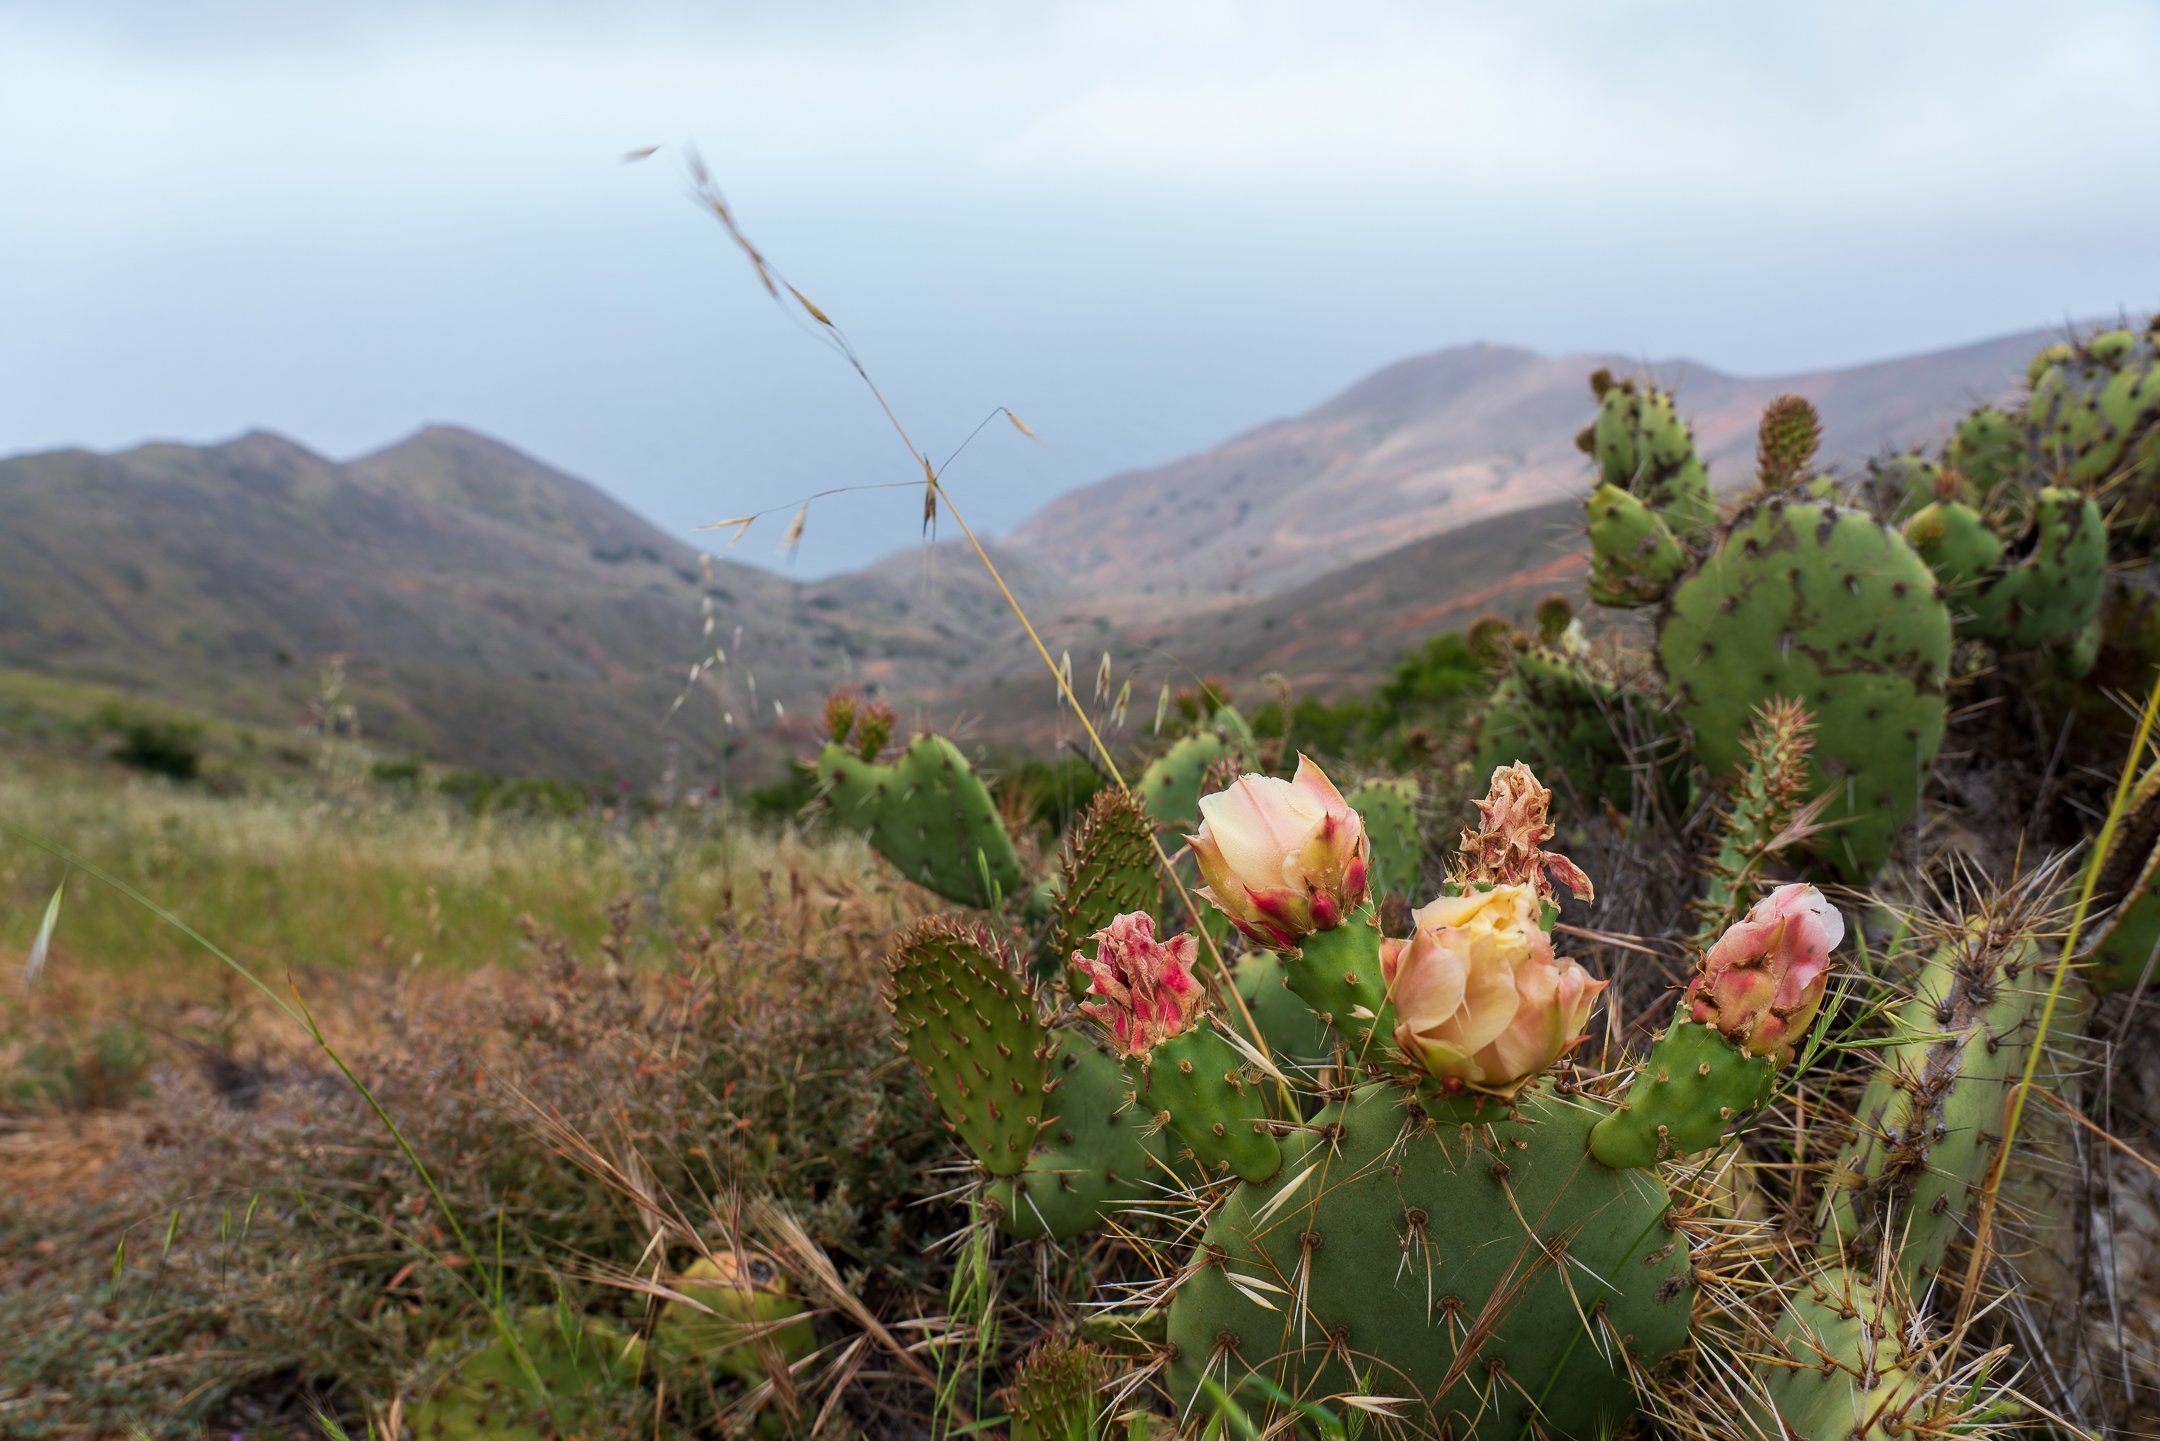
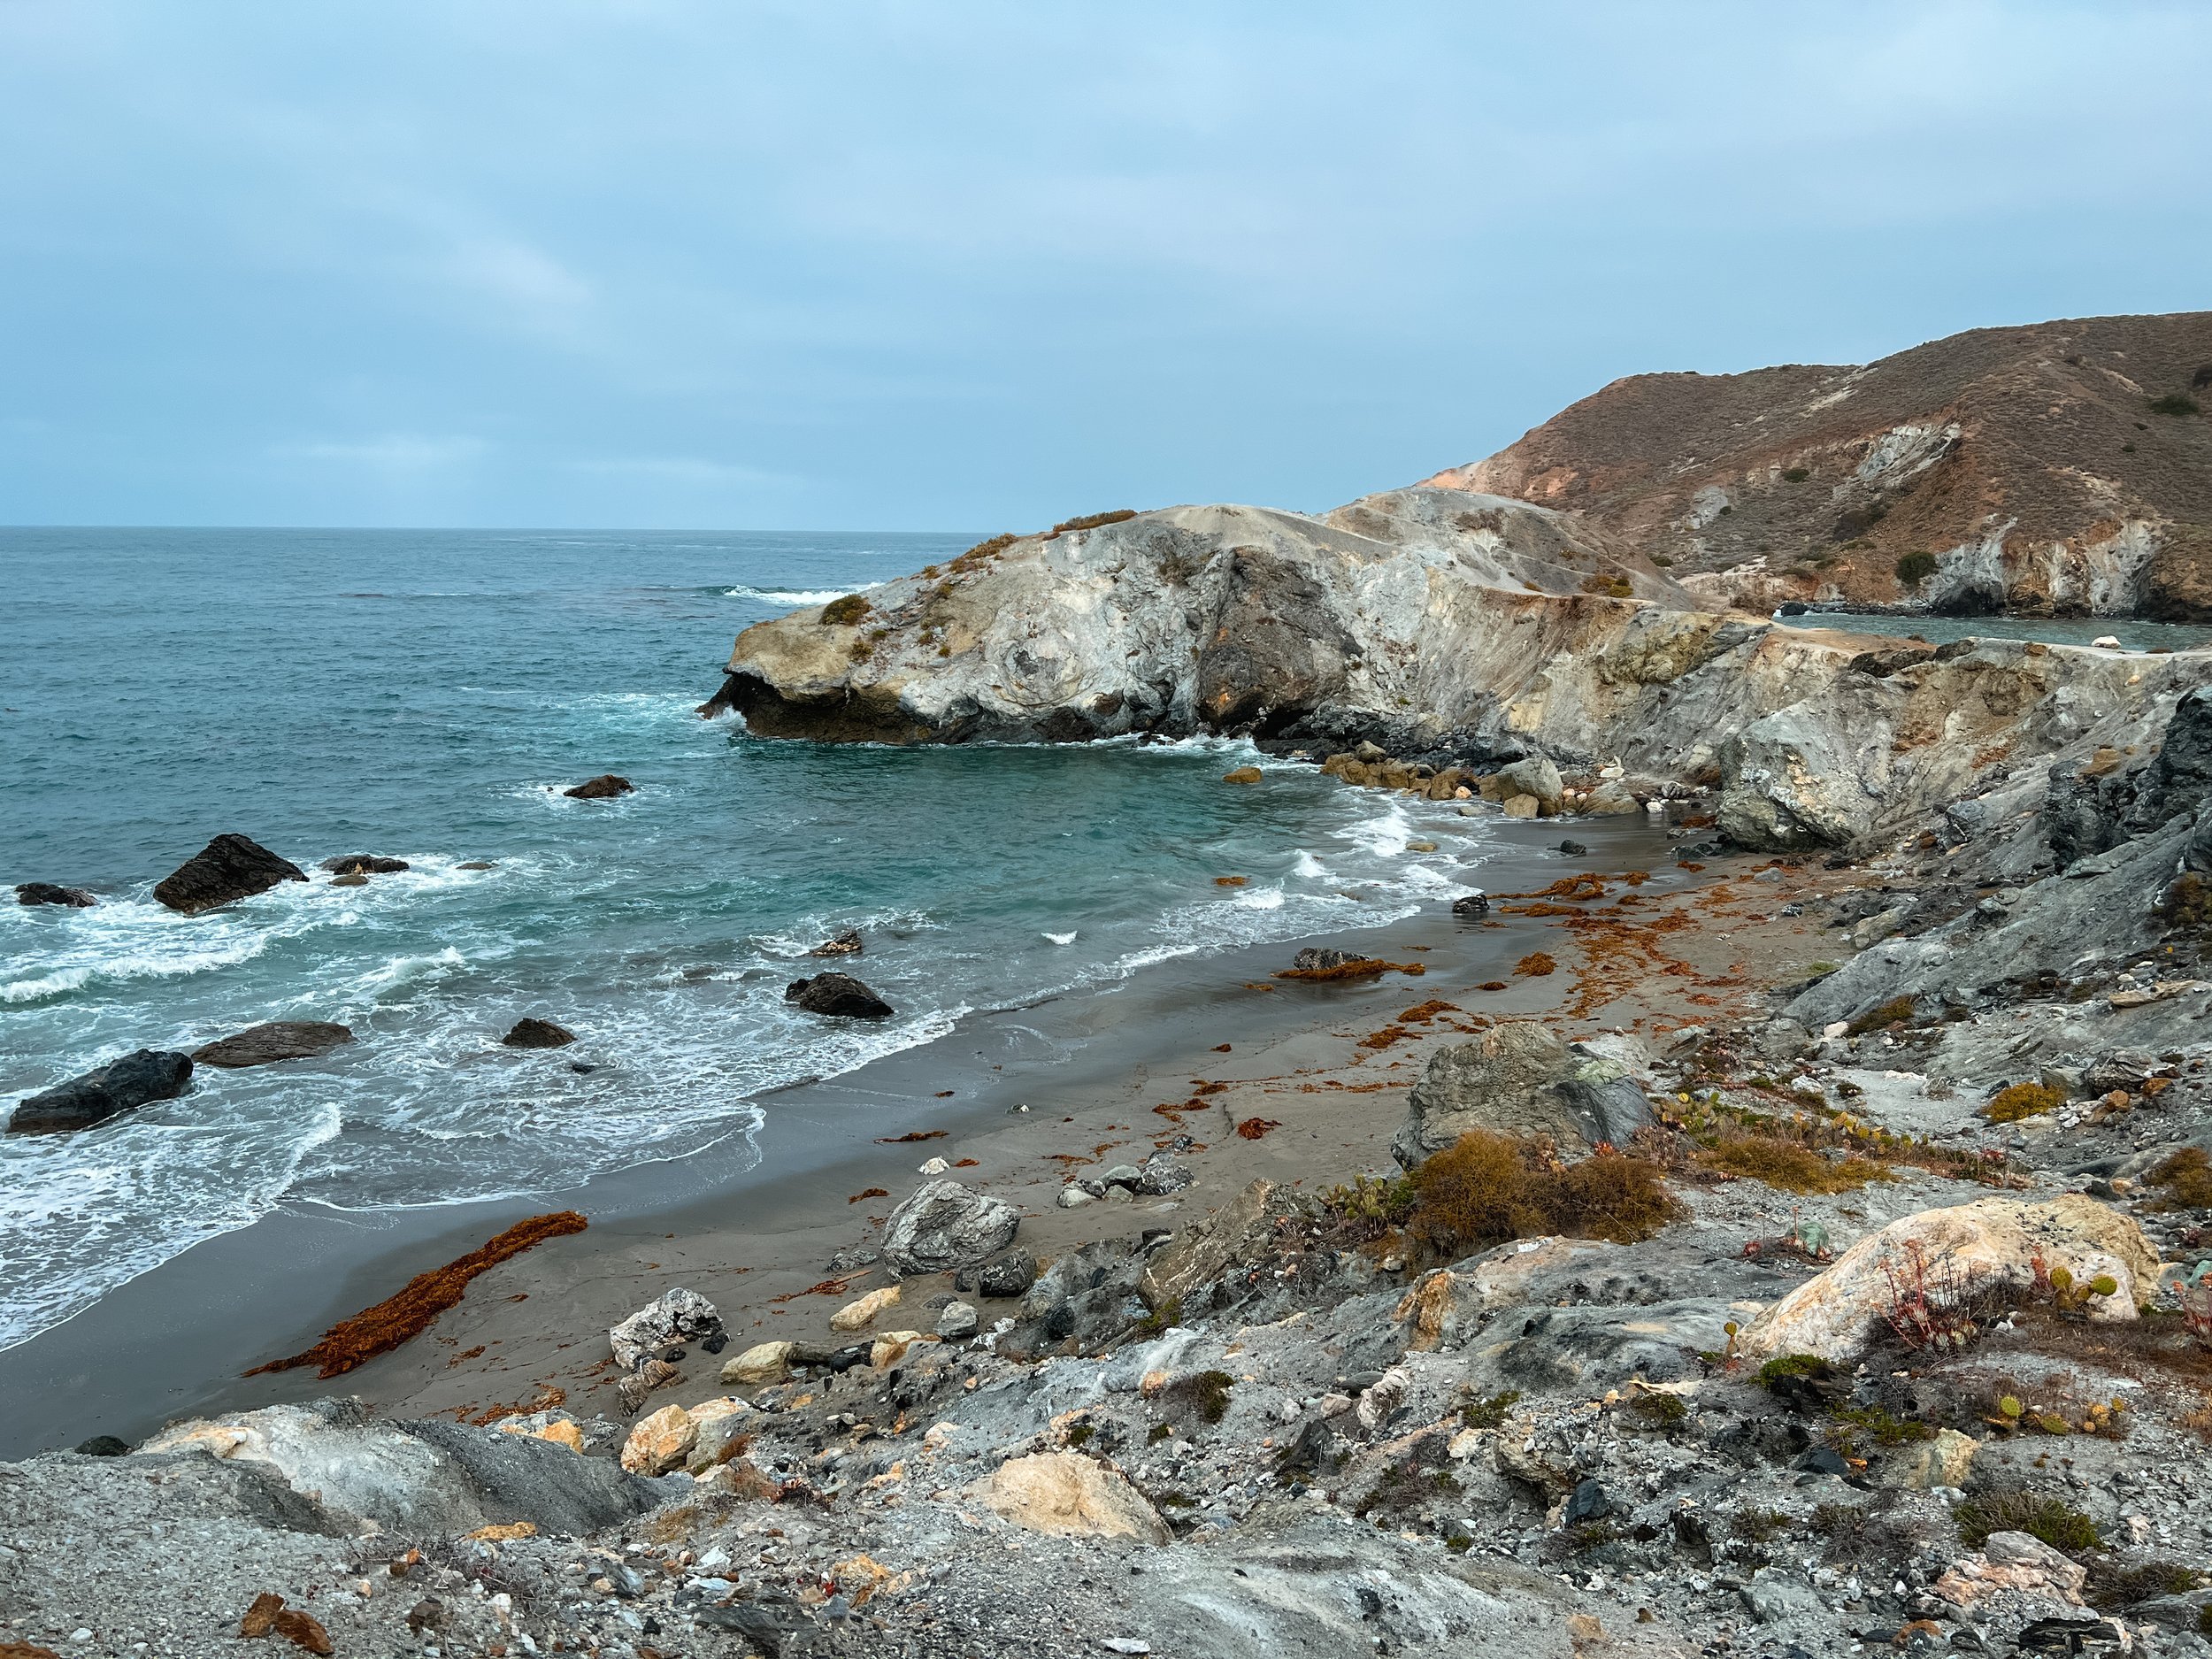
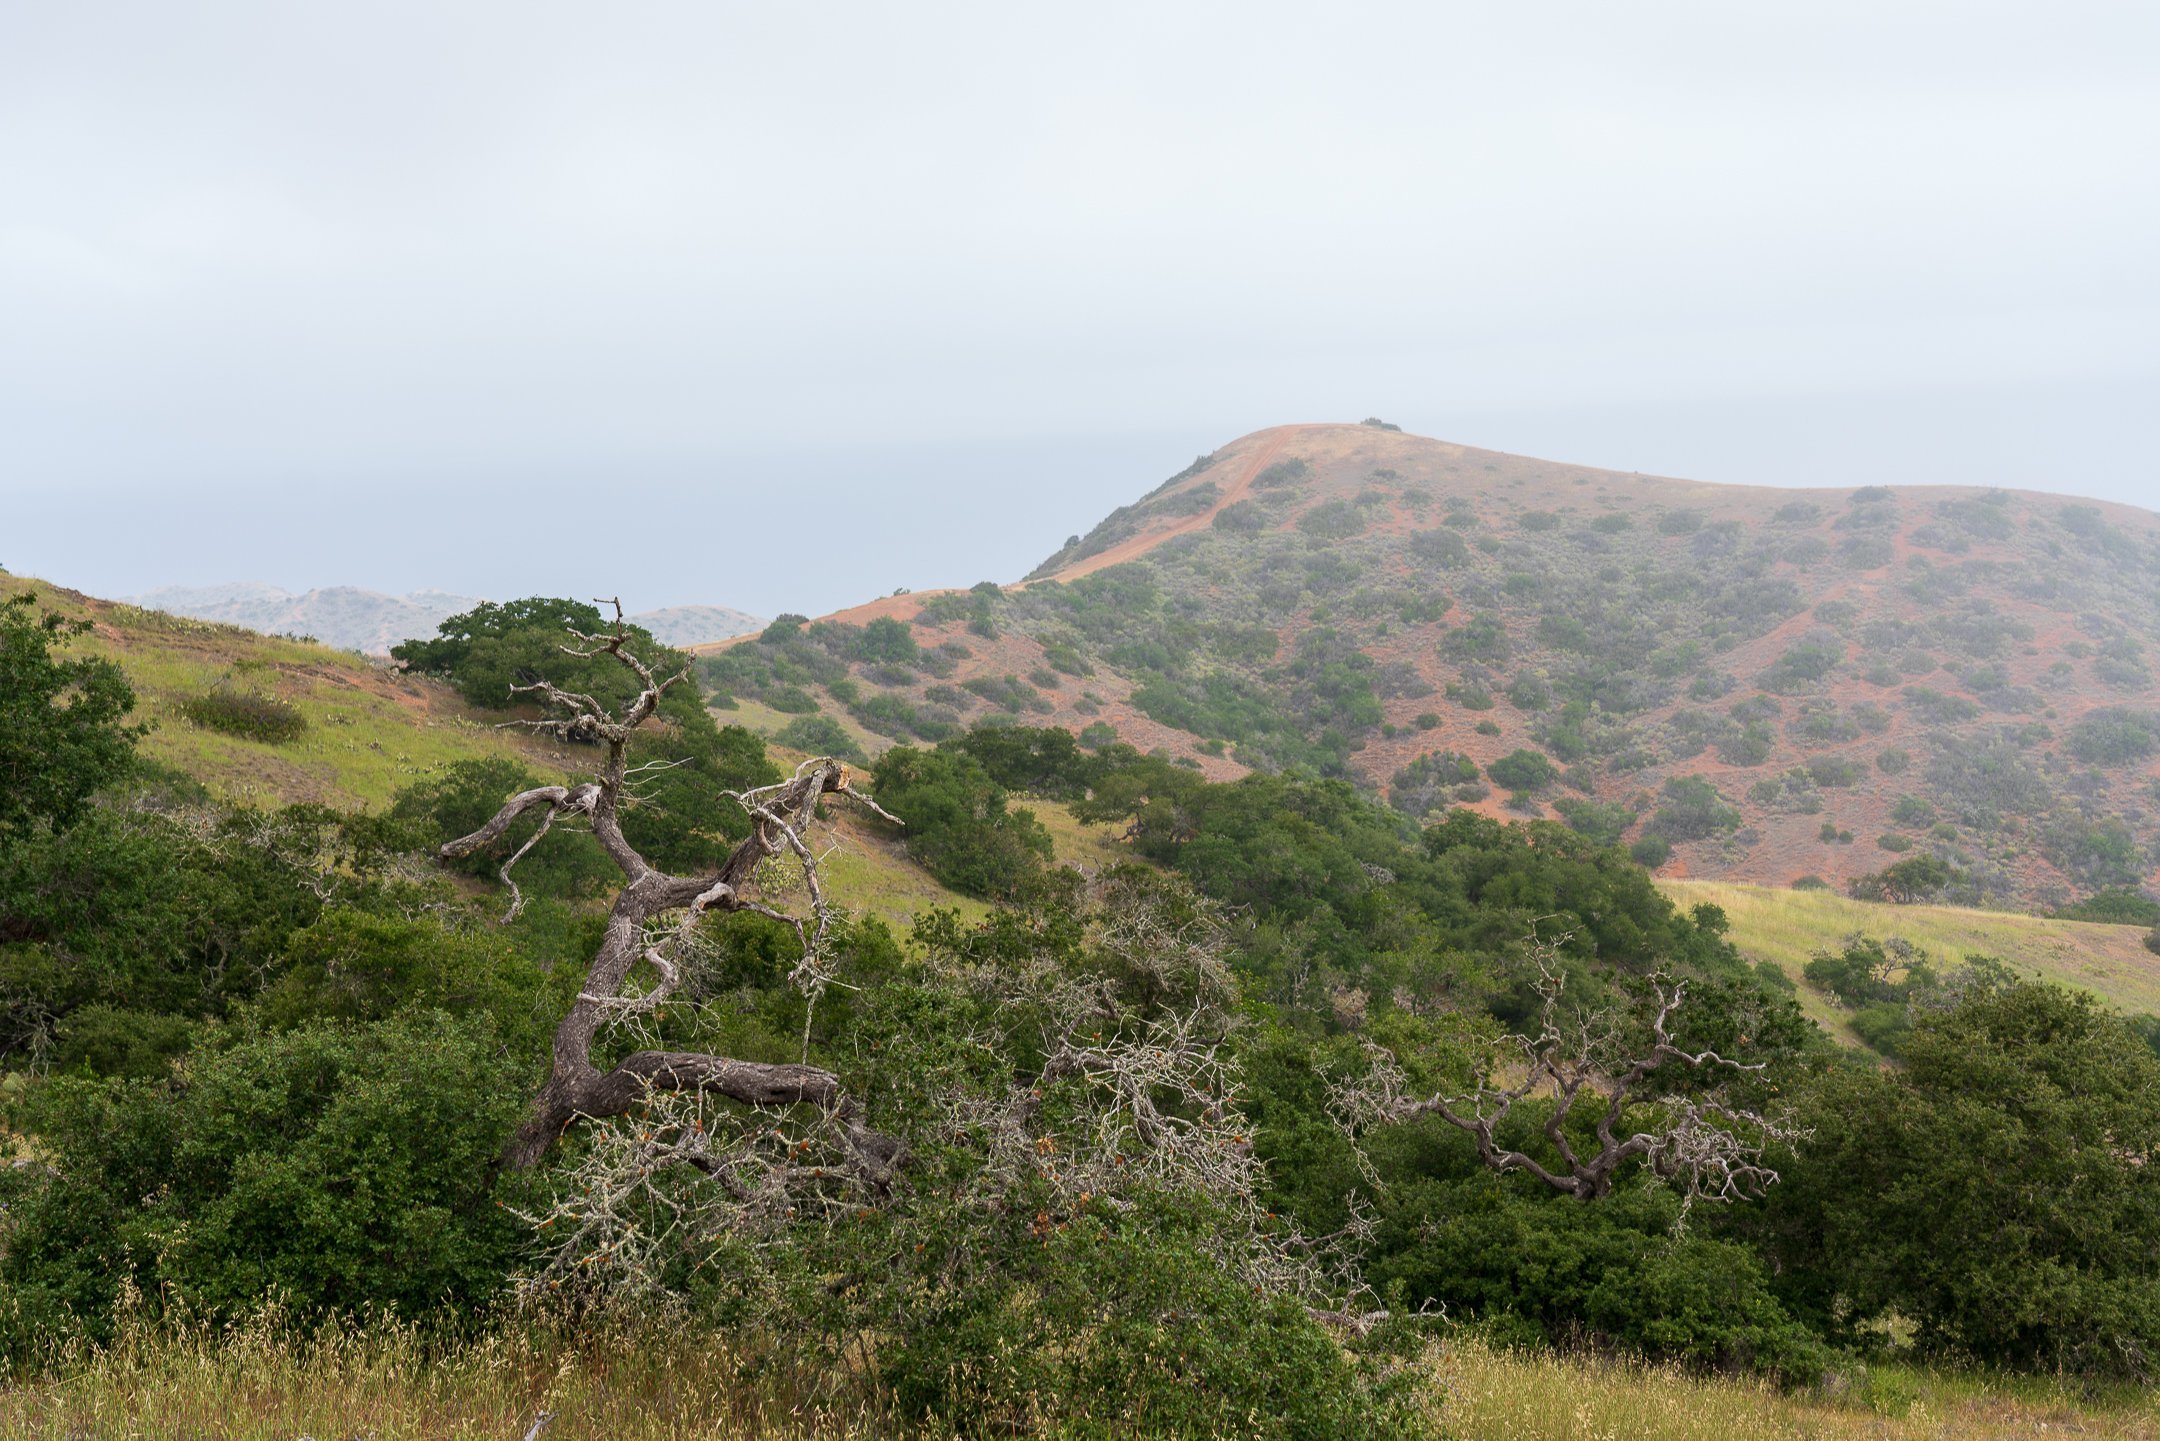
Spring has nicer temperatures, but cold snaps and rain are also a possibility. One of the days on our hike was so cold because of the wind and mist: I had to put my rain jacket on and keep walking to stay warm! Temperatures are overall warmer than winter: think lows in the 50s and highs up to the 90s. Spring also featured beautiful blooming prickly pear cacti, and green mountainsides. The island felt as lush as possible for being a desert!


Summer is hot, hot, hot! I wouldn’t recommend hiking this trail from July - September due to the heat and the amount of elevation. Unless you are prepared to carry many liters of water, and protect yourself from the sun as much as possible, and are used to hiking a lot of elevation in dry heat. June can be a toss-up. Could be hot, but “June Gloom” is a thing if the marine layer decides to hang out for a few days.
Fall turns the island brown. The temperatures won’t be as scorching as in late summer, and the temps will decrease more as fall turns into winter. Mid-fall usually brings pretty mild weather to California, and the TCT could be a great haven if the mainland is choked with smoke from wildfires.
Getting There
There are only two ways to get to Catalina Island. By ferry or air. The ferry is longer, cheaper, and generally what most people take to get to the island. There are multiple ports on the mainland that take you to Catalina Island, and two ports on the island itself: Avalon and Two Harbors. Even though there are many ports on the mainland, only one location will service both ports on the island: San Pedro.
I highly recommend booking everything out of San Pedro. There really is no reason to choose either of the other ports, even if you live in the area. Yes, traffic always sucks in LA, but you’ll probably be a happier camper when your travel to the island doesn’t have to include a second ferry between Two Harbors and Avalon on one end of your trip.
In the “off season”, which is the fall/ winter months of the year, there are fewer ferries daily, and the ferry doesn’t run every day to Two Harbors, so you will really need to plan your hike around that. Spring through fall, the ferry runs between San Pedro and Avalon and Two Harbors daily, sometimes with multiple ferries per day. The Catalina Express website seems to update its schedule quarterly, so check the website for up-to-date schedules.
The biggest controversy around the ferry is that you can’t bring fuel onto the boat. I will say that no one ever asked if we had fuel on us, even though we were clearly hikers. Carry at your own risk!


All of the packs lined up on the ferry
Weather
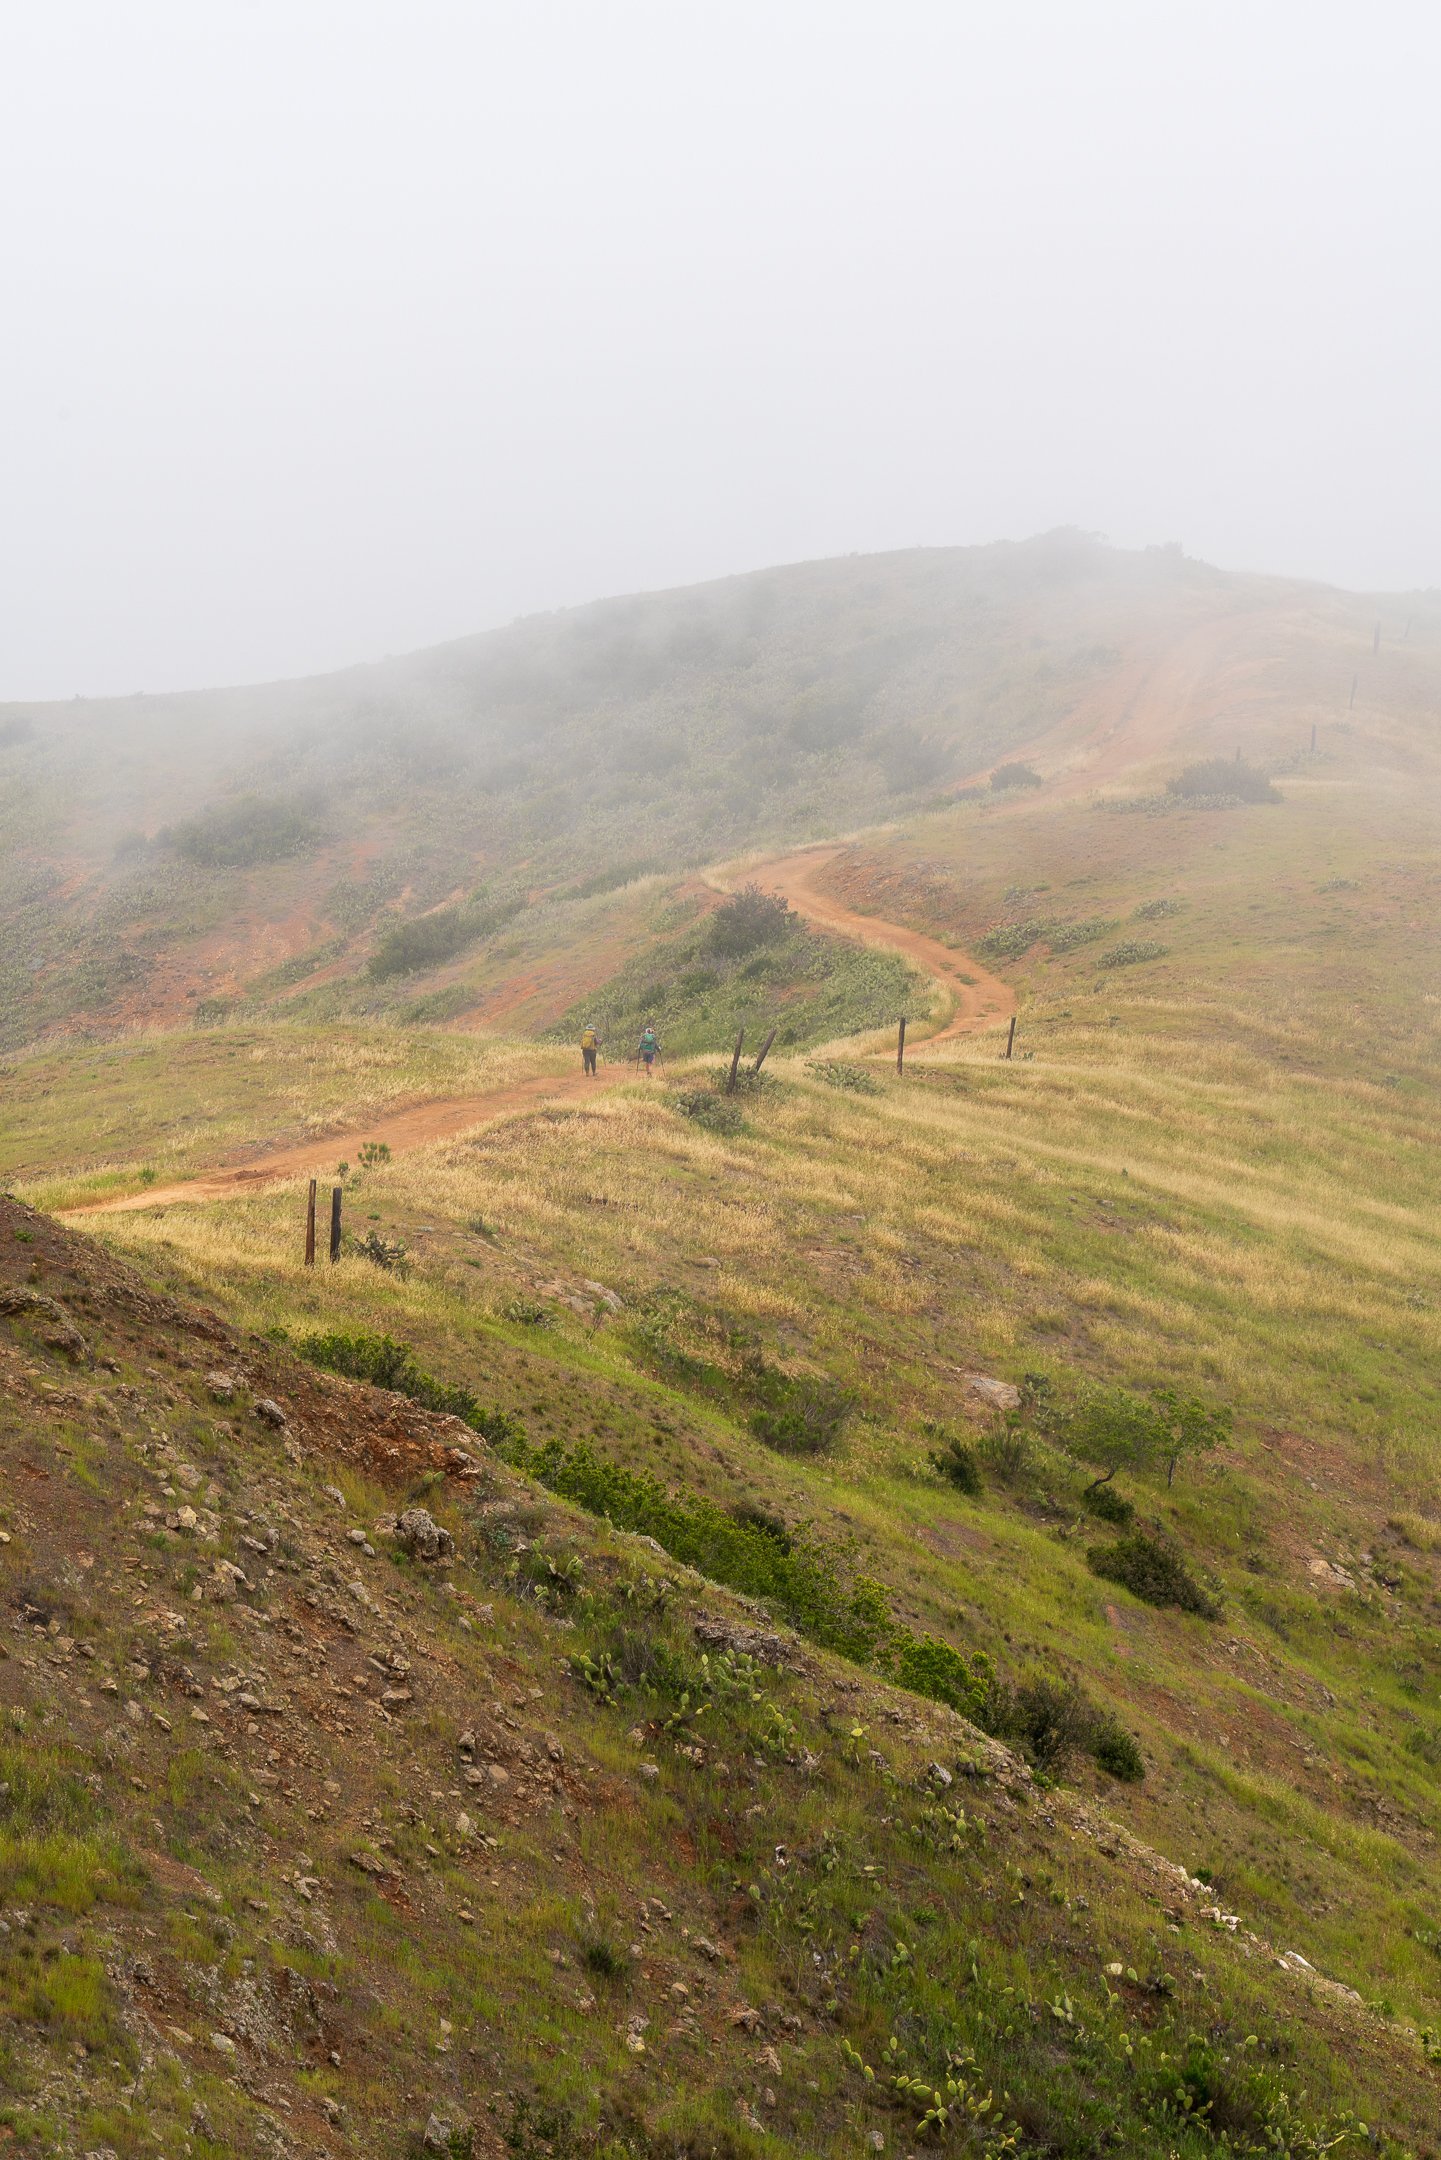
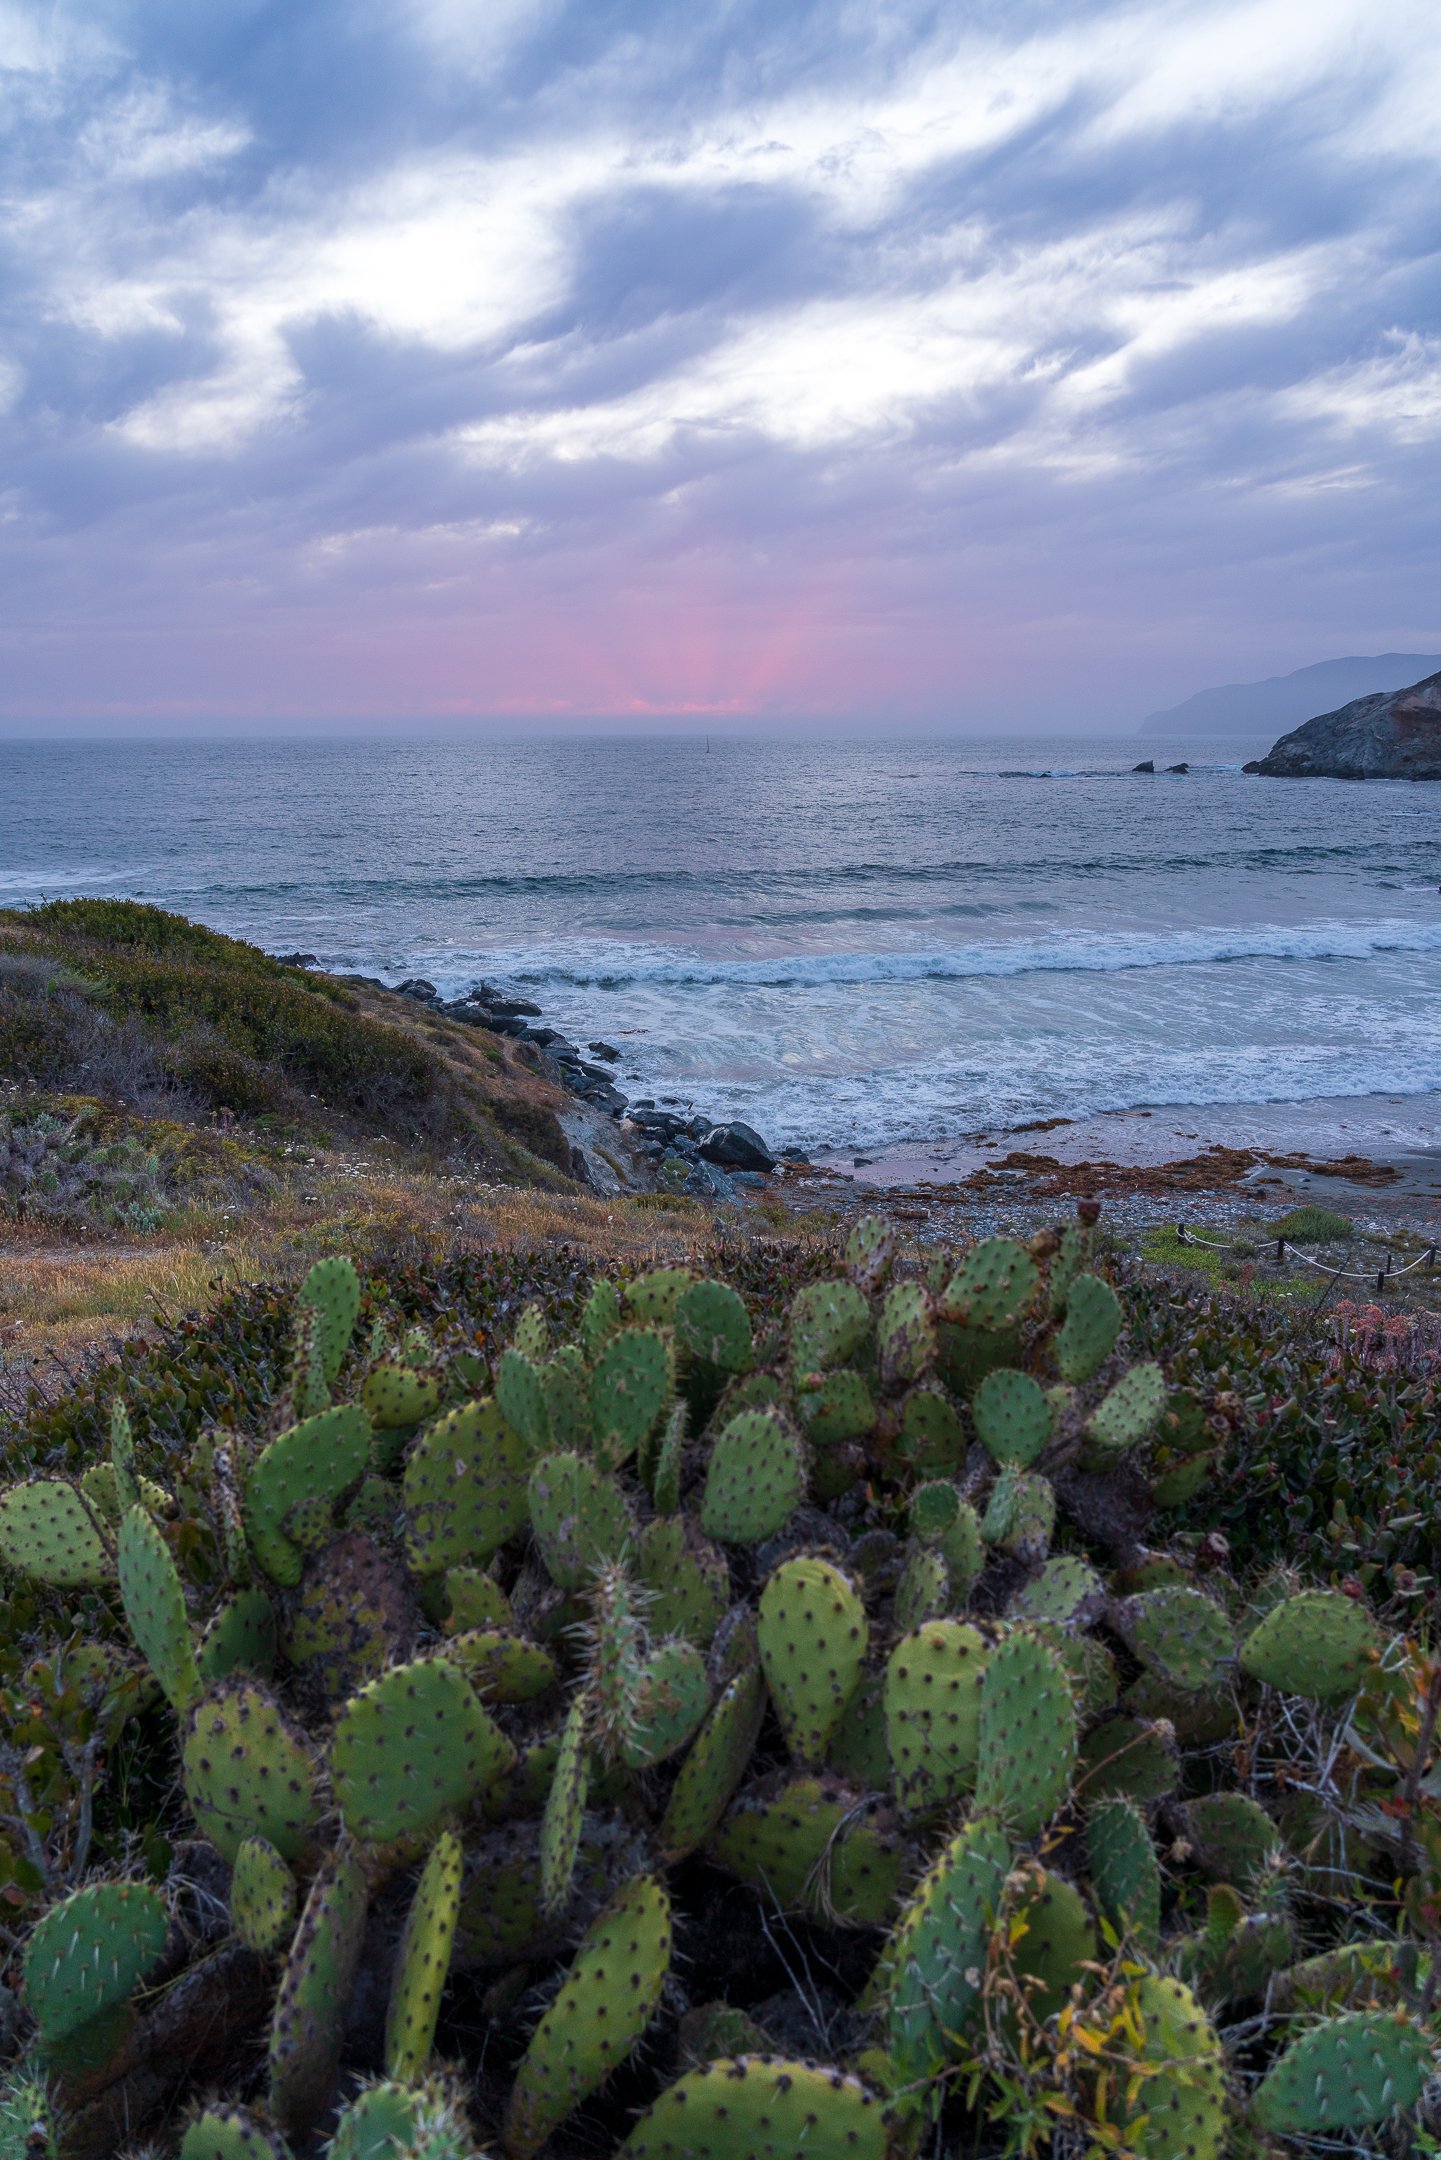
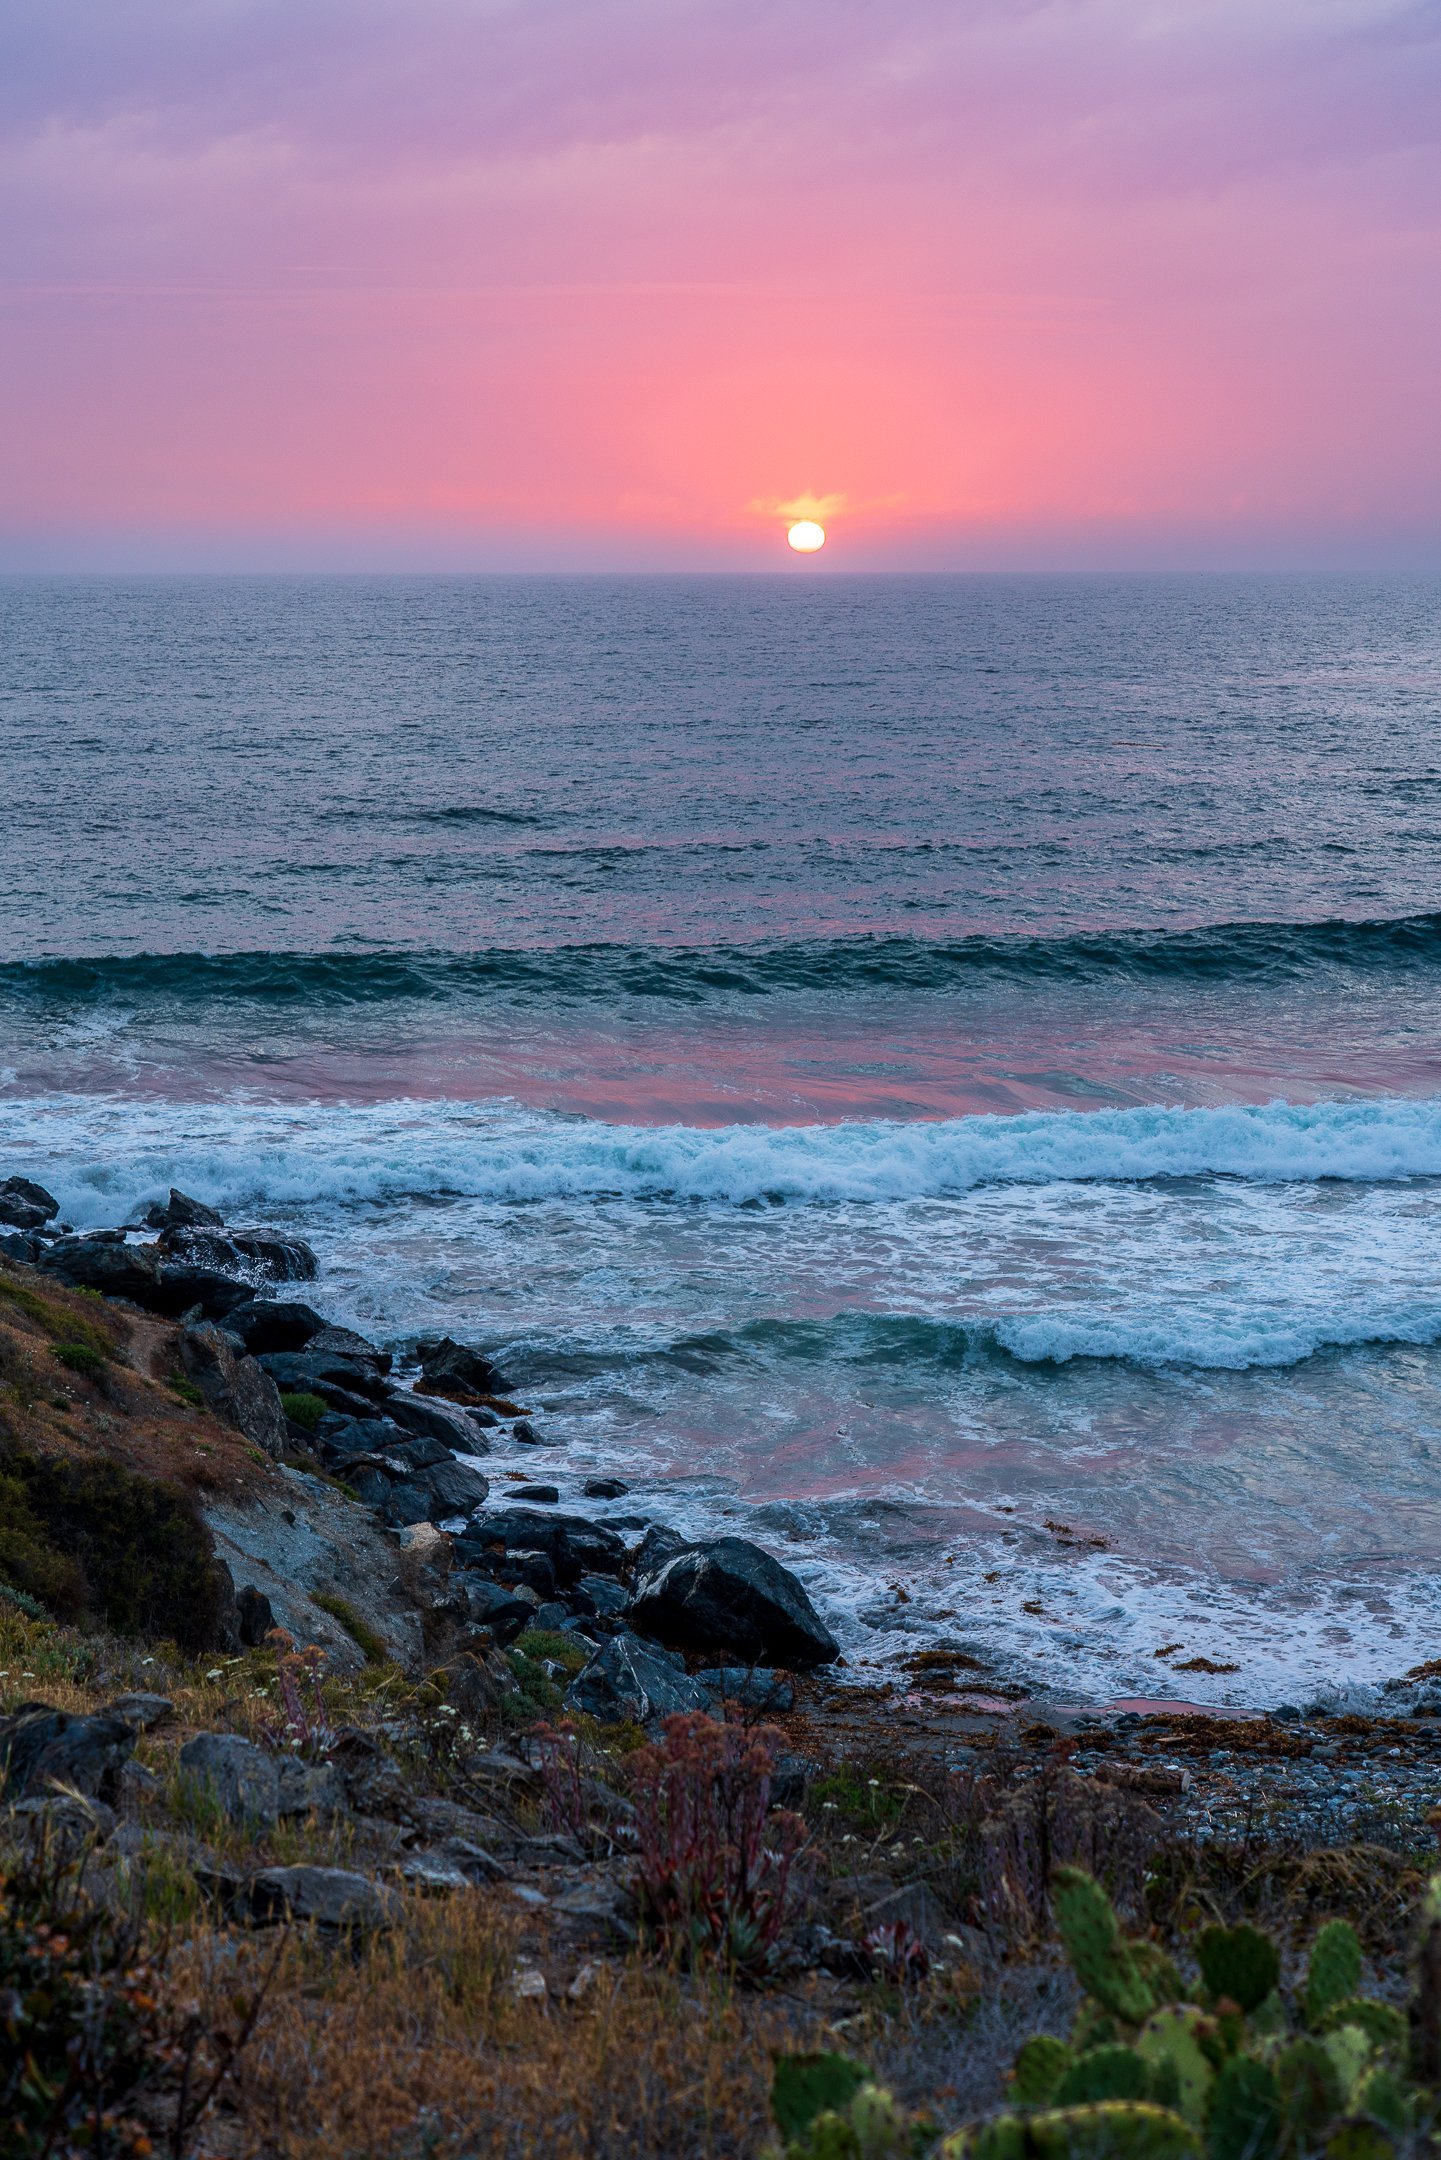
The weather on the TCT is generally sunny! So be sure to load up on sunscreen or wear sun-protective clothing. It can also be very hot, and with very limited shade, some people bring sun umbrellas to create shade on the go. You can buy a great sun umbrella HERE! It’s only 6.6 oz and definitely worth it if the forecast is HOT. Heat means you should be extra vigilant about heat exhaustion and heat stroke! There are no natural water sources on this trail, so you must be careful about packing enough water, especially on very hot days.
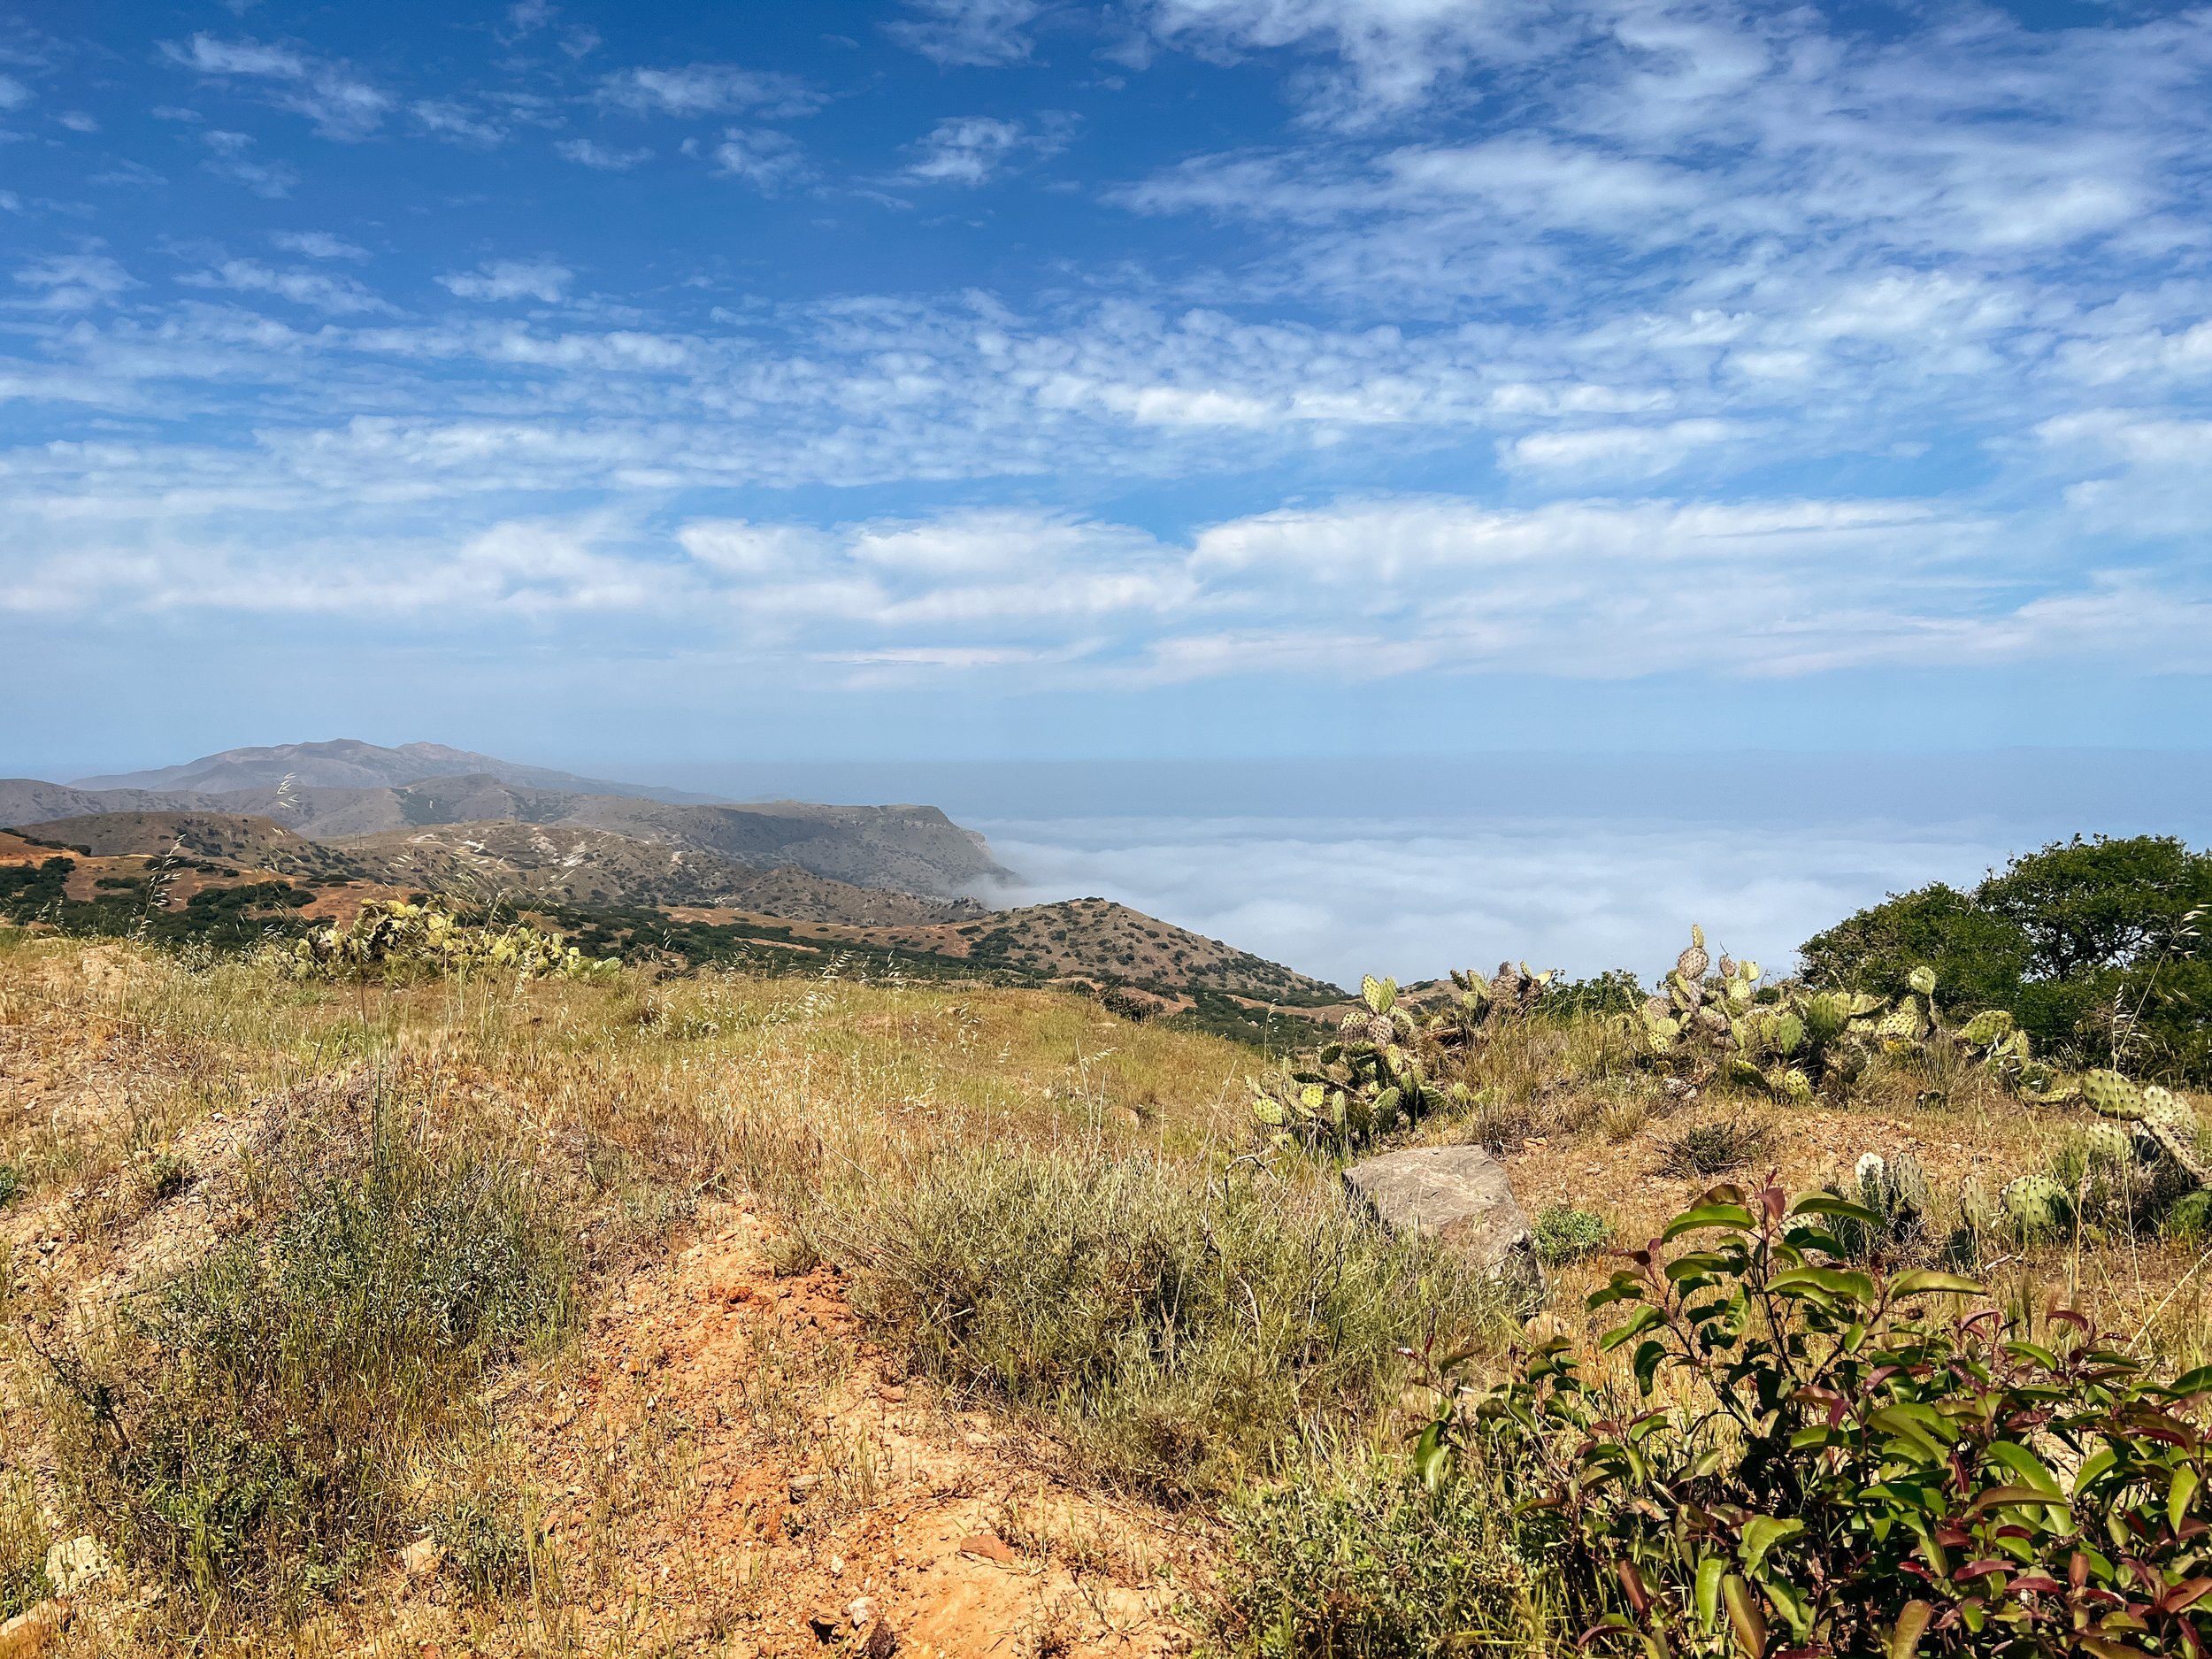
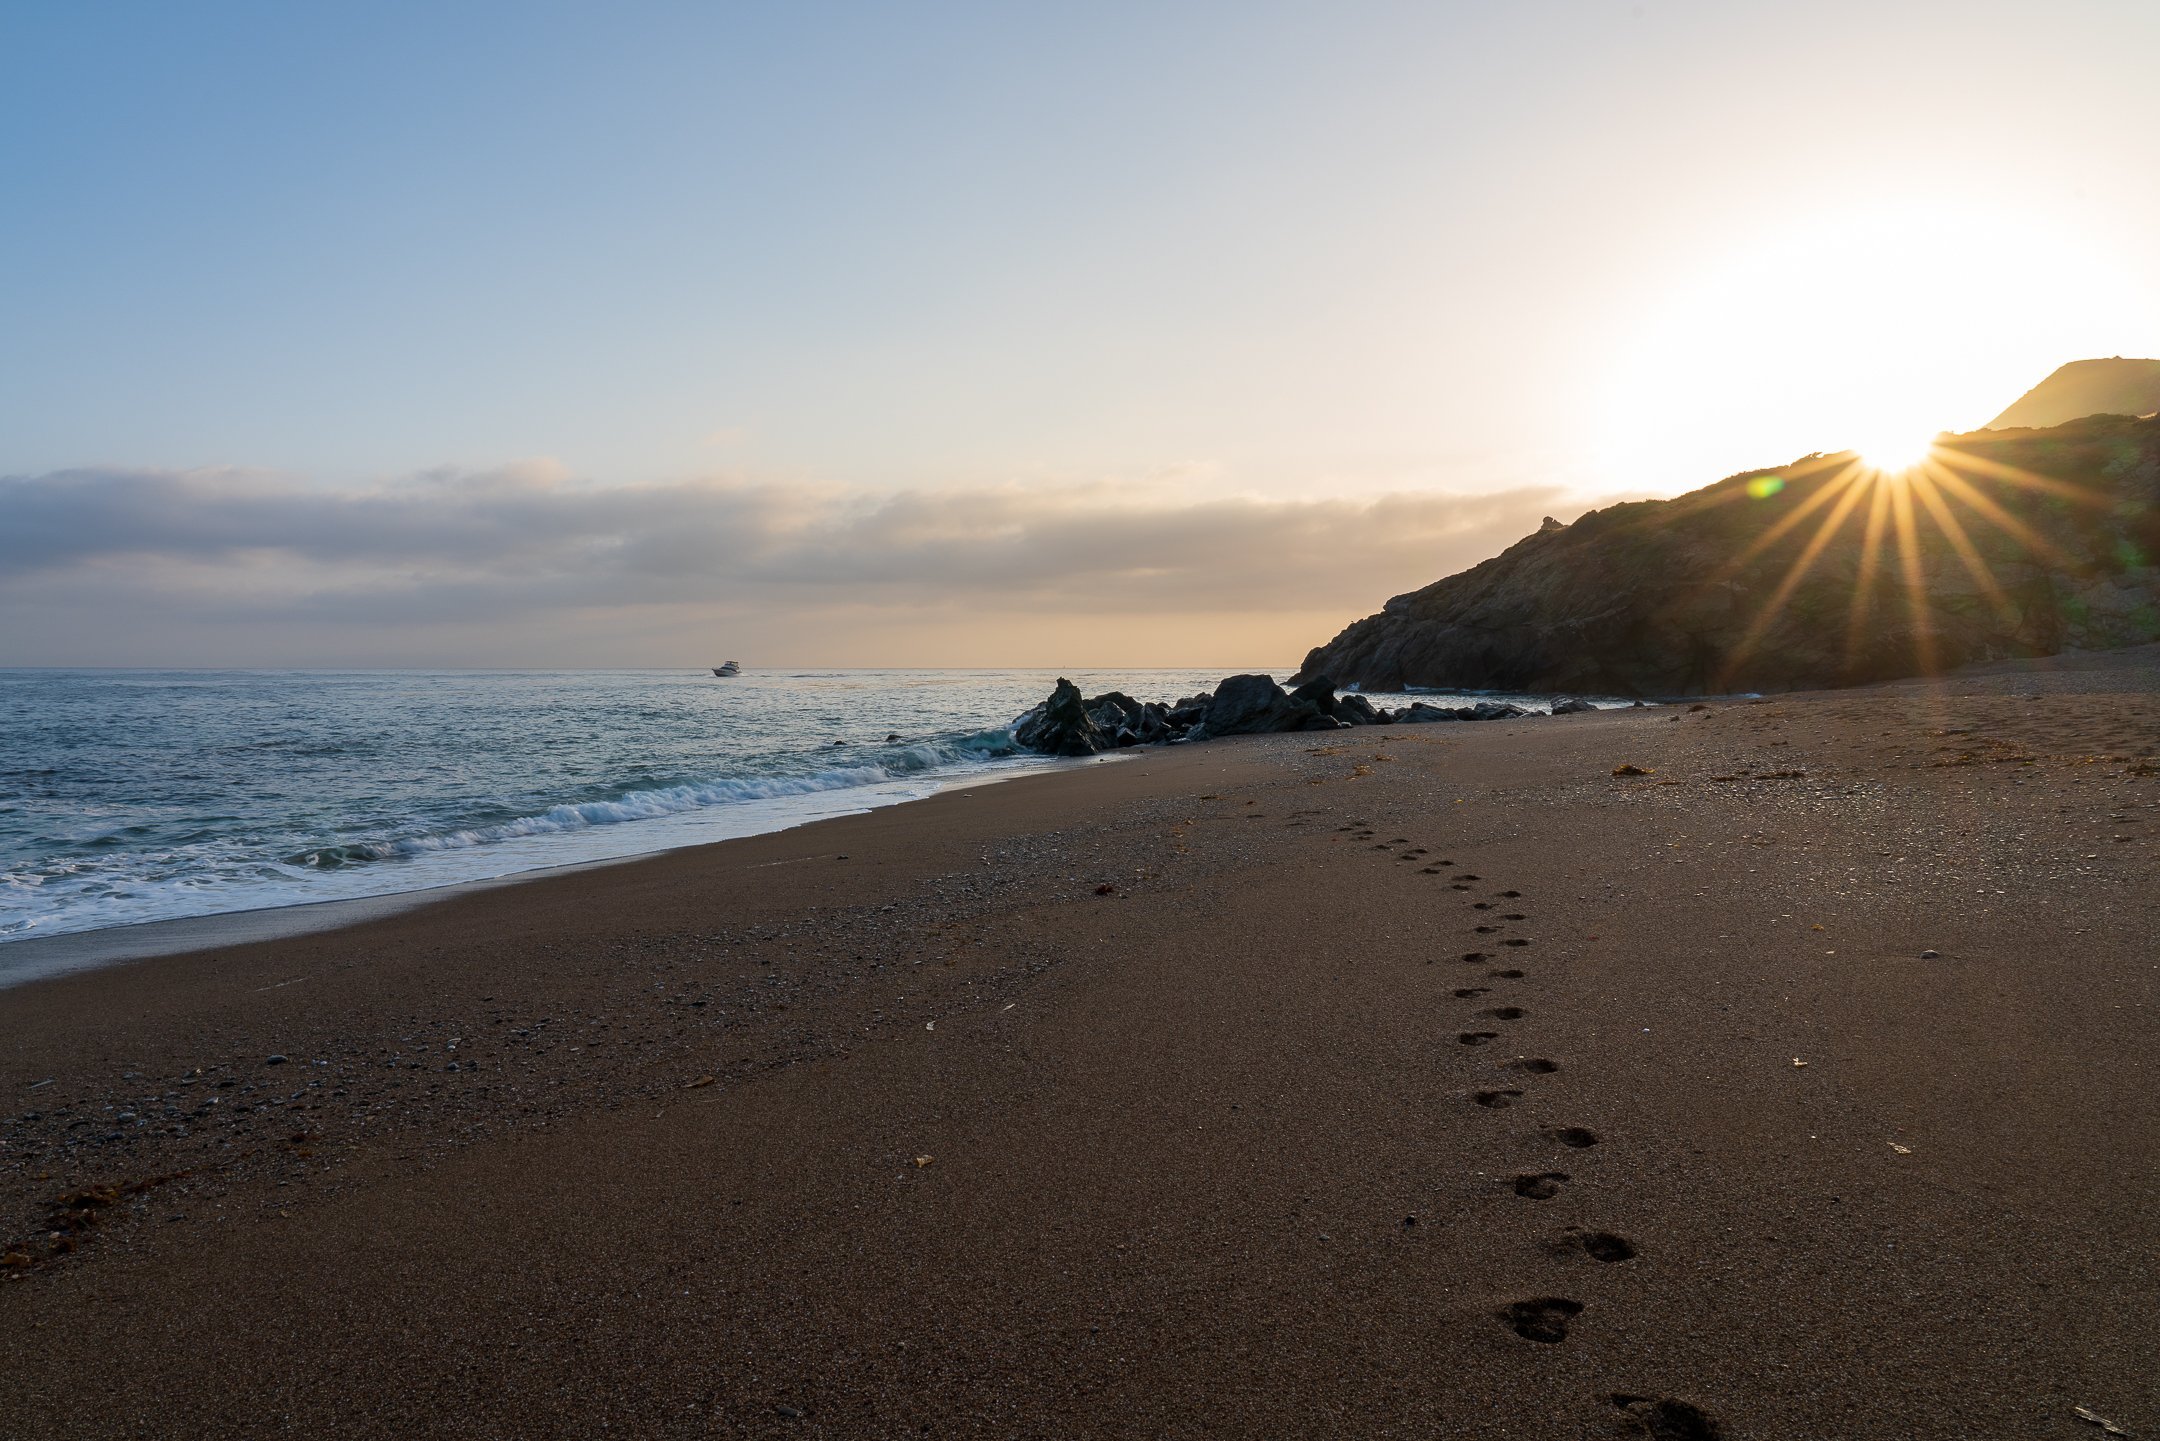
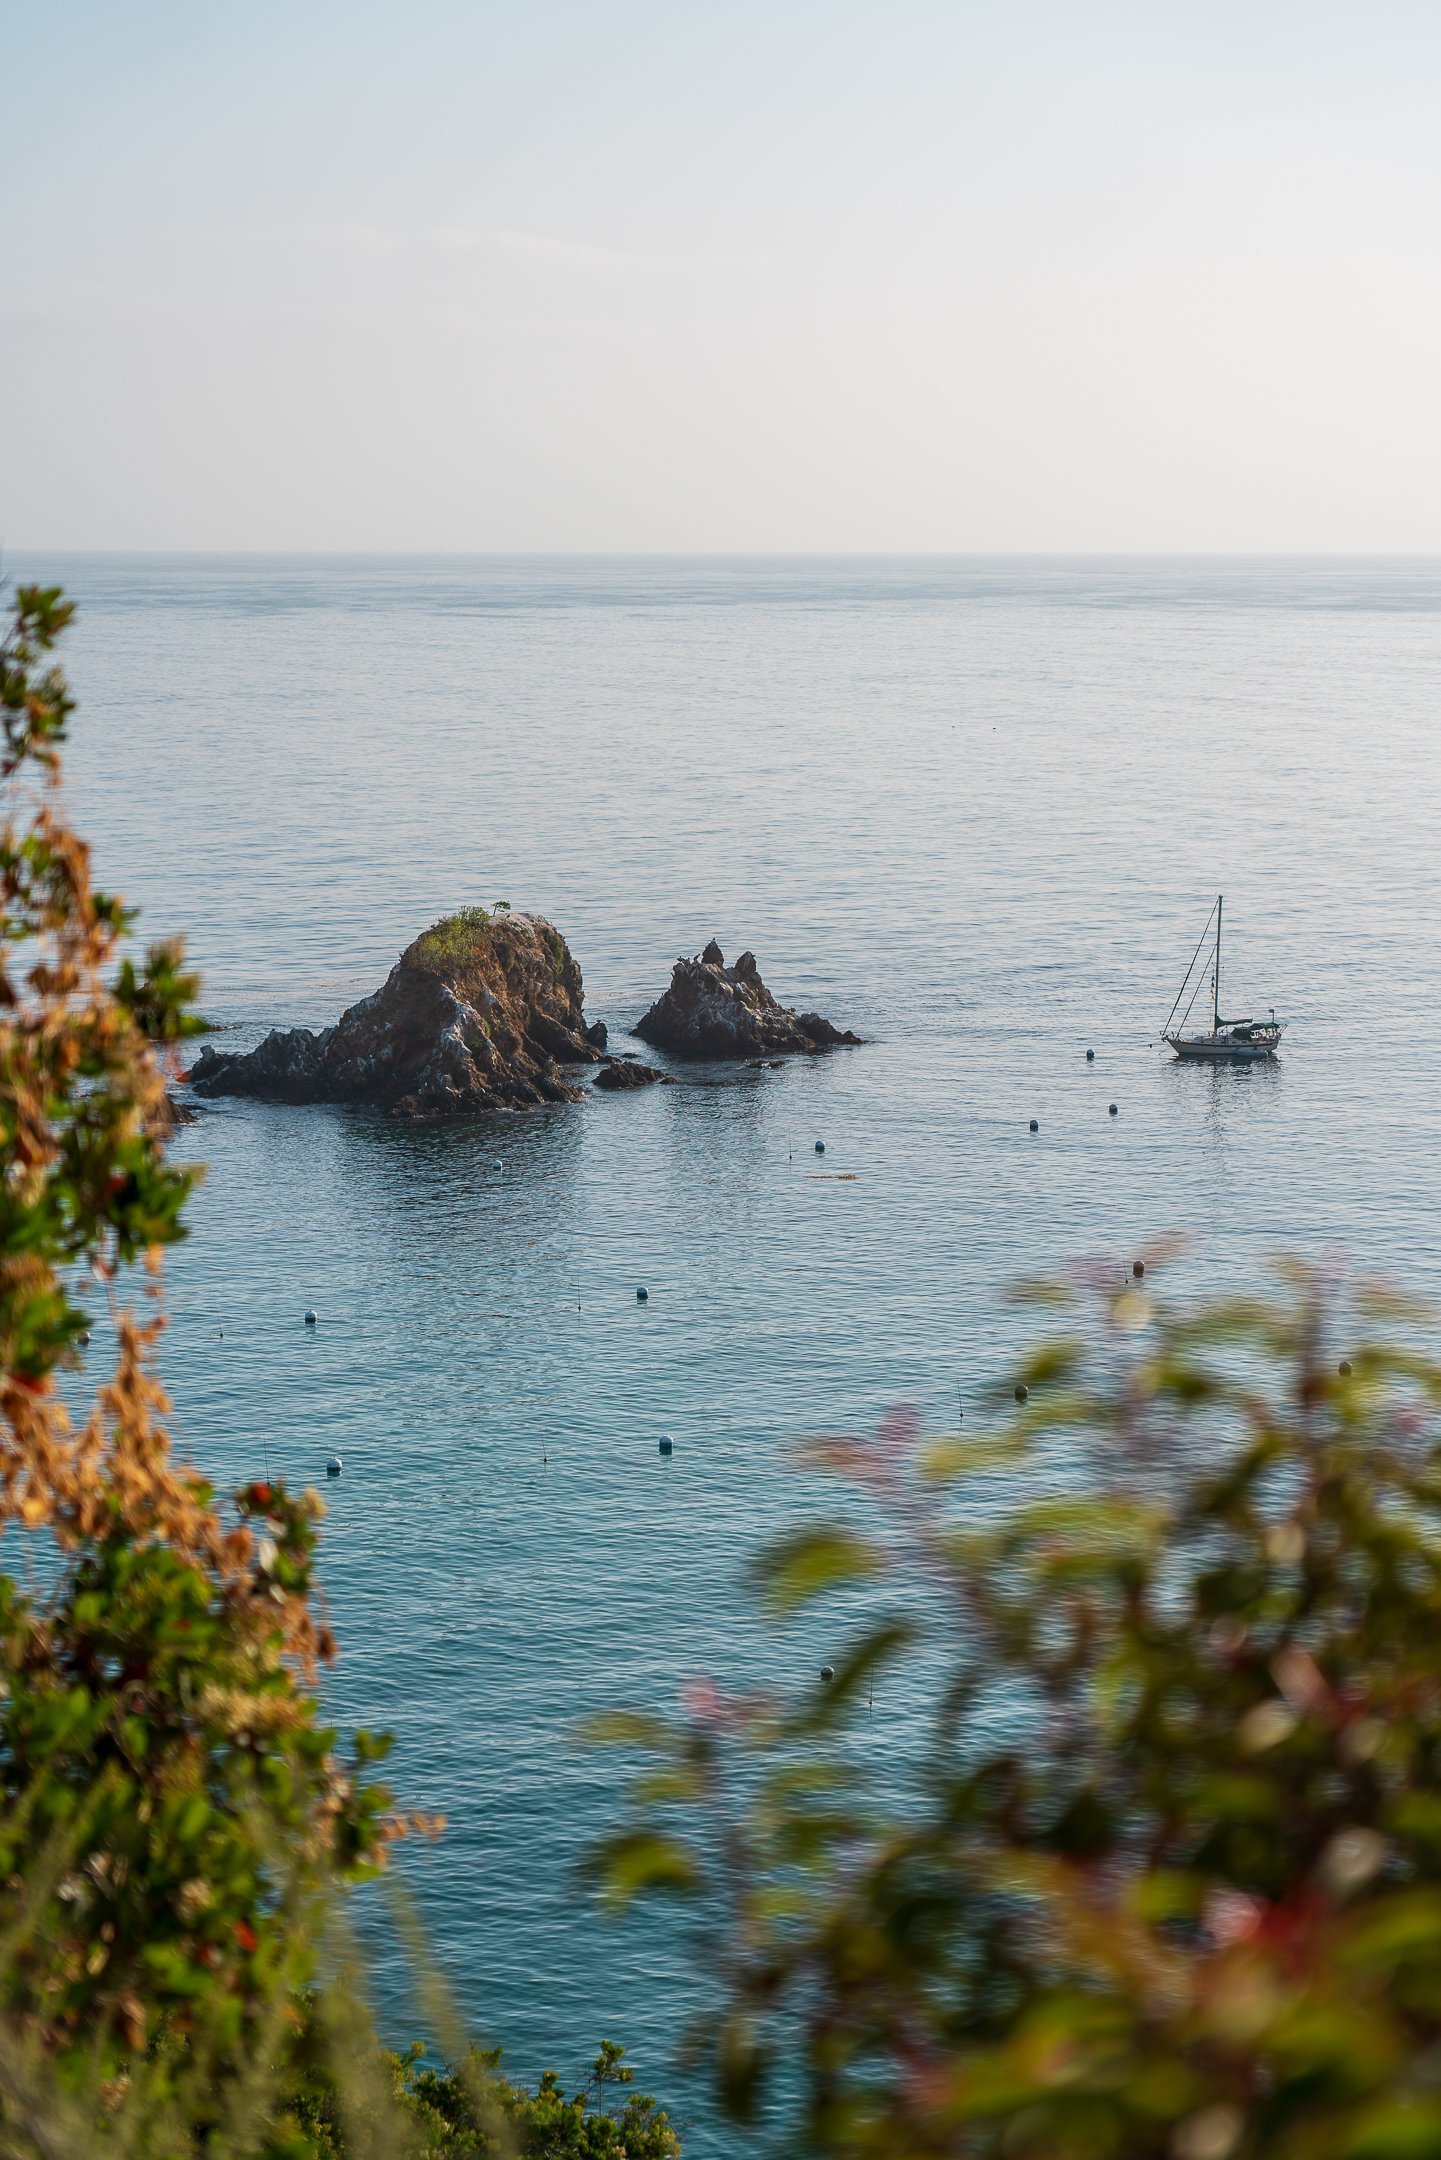
That being said, it’s an island in the Pacific Ocean. Gusty winds are common, especially at Parson’s Landing camp and on ridgelines. Fog can roll in - causing your tent to get soaked without it actually raining.
Basically, the weather is something you should prepare for on this trail! You can expect pretty much anything, except snow.
I had all of these conditions in one day on the trail (and just imagine the foggy ones drizzling and windy!):
Water Availability
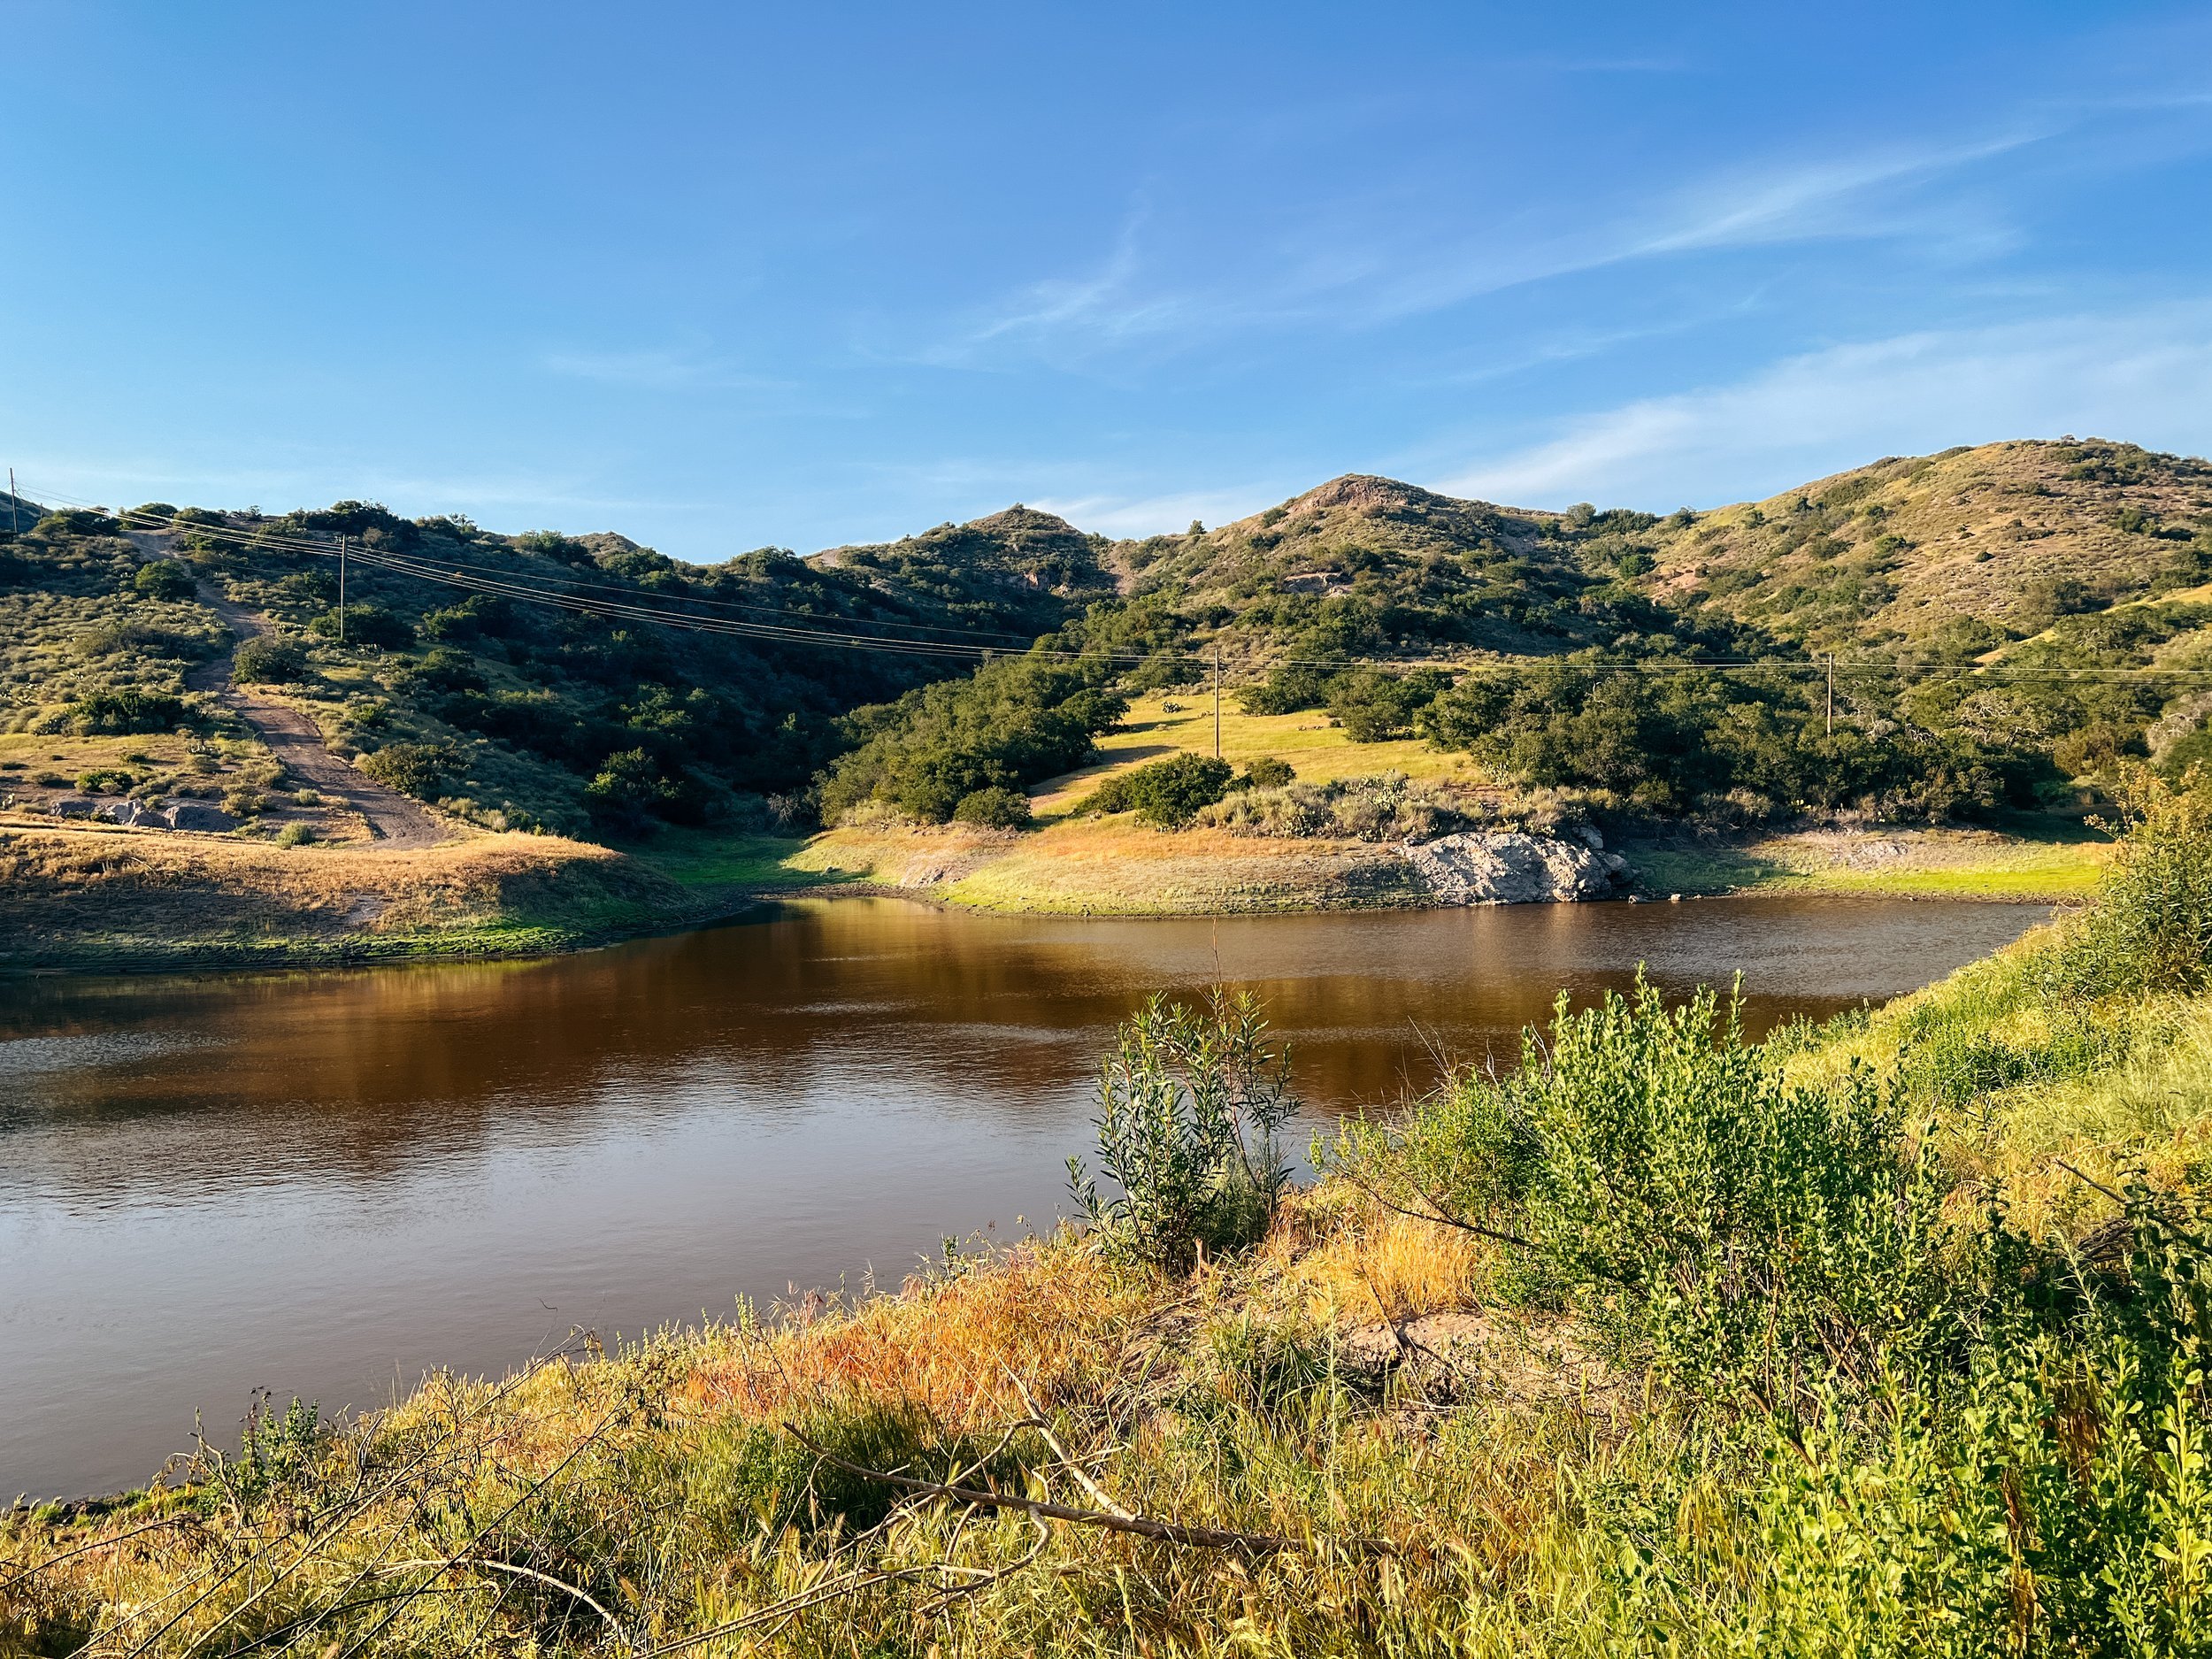
I mentioned it earlier, but there are no natural water sources on this trail. Well, there was one really gross pond at a playground… that also had a spigot! The only places to get water are at campsites and establishments in town.
There is one water spigot between Avalon and Blackjack Campground on Day 1 that should not be missed, but otherwise, that’s it! The nice thing is you don’t need to worry about carrying a water filter - just always fill up at every water source. At Parson’s Landing, there isn’t a spigot. Instead, you must pay for a locker with 2 gallons of water in it.
Animals
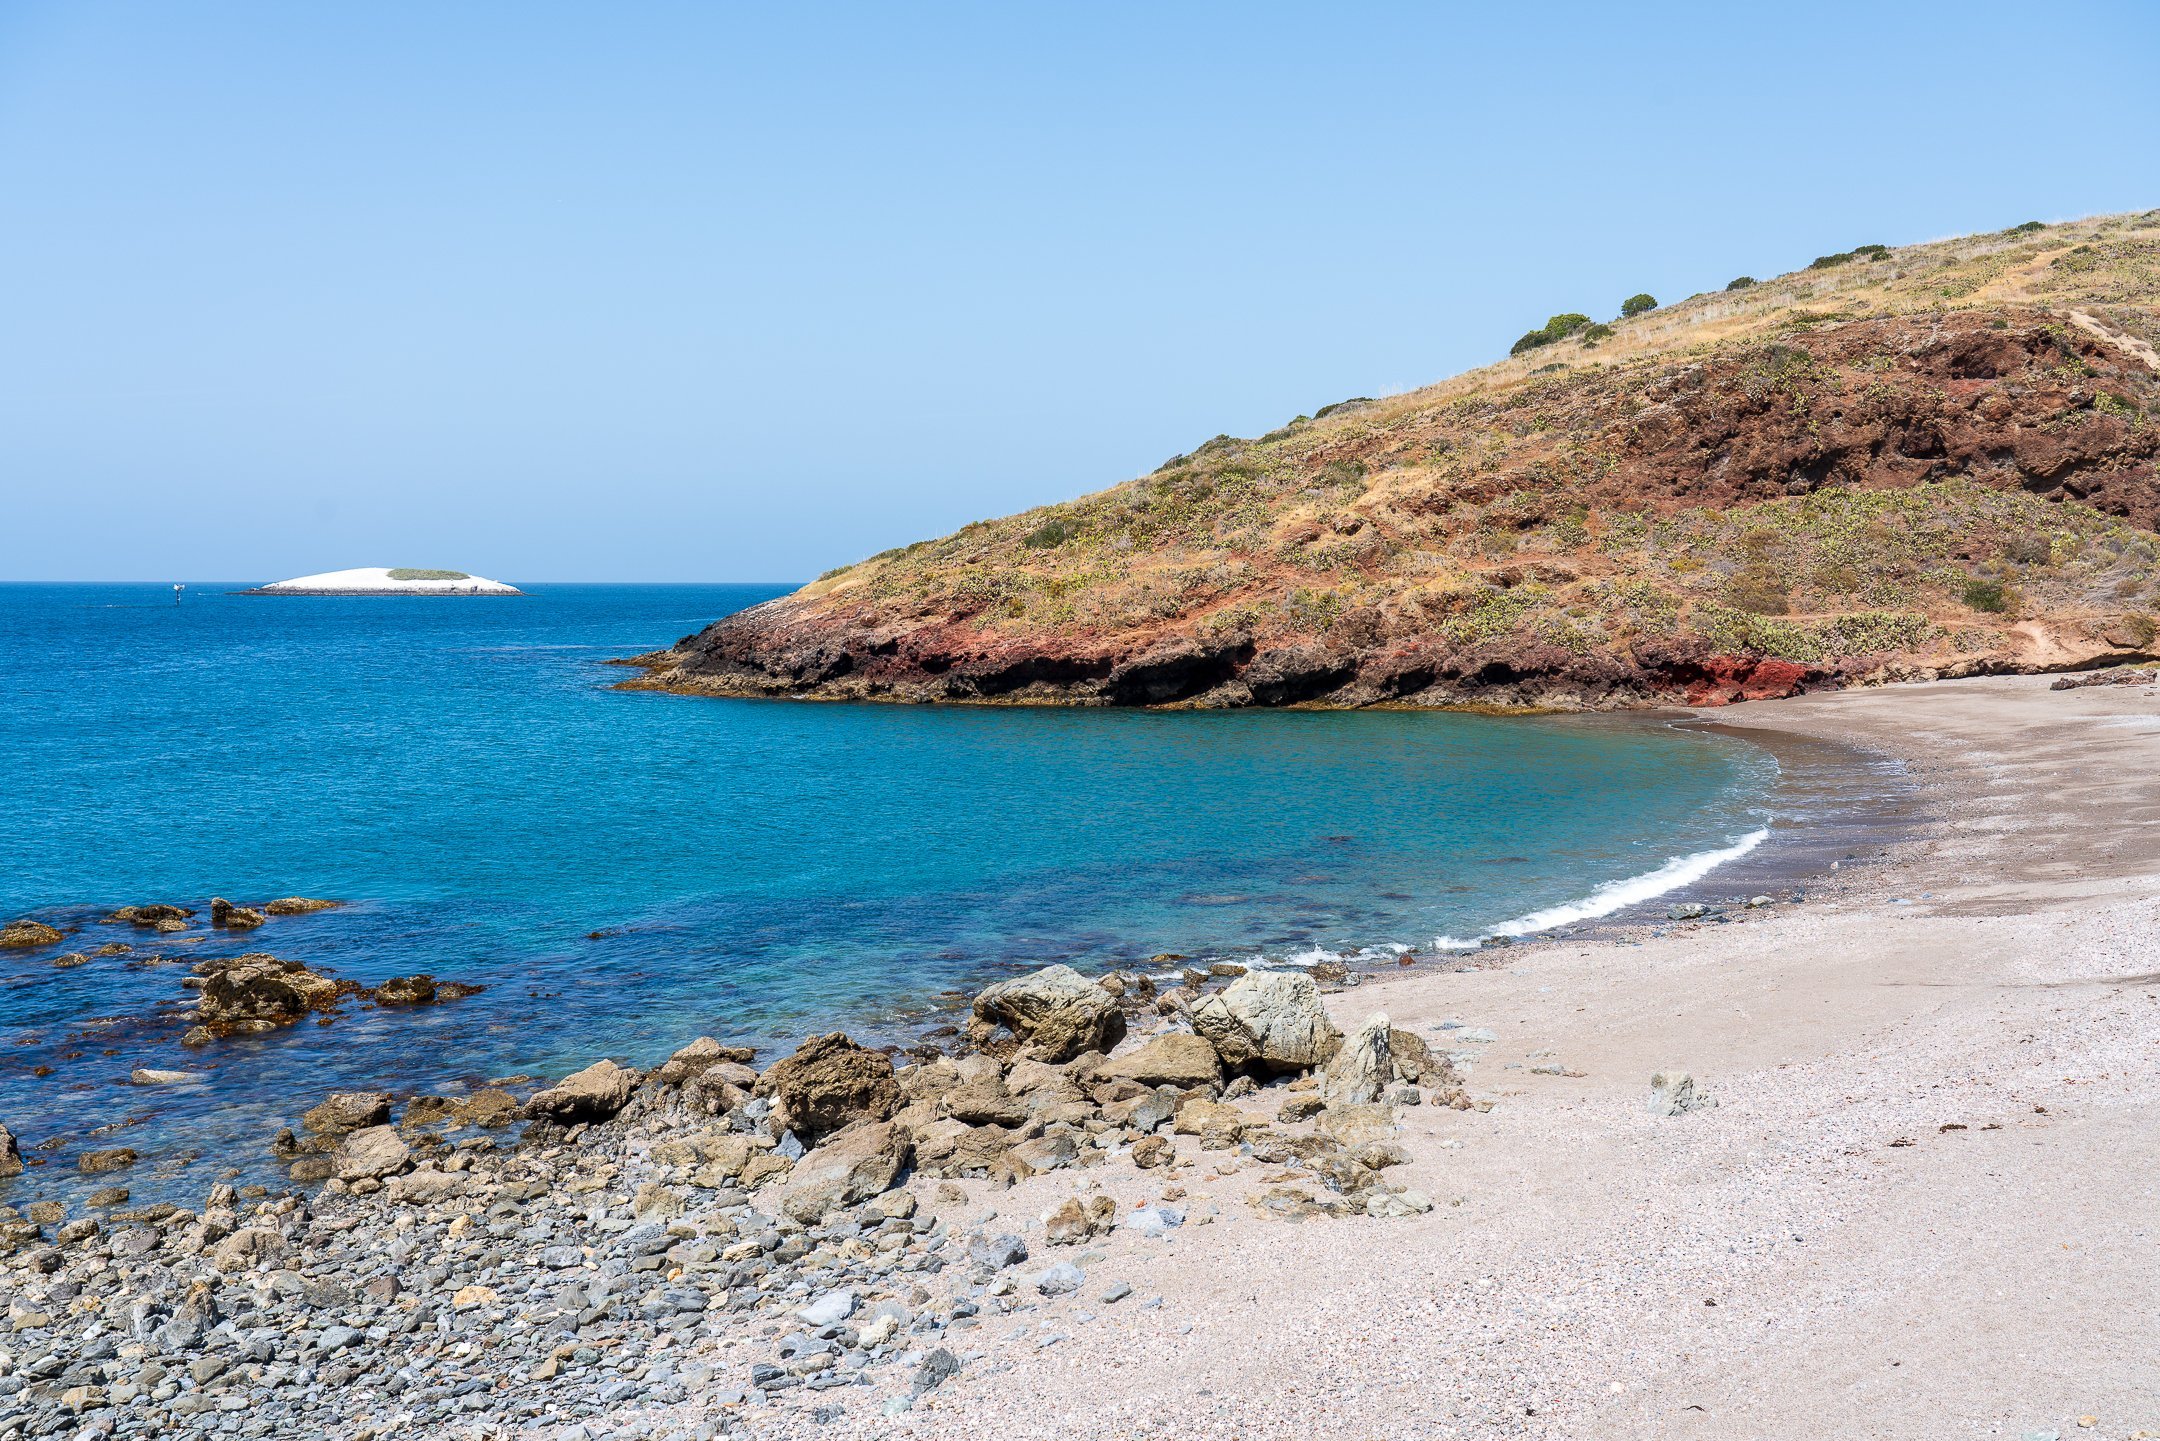
There is so much biodiversity on Catalina Island, even if you don’t realize it. The unique coastal desert landscape is pretty amazing. The two most exciting animals on the island are the bison that were brought over to make a film and the native island fox. We were lucky enough to see both of them!
This should go without saying, but just because the bison were brought over at one point does not mean that they’re domesticated animals in any way. Treat them like any other wild animal and give them plenty of space.
The Catalina Island Fox is really tiny! I wasn’t entirely sure what to expect - I had never seen a fox in person before. But this fox was super small - I’d say about the size of a house cat! We saw one scurrying around at the Two Harbors camp, and another on the road walk between Parson’s and Two Harbors. I was not able to get good pictures of either. They were fast and tiny!


Towns
“Towns” might be too generous of a distinction for these little communities on the island. But, in thru-hiking lingo, “town” really just refers to a place where you can do chores and resupply! There are three spots where you enter civilization on this hike. Avalon, Airport in the Sky, and Two Harbors.
Avalon
Avalon is the biggest town on the island. It is a major tourist hot spot. There are tons of bars and restaurants, and little souvenir shops. There are also plenty of small hotels in this area too, and the vast majority of the inhabitants on the island live here. Importantly for hikers, there is a small Vons grocery store for any last-minute snacks and a hardware store where you may be able to buy fuel for your stove. The trail begins at the pier and walks right through Avalon to the Hermit Gulch campground, which is where the trail becomes an actual trail and not a road walk.


Airport in the Sky
As you might assume from the name, this is an airport! Helicopters and tiny planes come and go from this spot, located between the Blackjack and Little Harbor campgrounds. This isn’t really a town, but there are flush toilets, potable water, and most importantly: hot food! On our hike, we capitalized on eating real food in these towns, so we gorged ourselves on amazing breakfast burritos (they were actually really tasty), AND took food to-go for dinner that night.

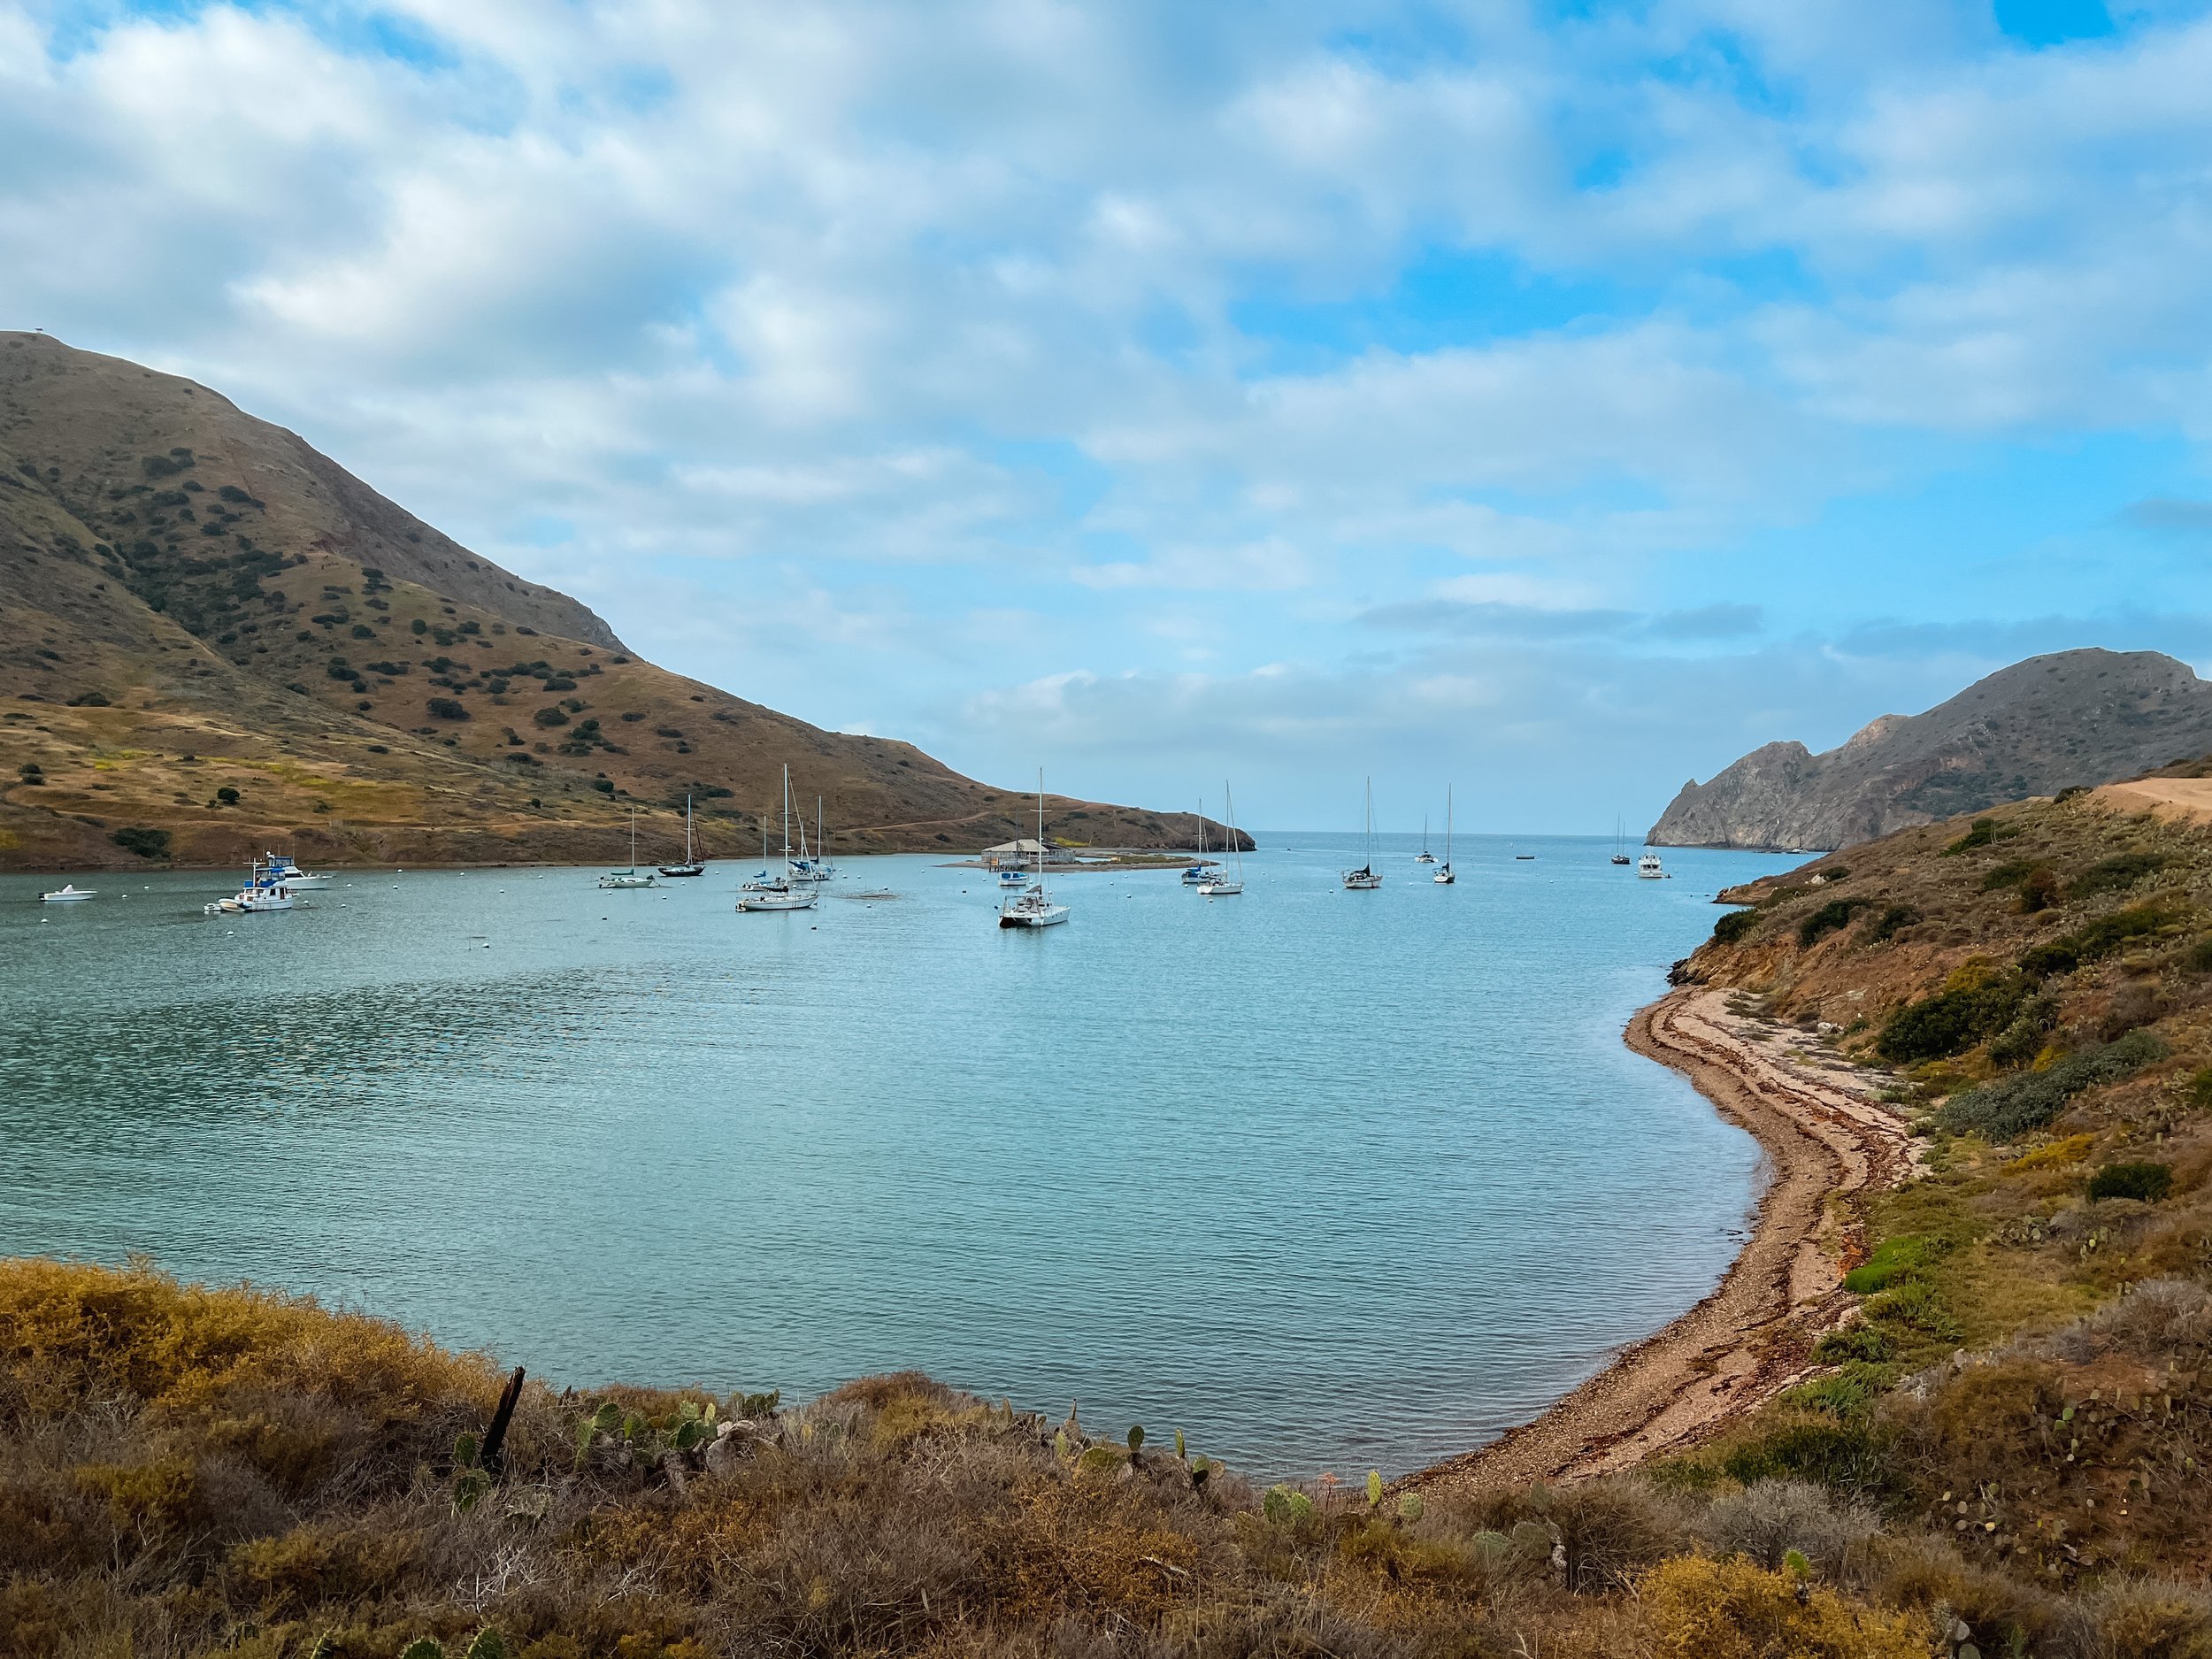
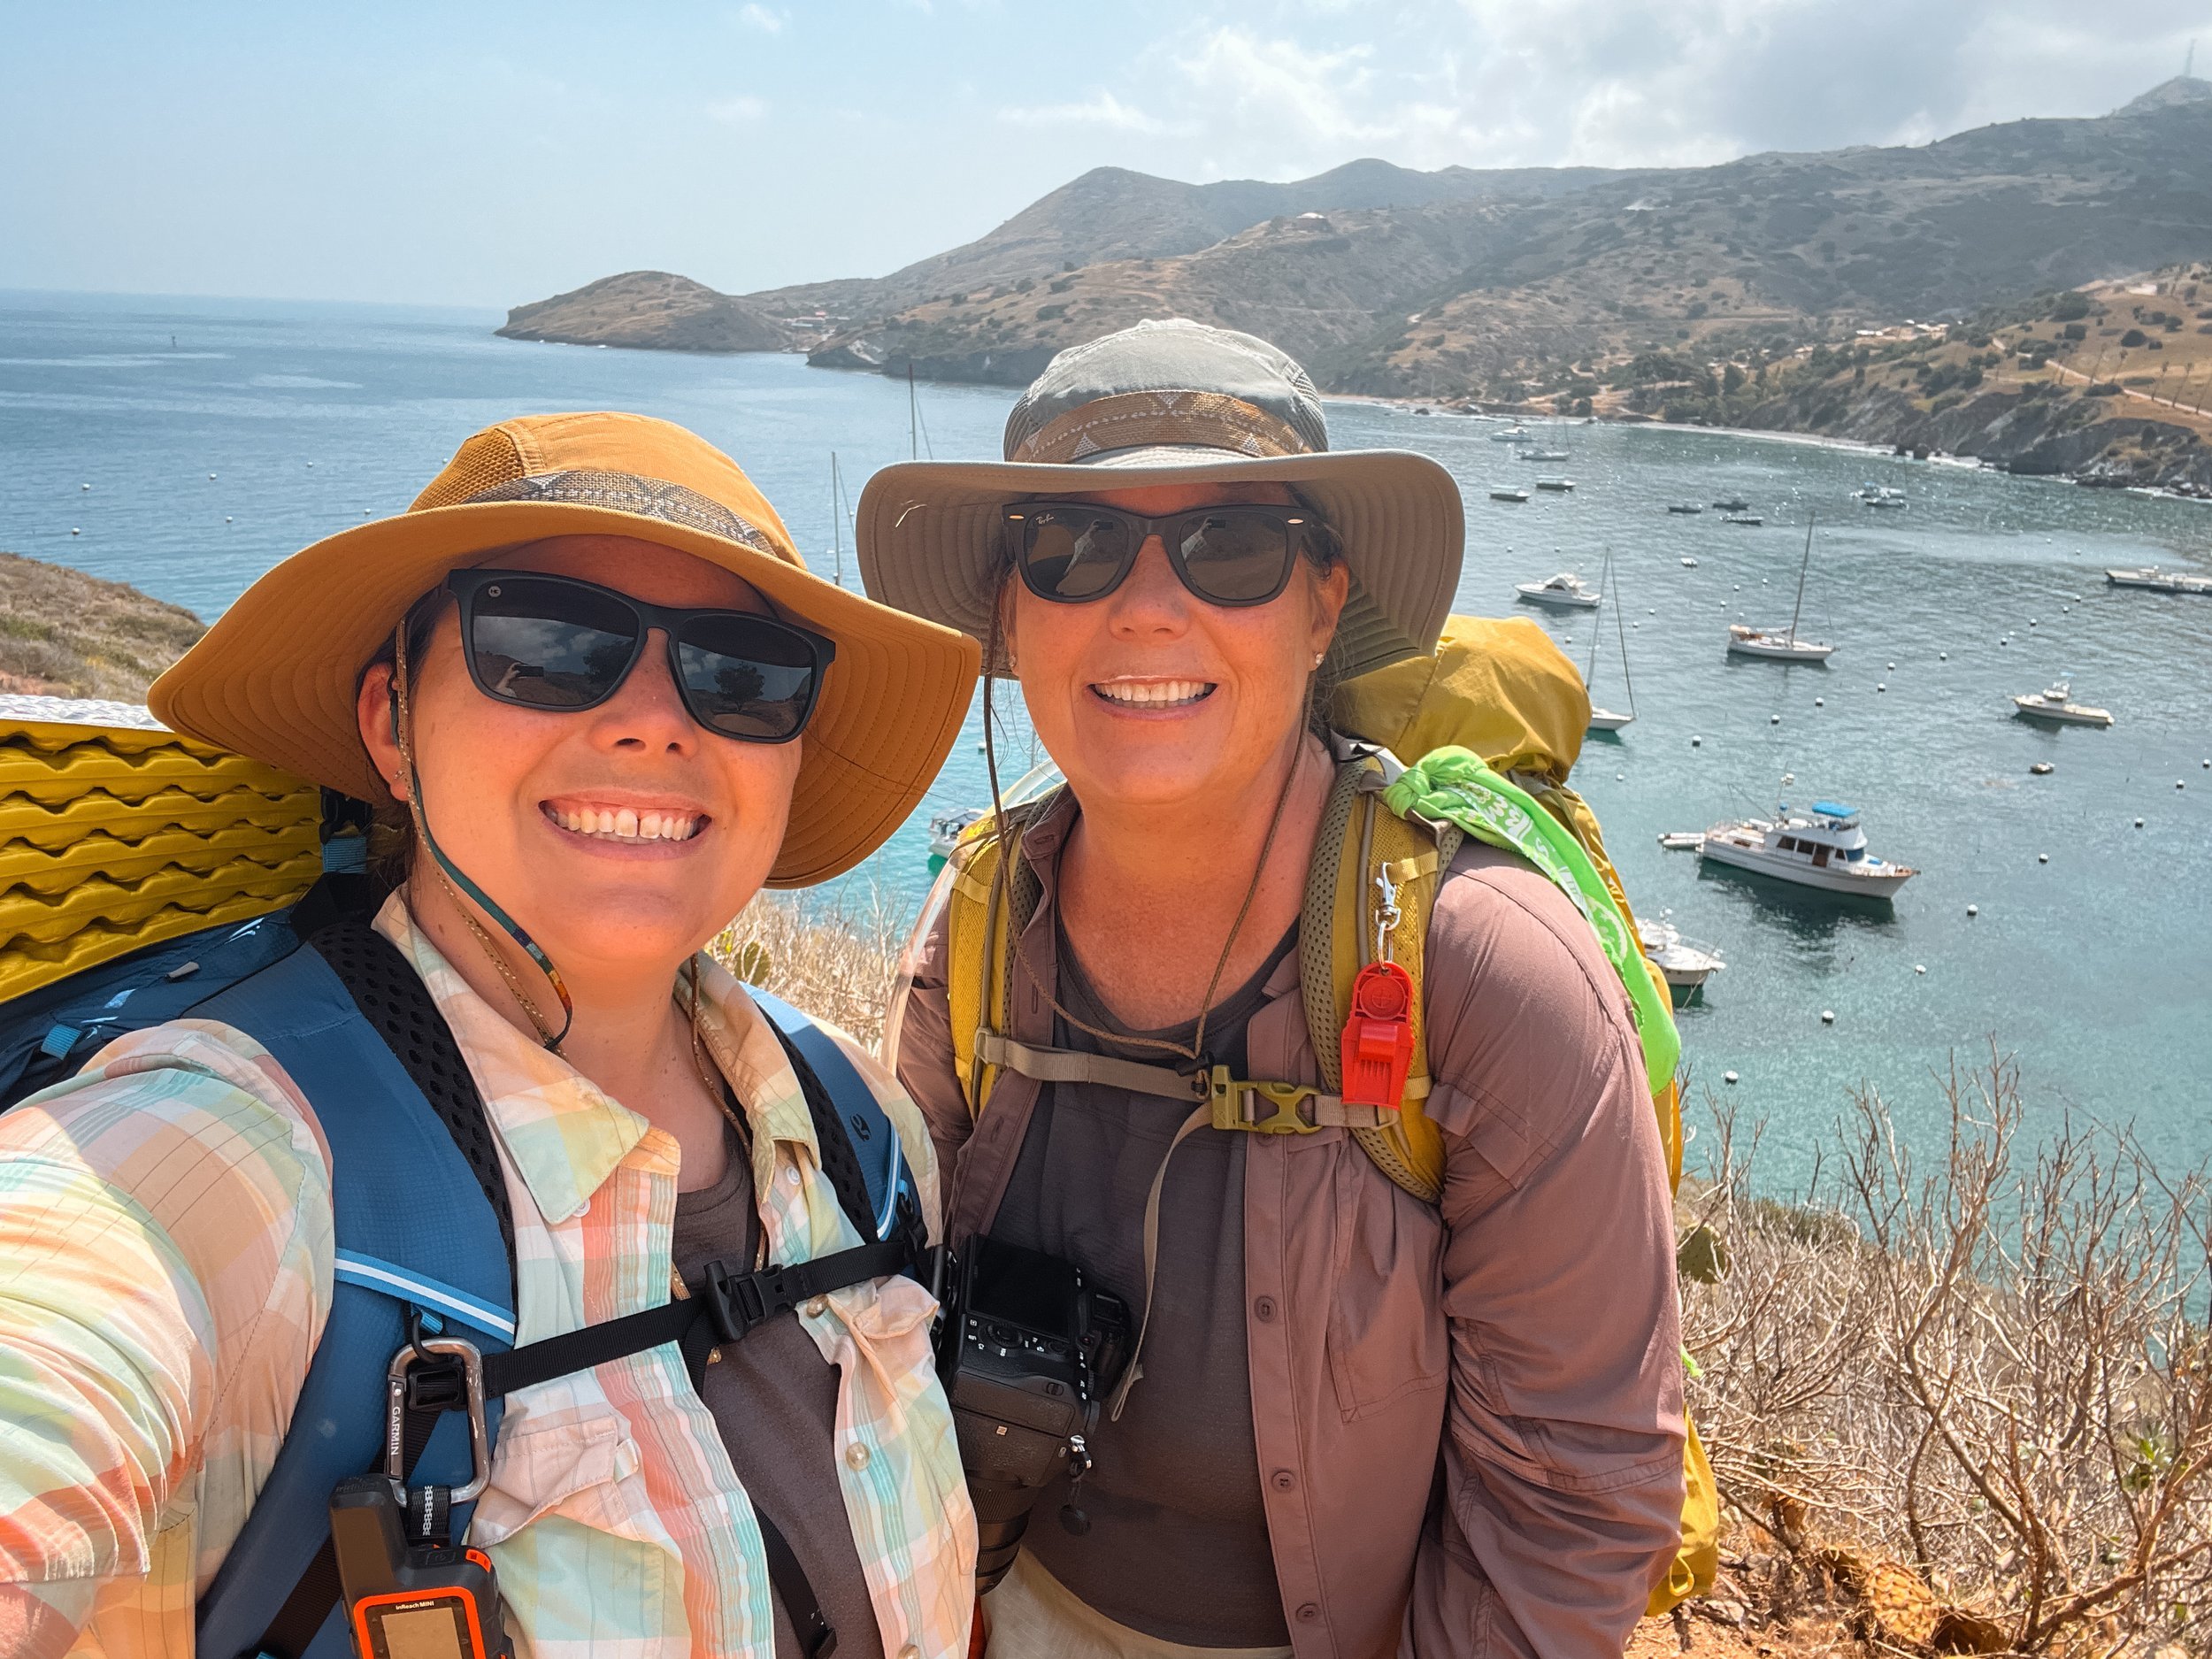
Two Harbors
Two Harbors is a kind-of town. There are residences, accommodations, a restaurant, a beach lounge, a general store, public restrooms and coin showers, and the Two Harbors campground. It’s pretty sleepy, and there’s not a lot of activity, especially compared to Avalon. There is also a ferry terminal with routes to Avalon and San Pedro.

Two Harbors Campground with Two Harbors in the distance.
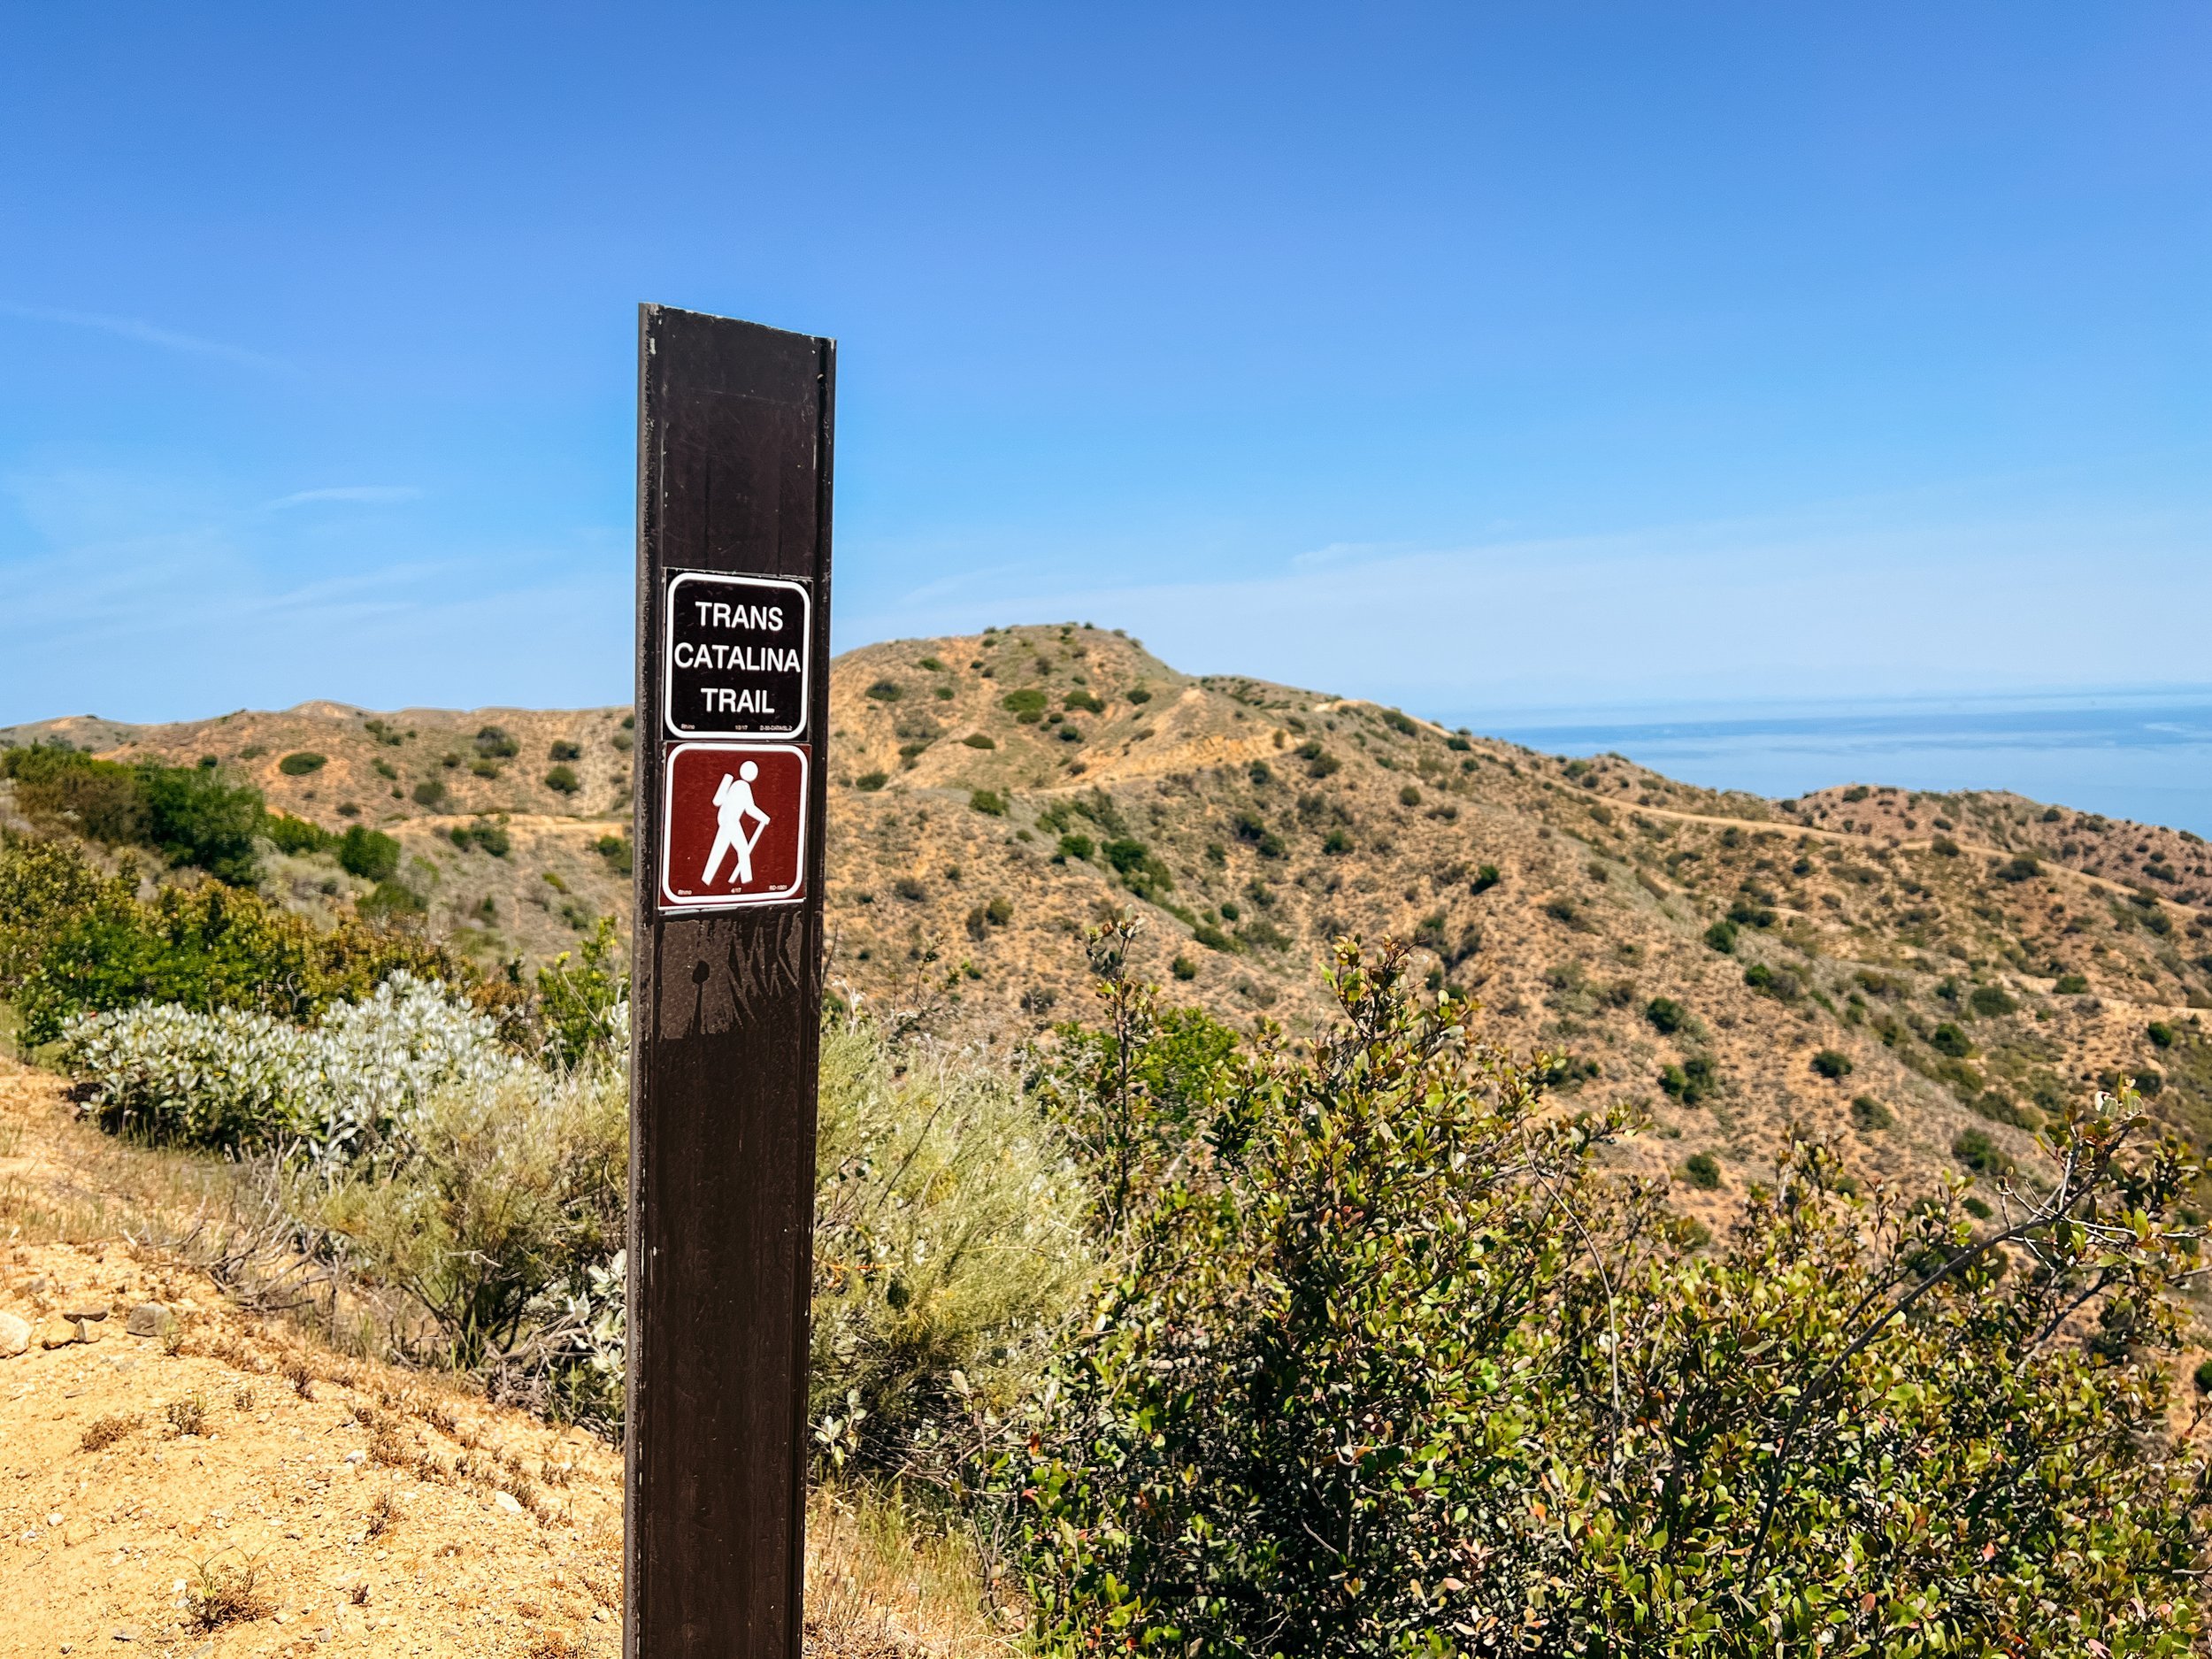
Maps and Trail Guides
I’m a FarOut (formerly Guthooks) fangirl, so if there’s a trail guide, I’m pretty much always going to buy it. So I did buy it for this hike. Honestly, I didn’t use it a ton, but it did have some helpful comments about towns and the crustiness of some pit toilets. I love using FarOut for tracking elevation gain on climbs, so I’d buy it again, but it’s definitely not a necessity to have. If you’re a thru-hiker who has used the guides for other trails before though, you’d probably like to have it.
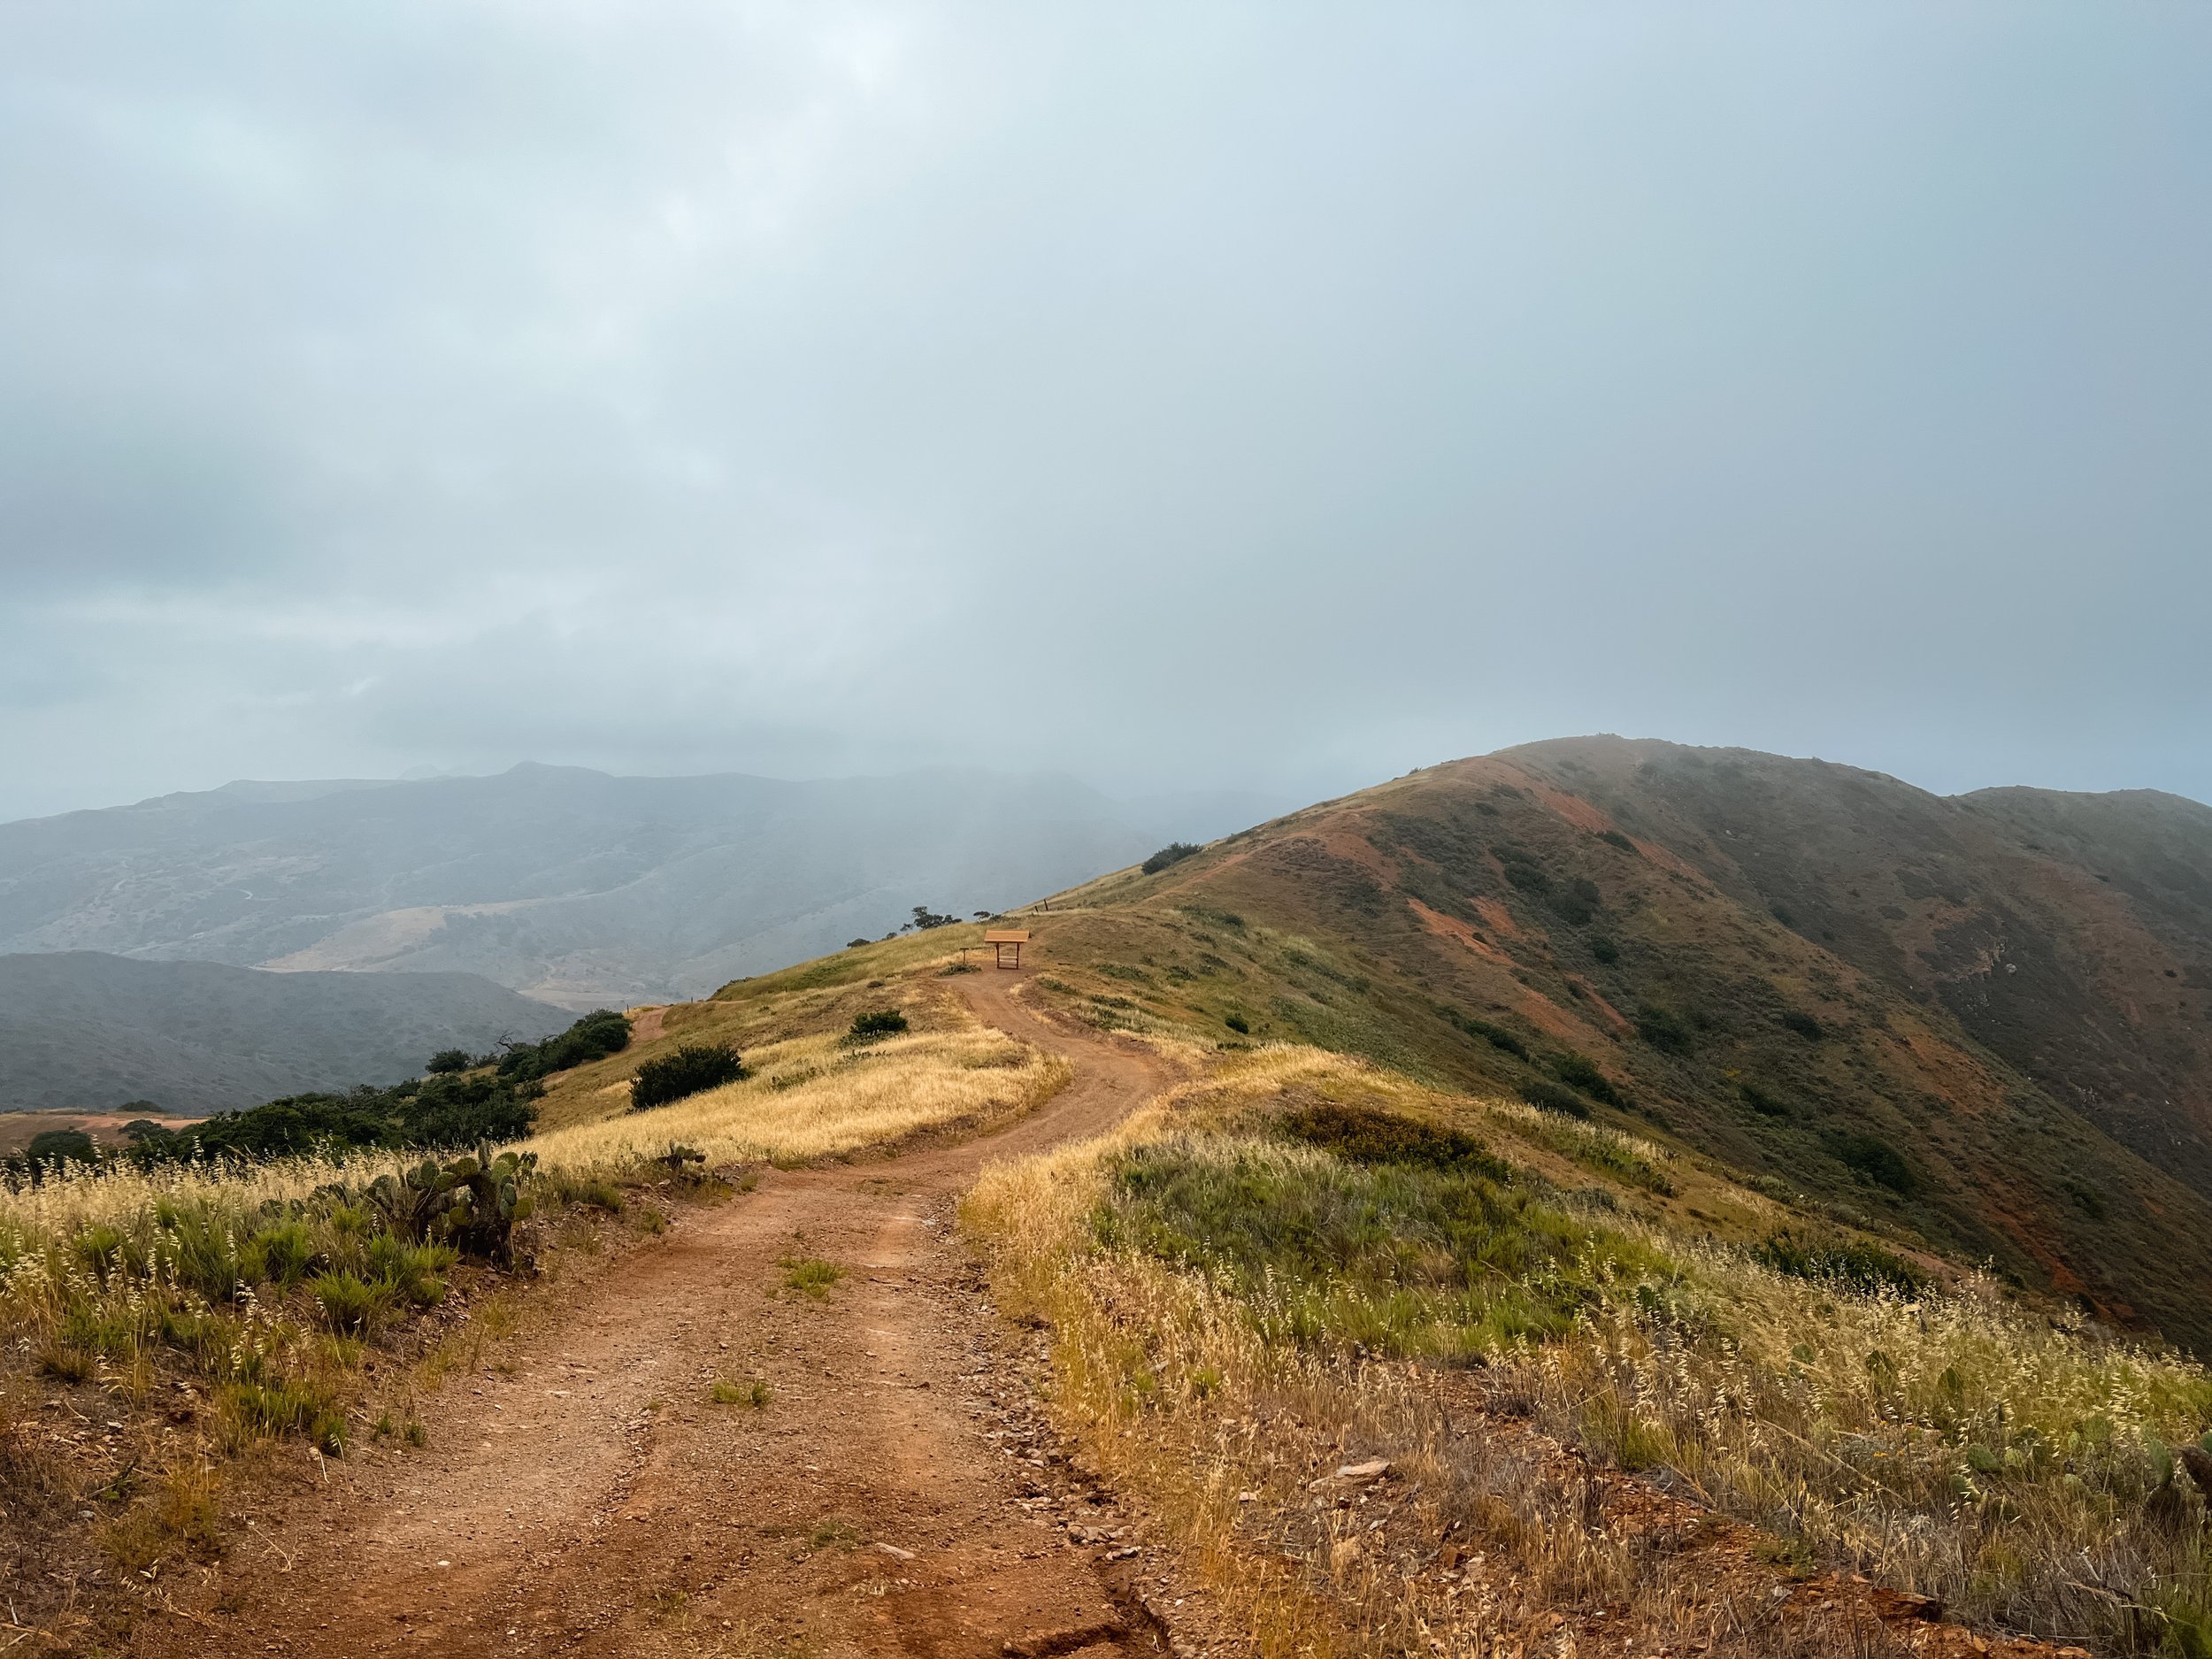
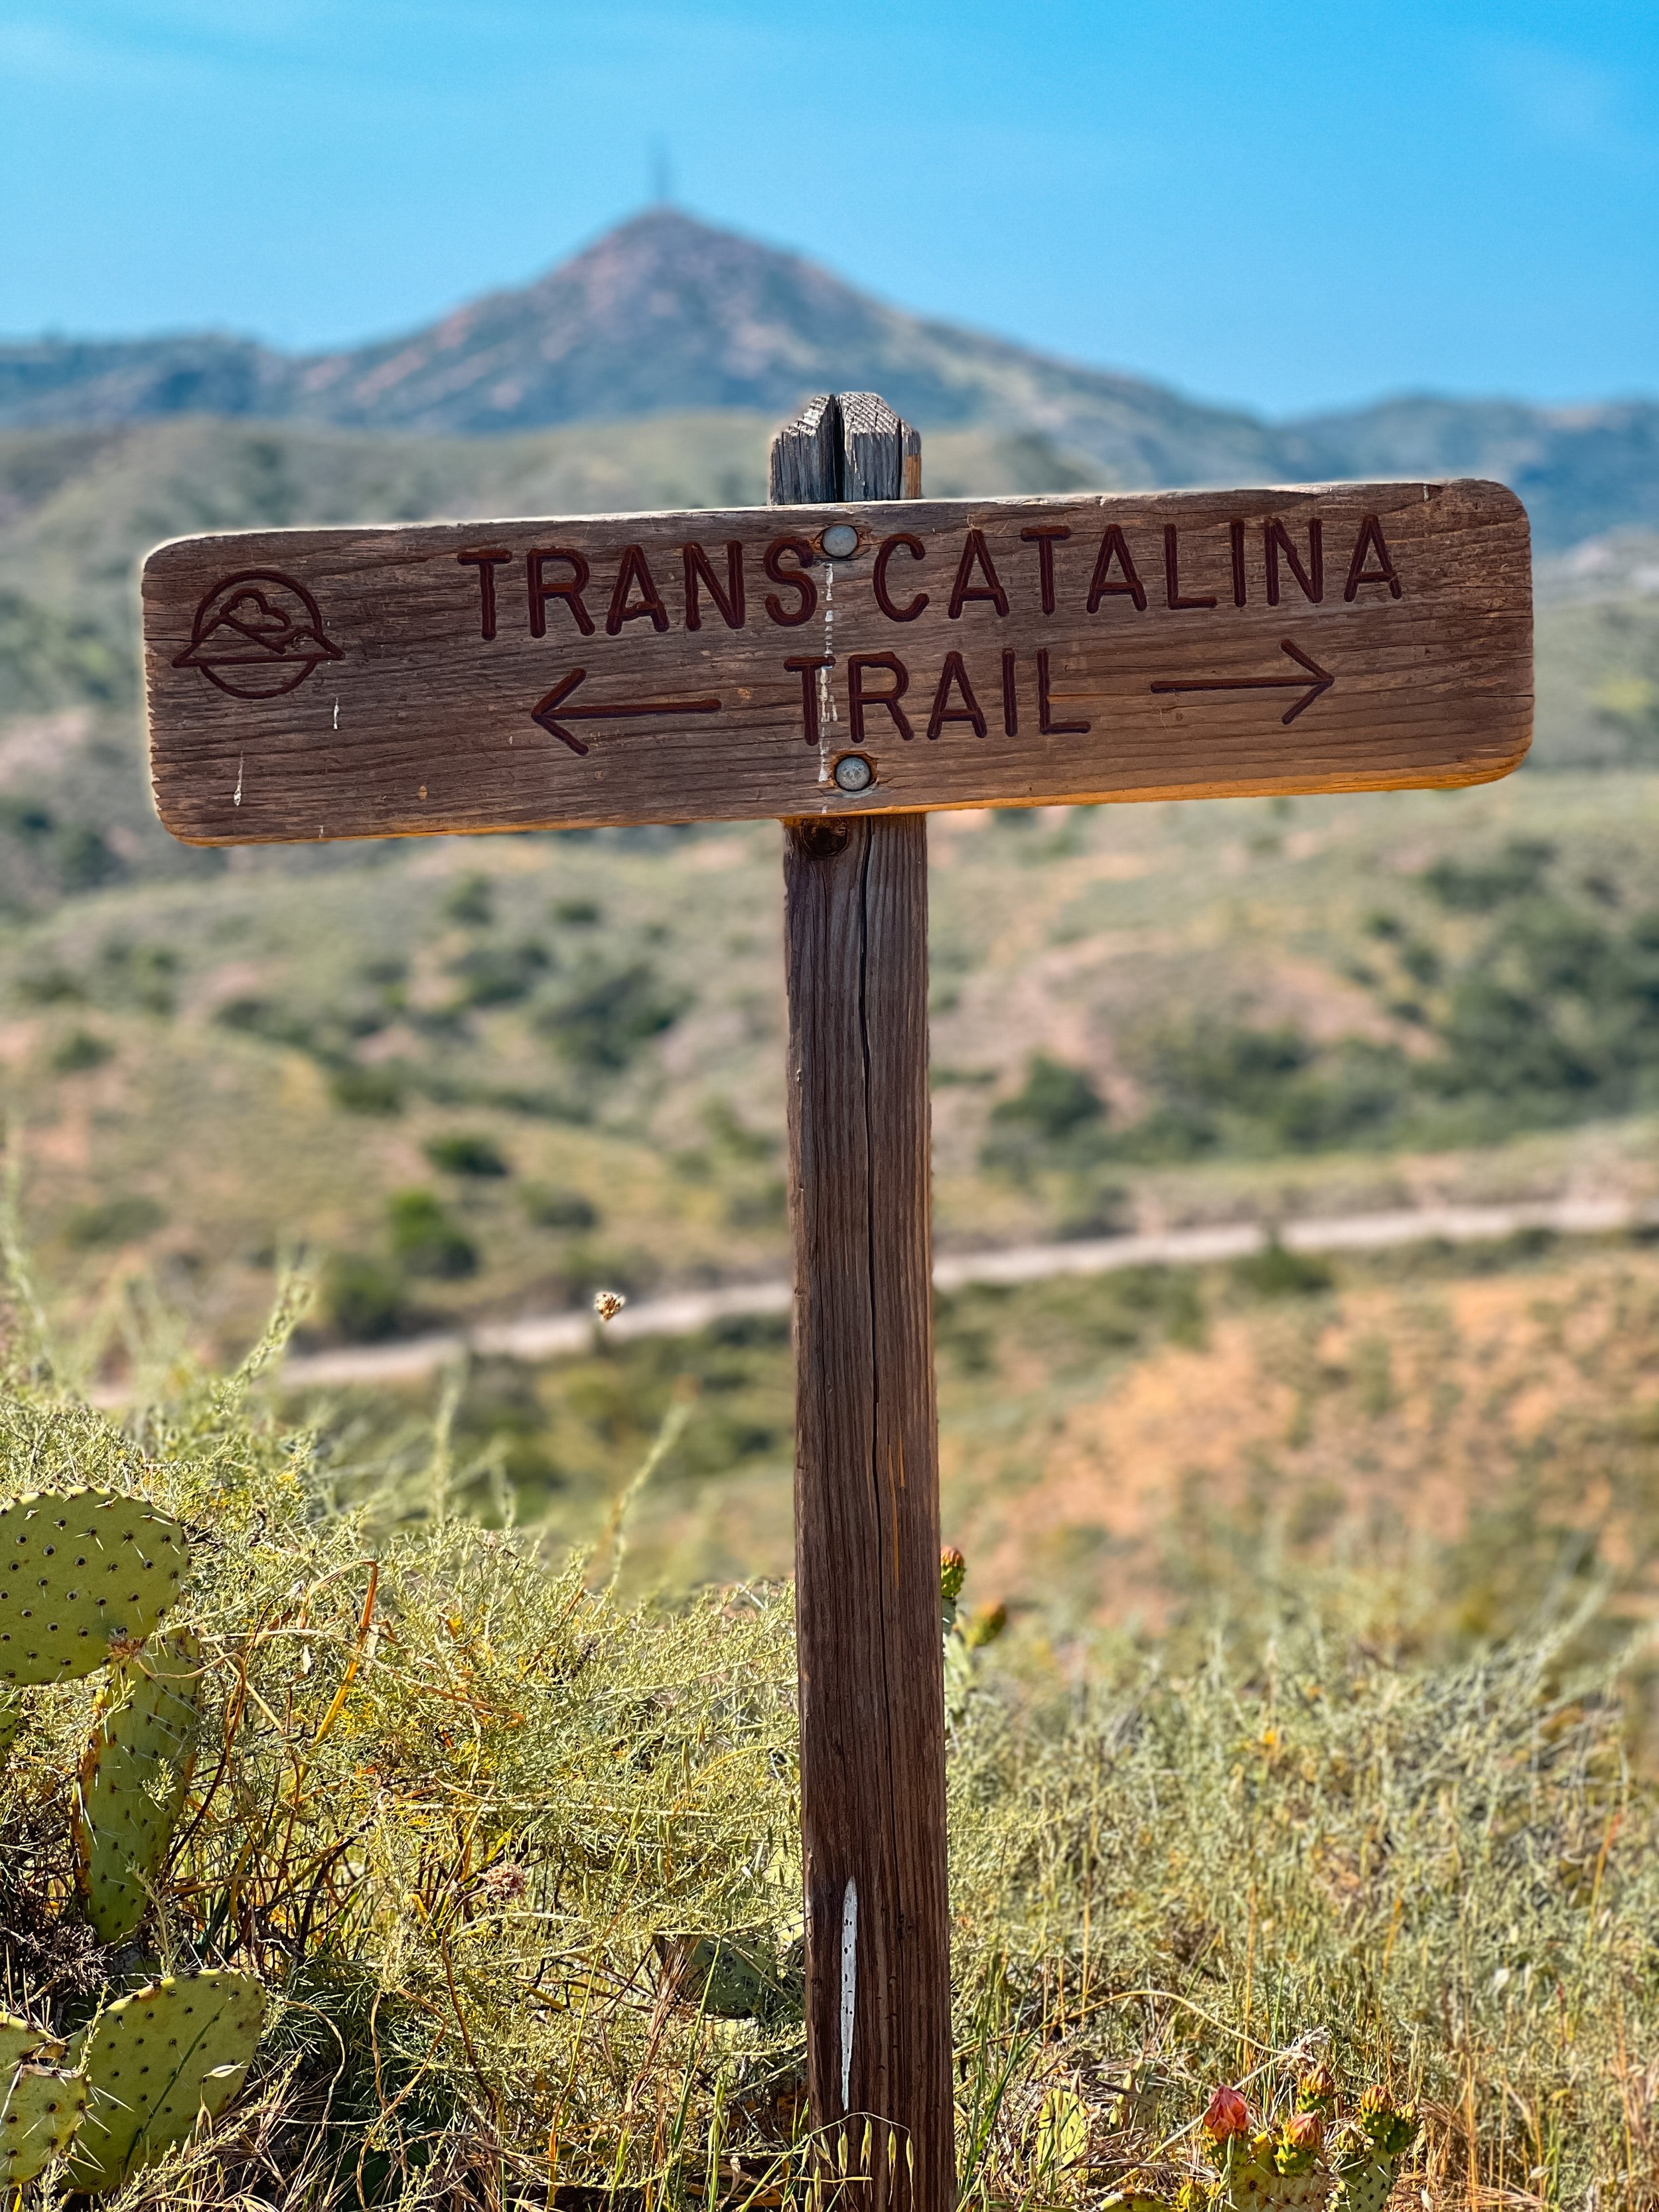
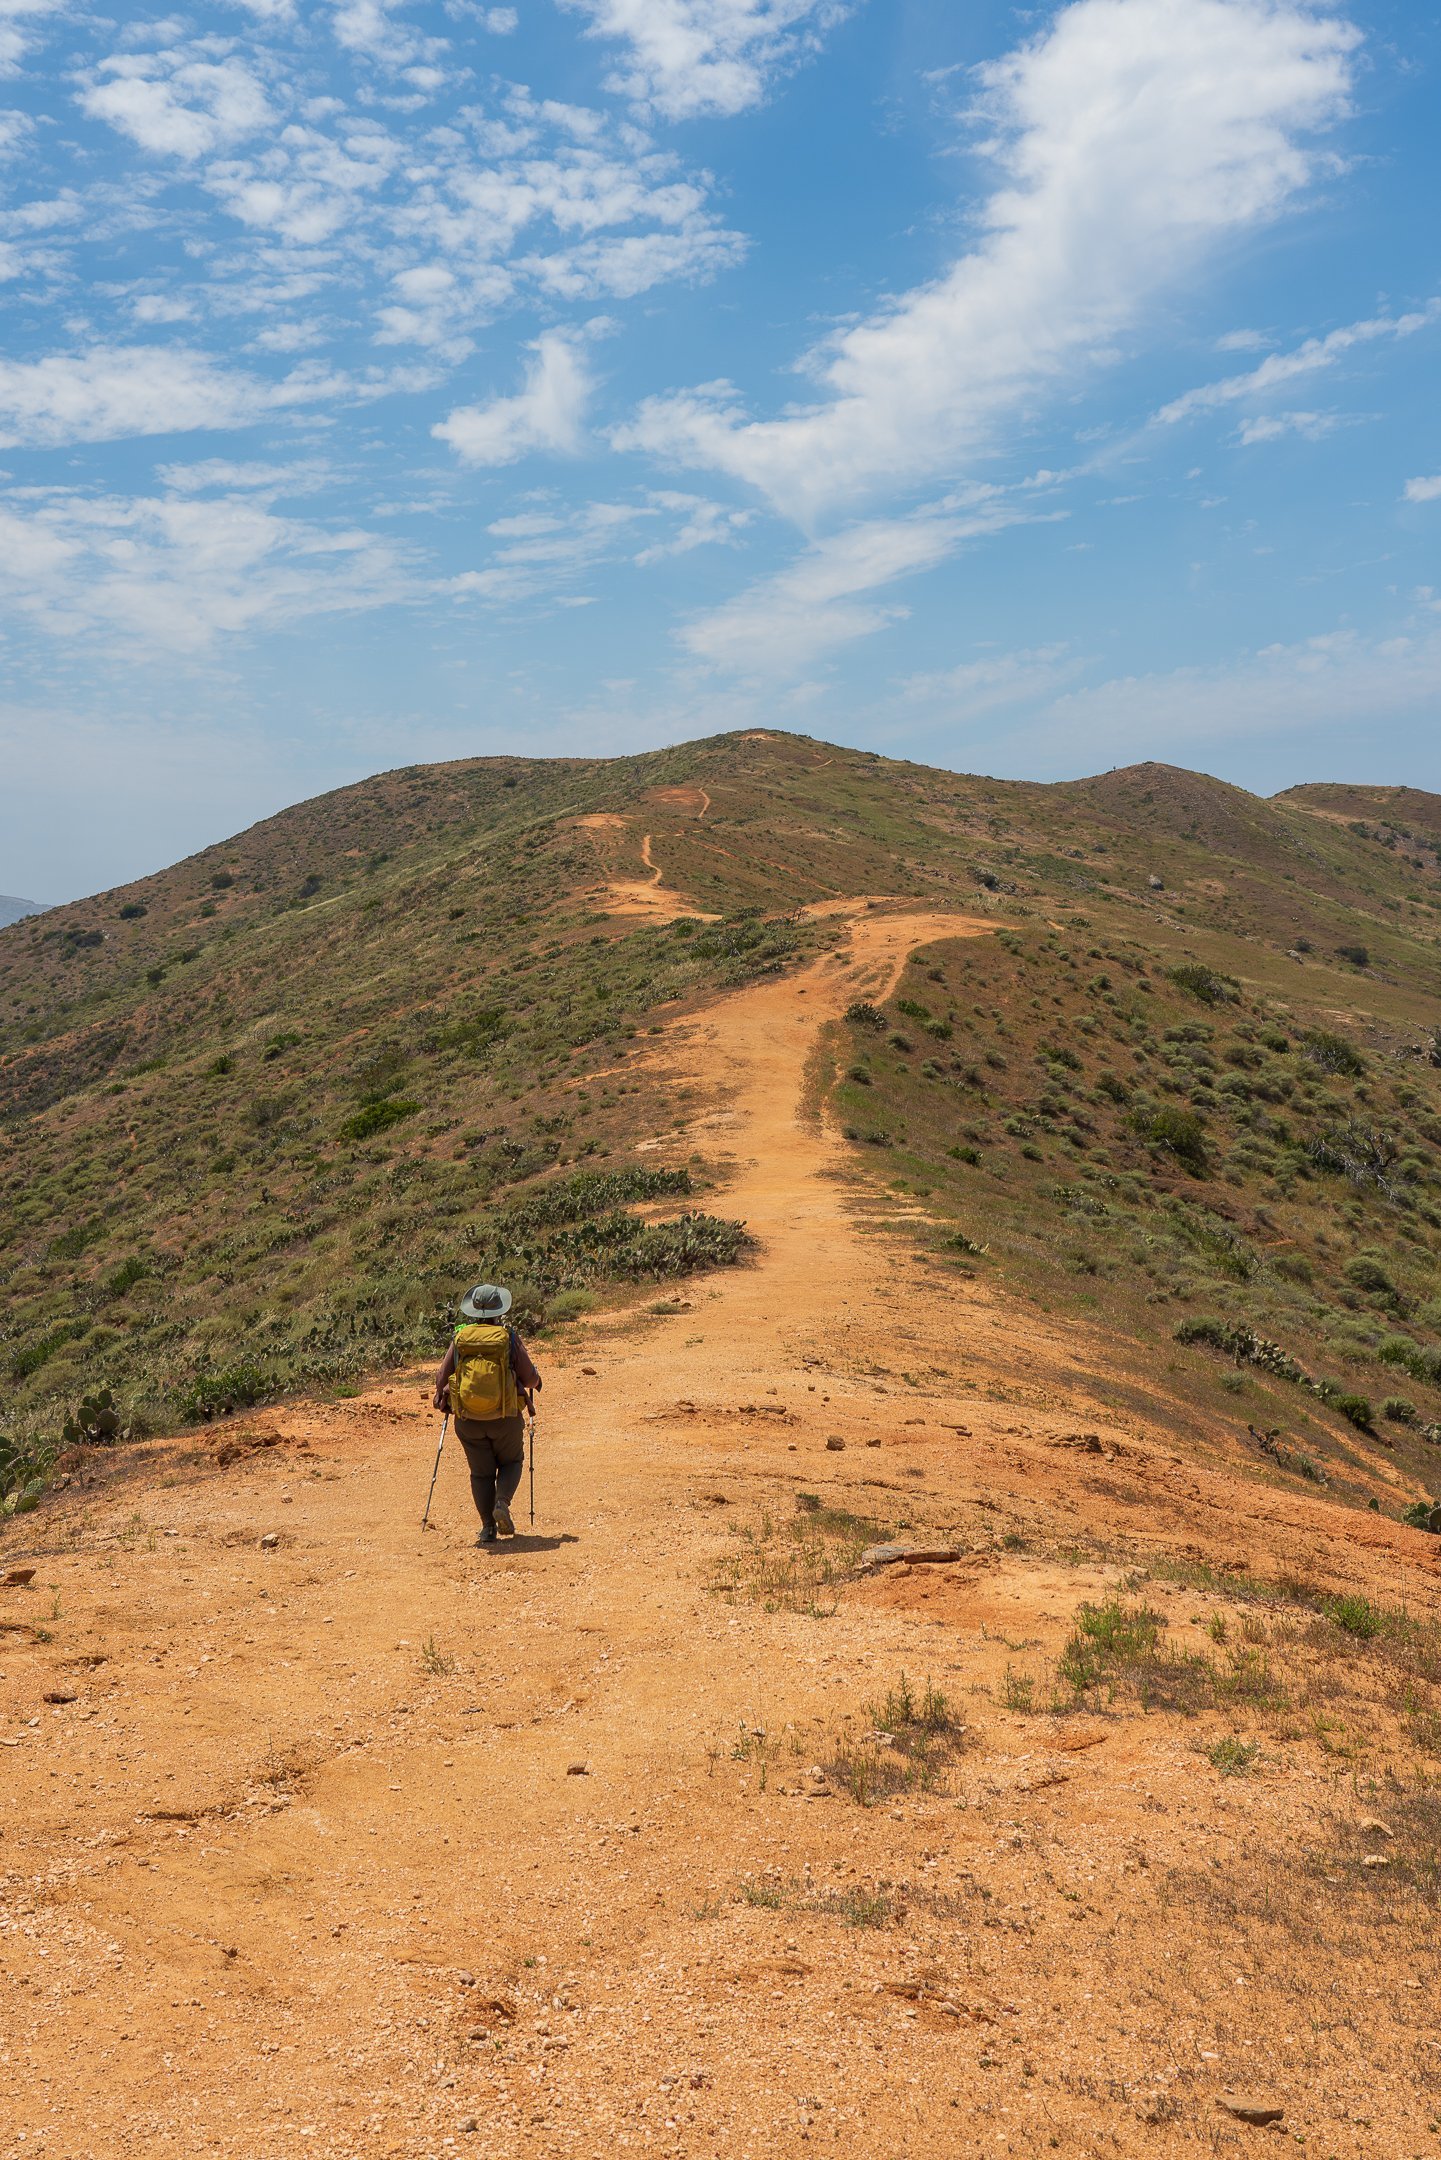
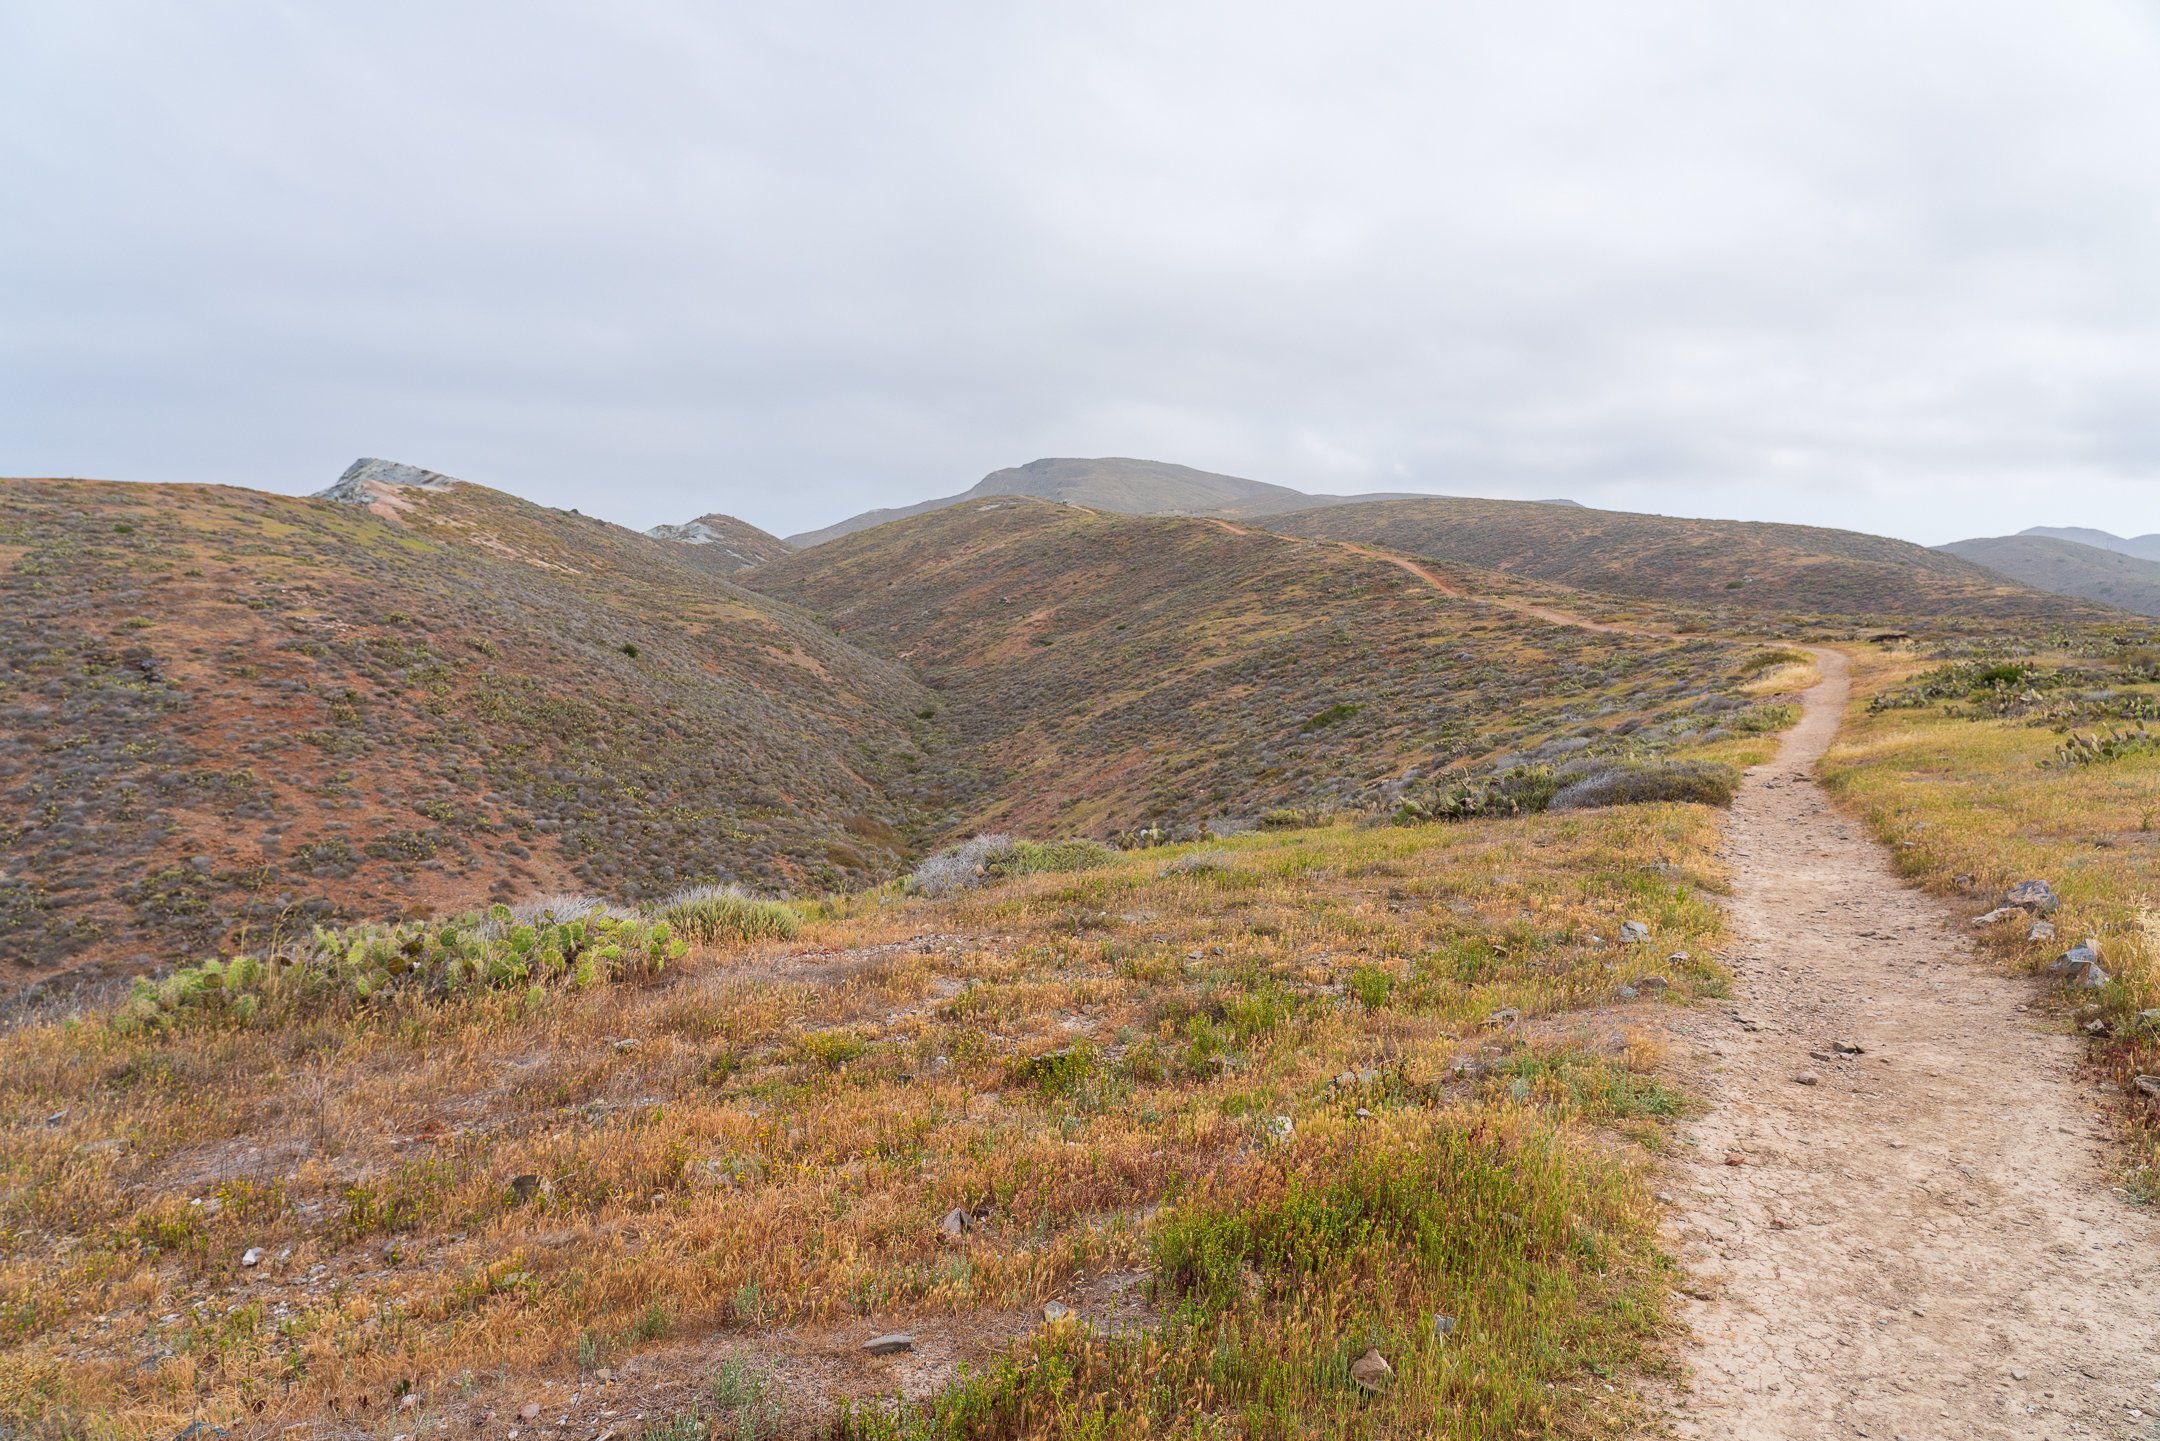
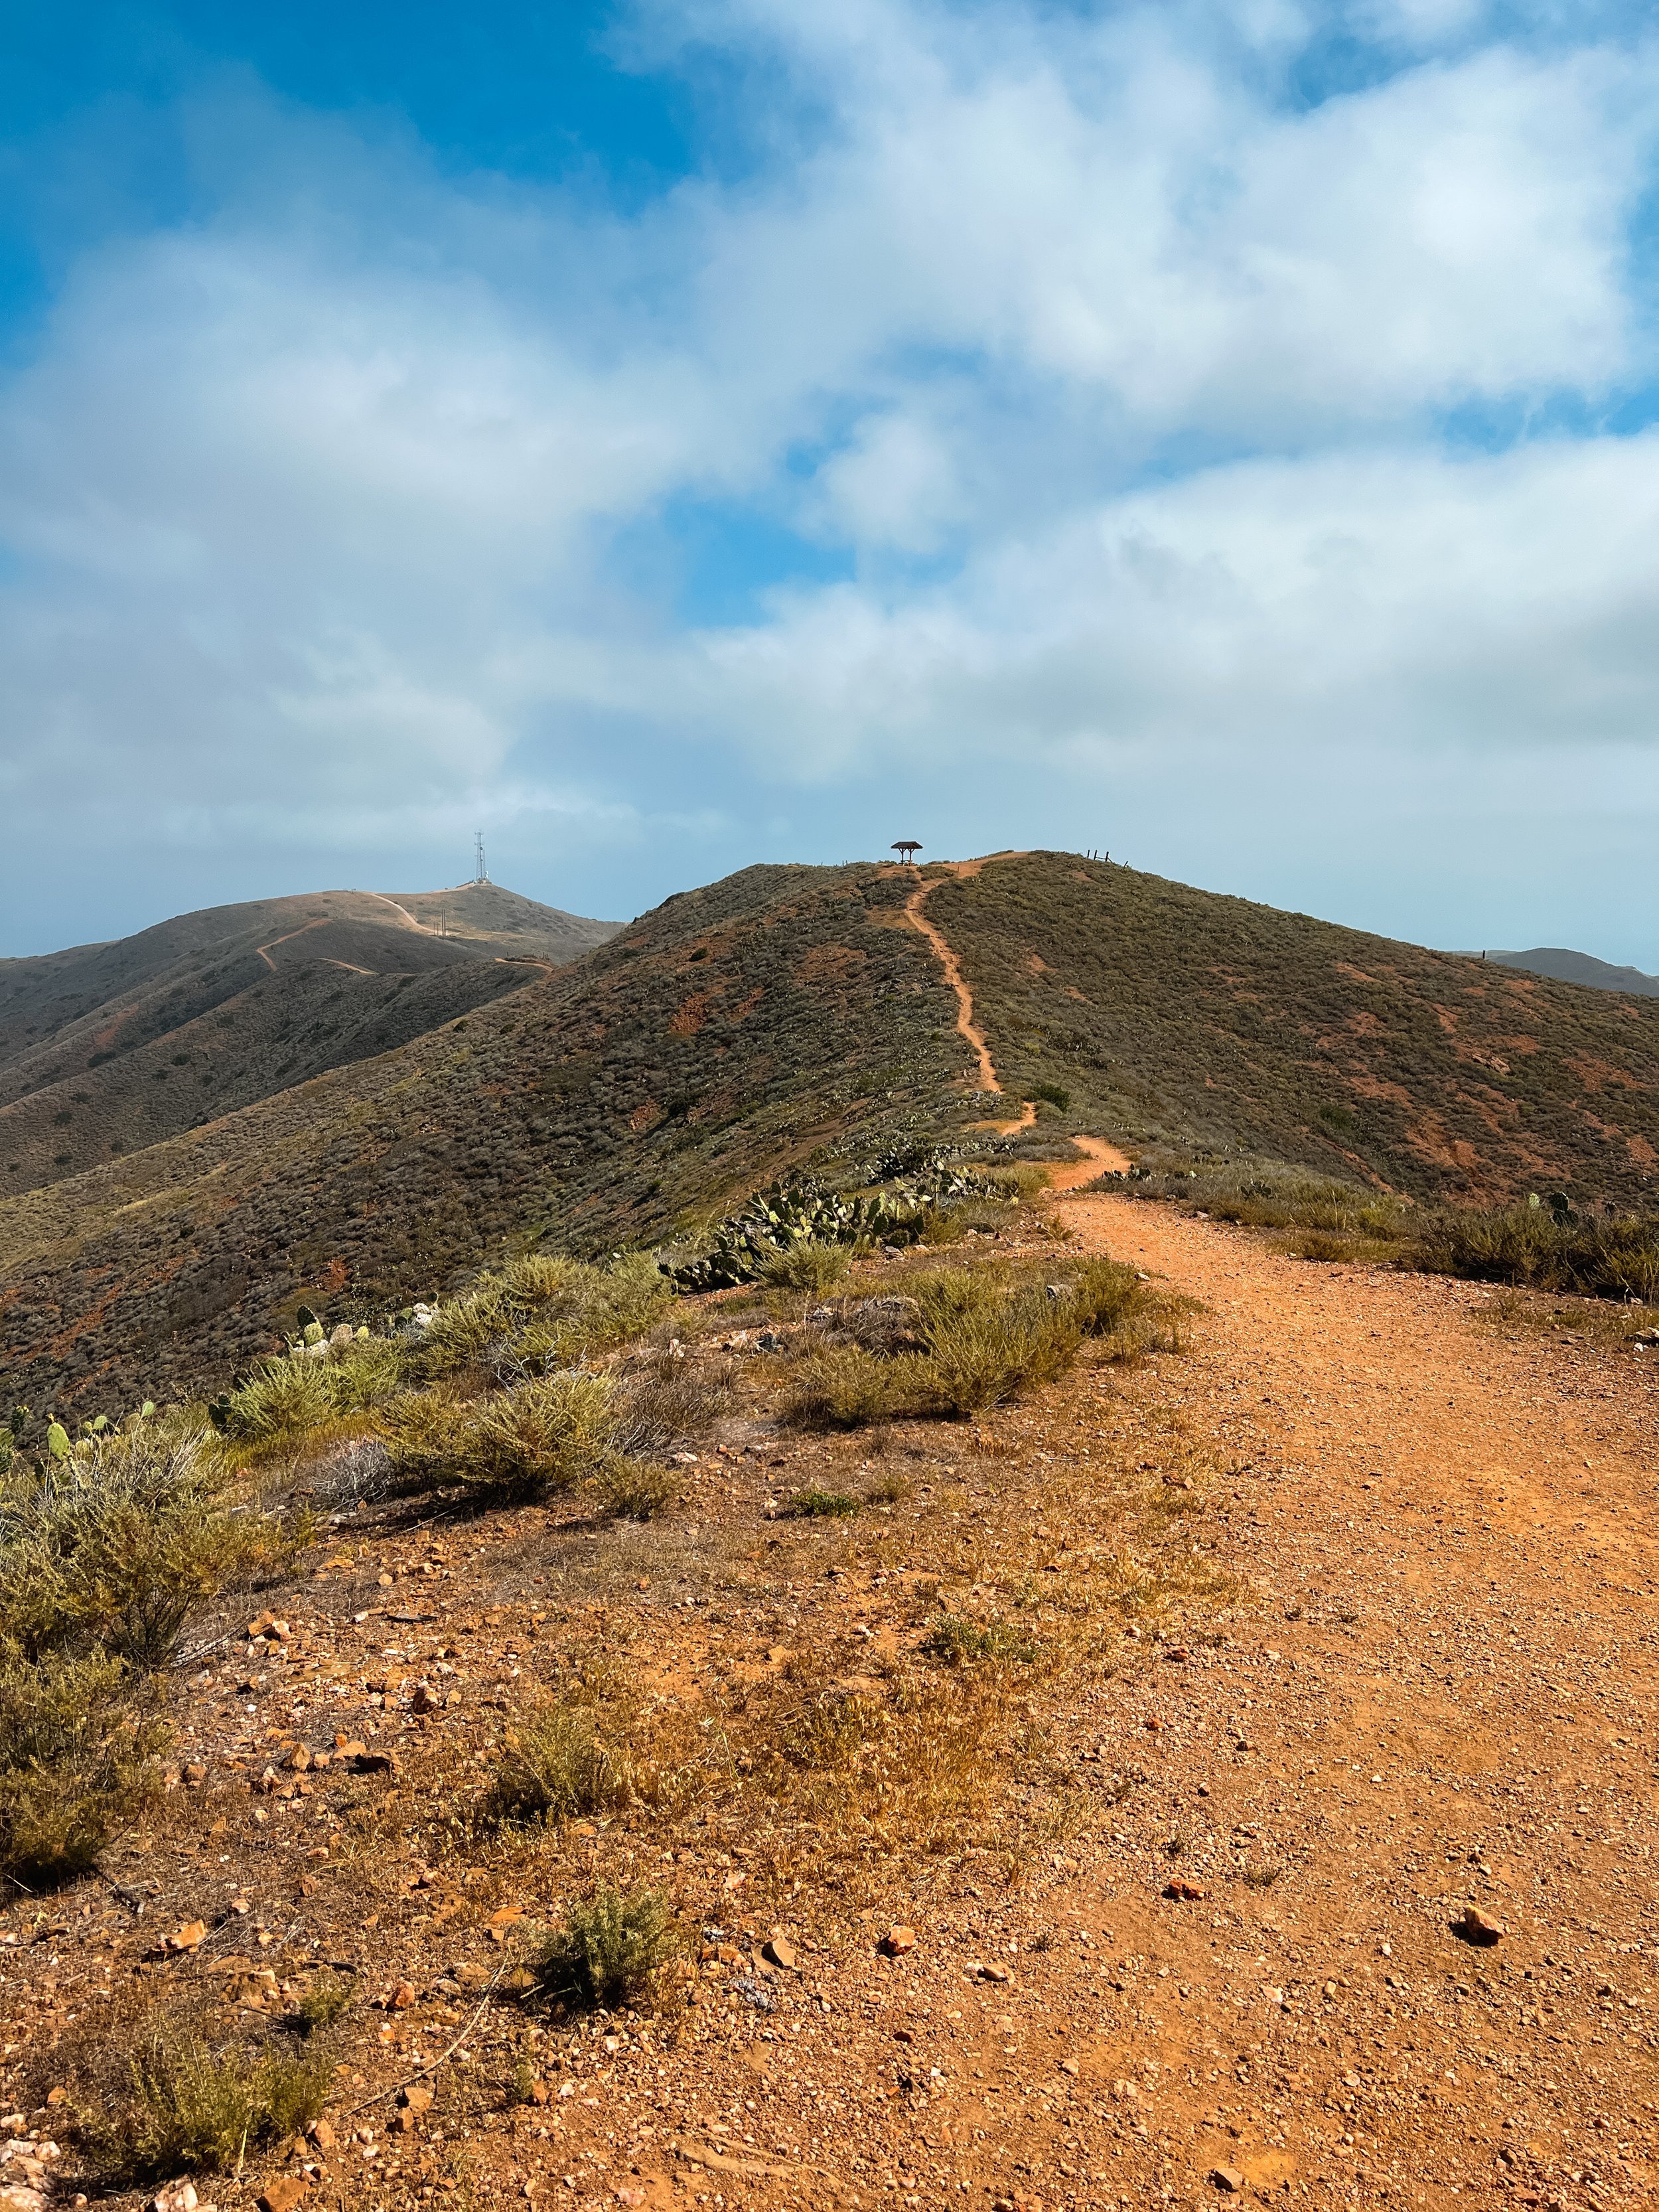
Otherwise, the trail is pretty well-marked and easy to follow. The conservancy has literally put a small wooden post on the trail for every mile walked. There were only a couple of times where I didn’t really know which way the TCT went, and it was when wider dirt roads would meet with a narrower path. There are other trails on the island, so you should pay attention to make sure you stay on the TCT. A map is helpful here to see the other trails so that you don’t go off on one accidentally.


Campsites
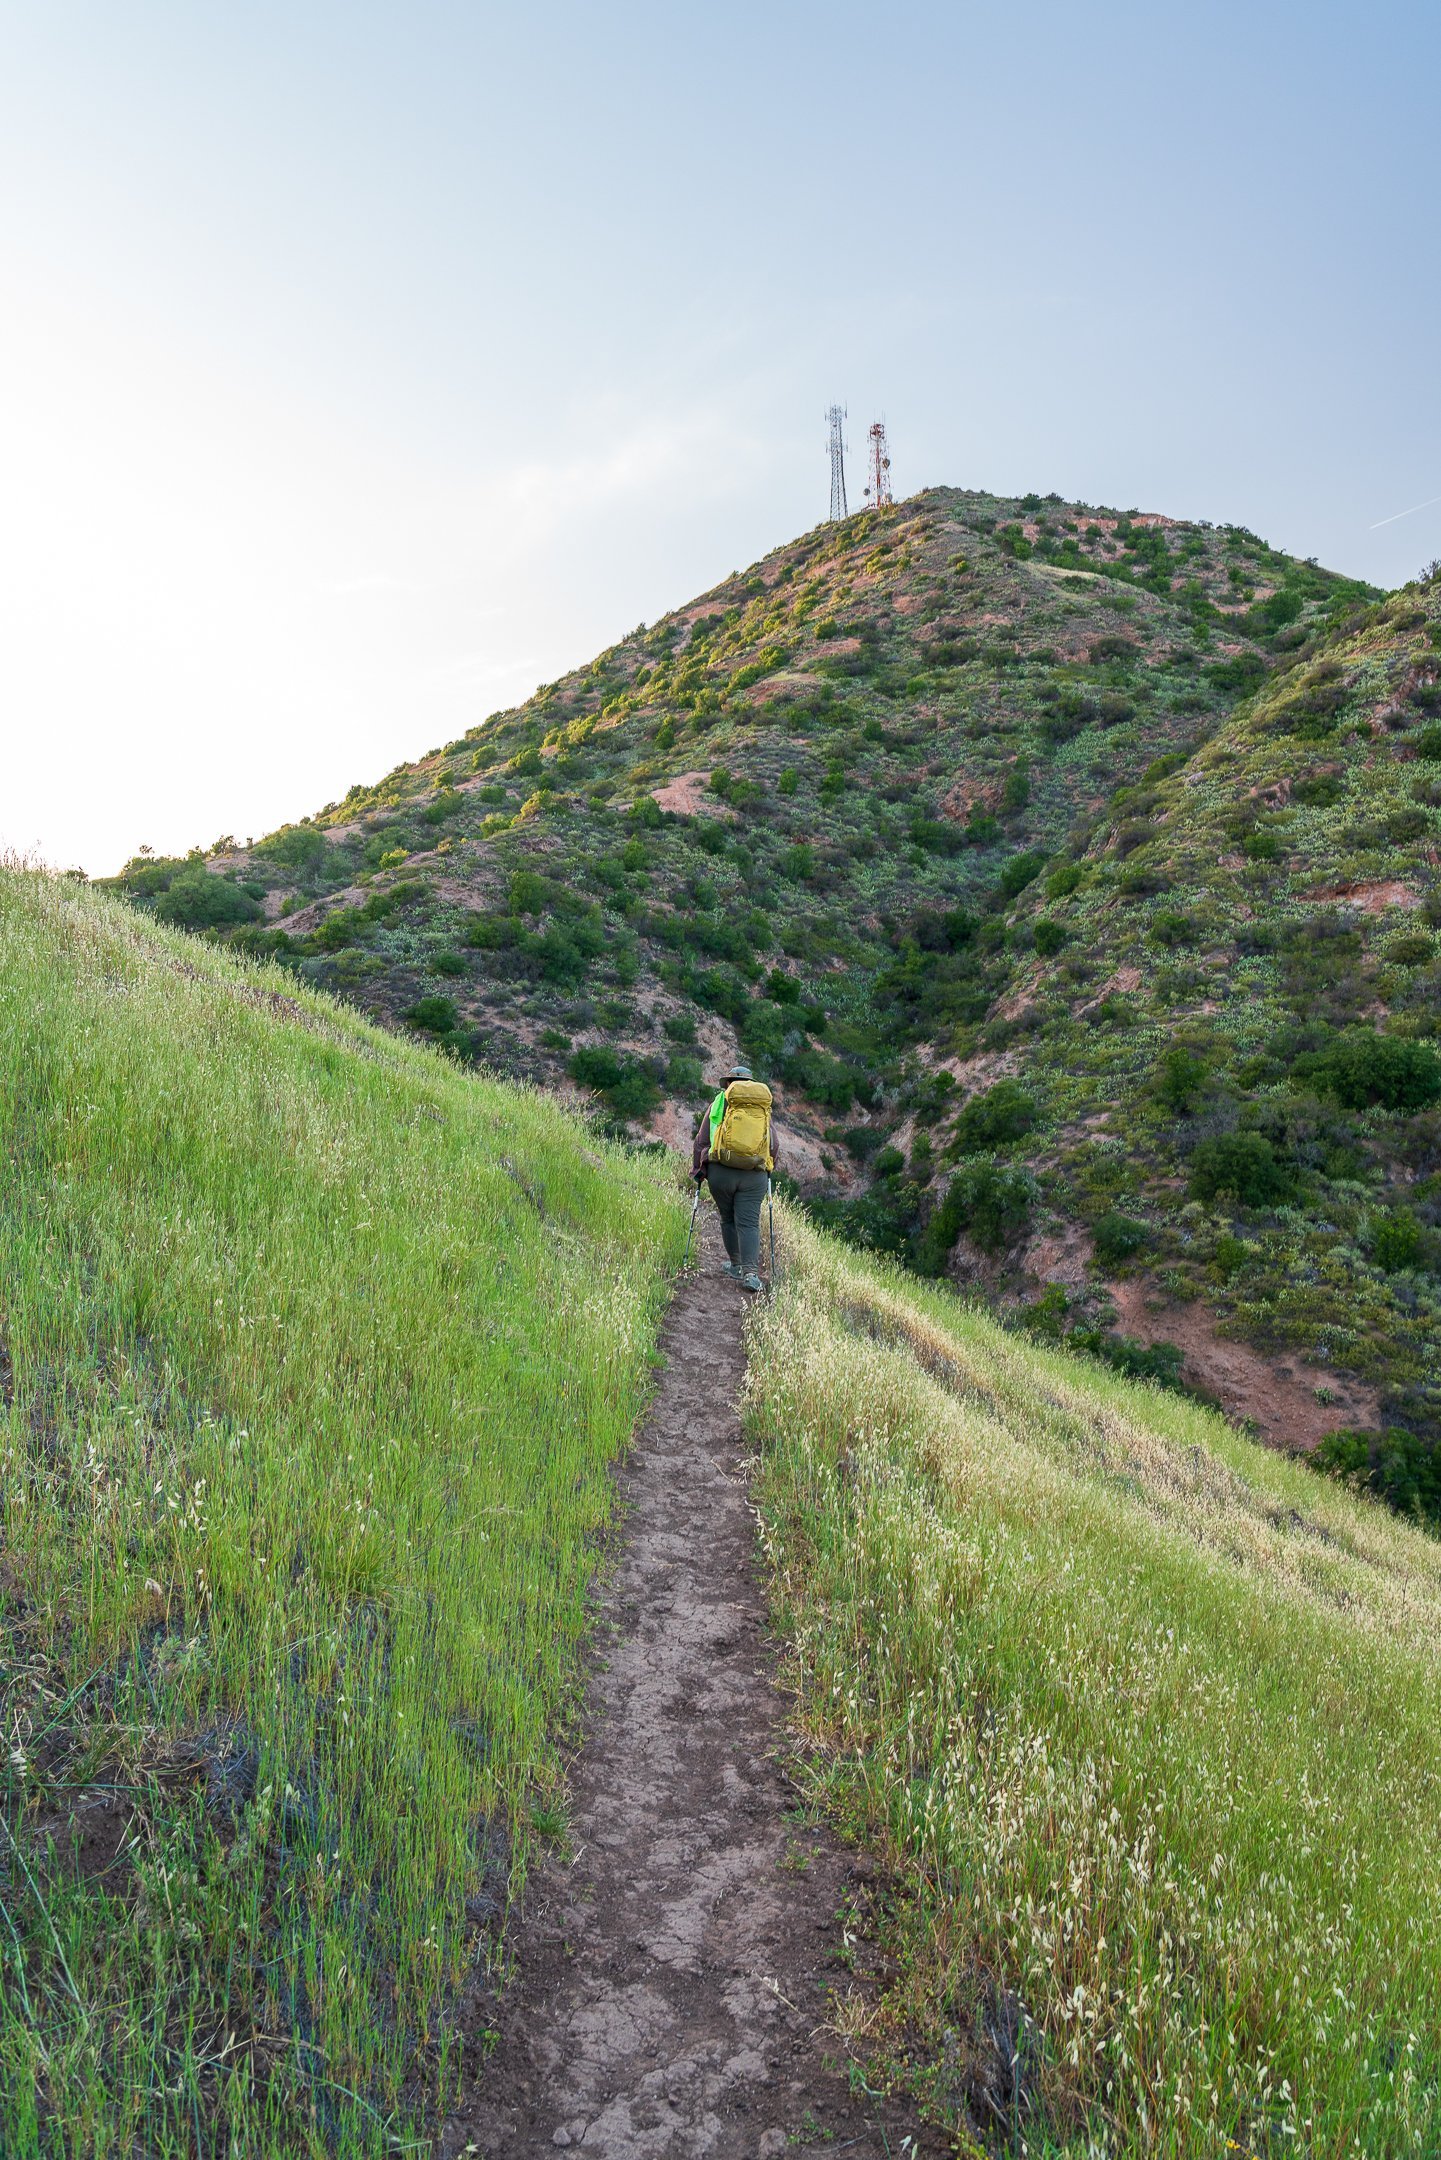
There are five campgrounds along the TCT. Most people I met hiking the whole trail stayed at 3-4 of them. I’ll go over some itinerary recommendations below, but first I’ll give some thoughts about each campground. Overall, the campgrounds feel more front-country than backcountry! They all have toilets and picnic tables at each site! I felt pretty spoiled to not have to worry about digging cat holes, and getting a picnic table to sit on while eating was like a backcountry 5-star experience! Each site felt like you could pitch at least 2, sometimes 3 backpacking-style tents as well.
Hermit Gulch
Mile 1.5
Hermit Gulch is situated right at the beginning of the hike, just outside of the town of Avalon. This is a mixed car-camping, backpacking, and yurt-glamping campsite! There is a campsite host, fire rings, and flushing toilets. Think front-country camping. The trailhead to the TCT where the trail turns into an actual dirt trail instead of a road walk is just beyond the campground. If you’re taking a late afternoon ferry over to the island, camping here your first night would be a great idea if you’re looking to save money and not stay in Avalon.
There are lots of critters in this campground, so be very aware of your food and smellables, and keep them stored properly!

Hermit Gulch Campground
Blackjack
Mile 10.8
Blackjack sits at one of the highest points on the trail: 1,500 feet above sea level. It is a campground nestled in shrubbery, grasses, cacti, and sweeping eucalyptus trees. People don’t seem to really care for Blackjack - calling it a necessary stop on the trail due to the mileage and elevation gain required to get there - but I actually thought it was a nice site! We specifically chose a more isolated spot when booking online, and while we had to walk through our neighbor’s site to get to ours, it was a little more private but still had a nice view.
I’d recommend sites 1 or 3 for the best views and most privacy.

Little Harbor/ Shark Harbor
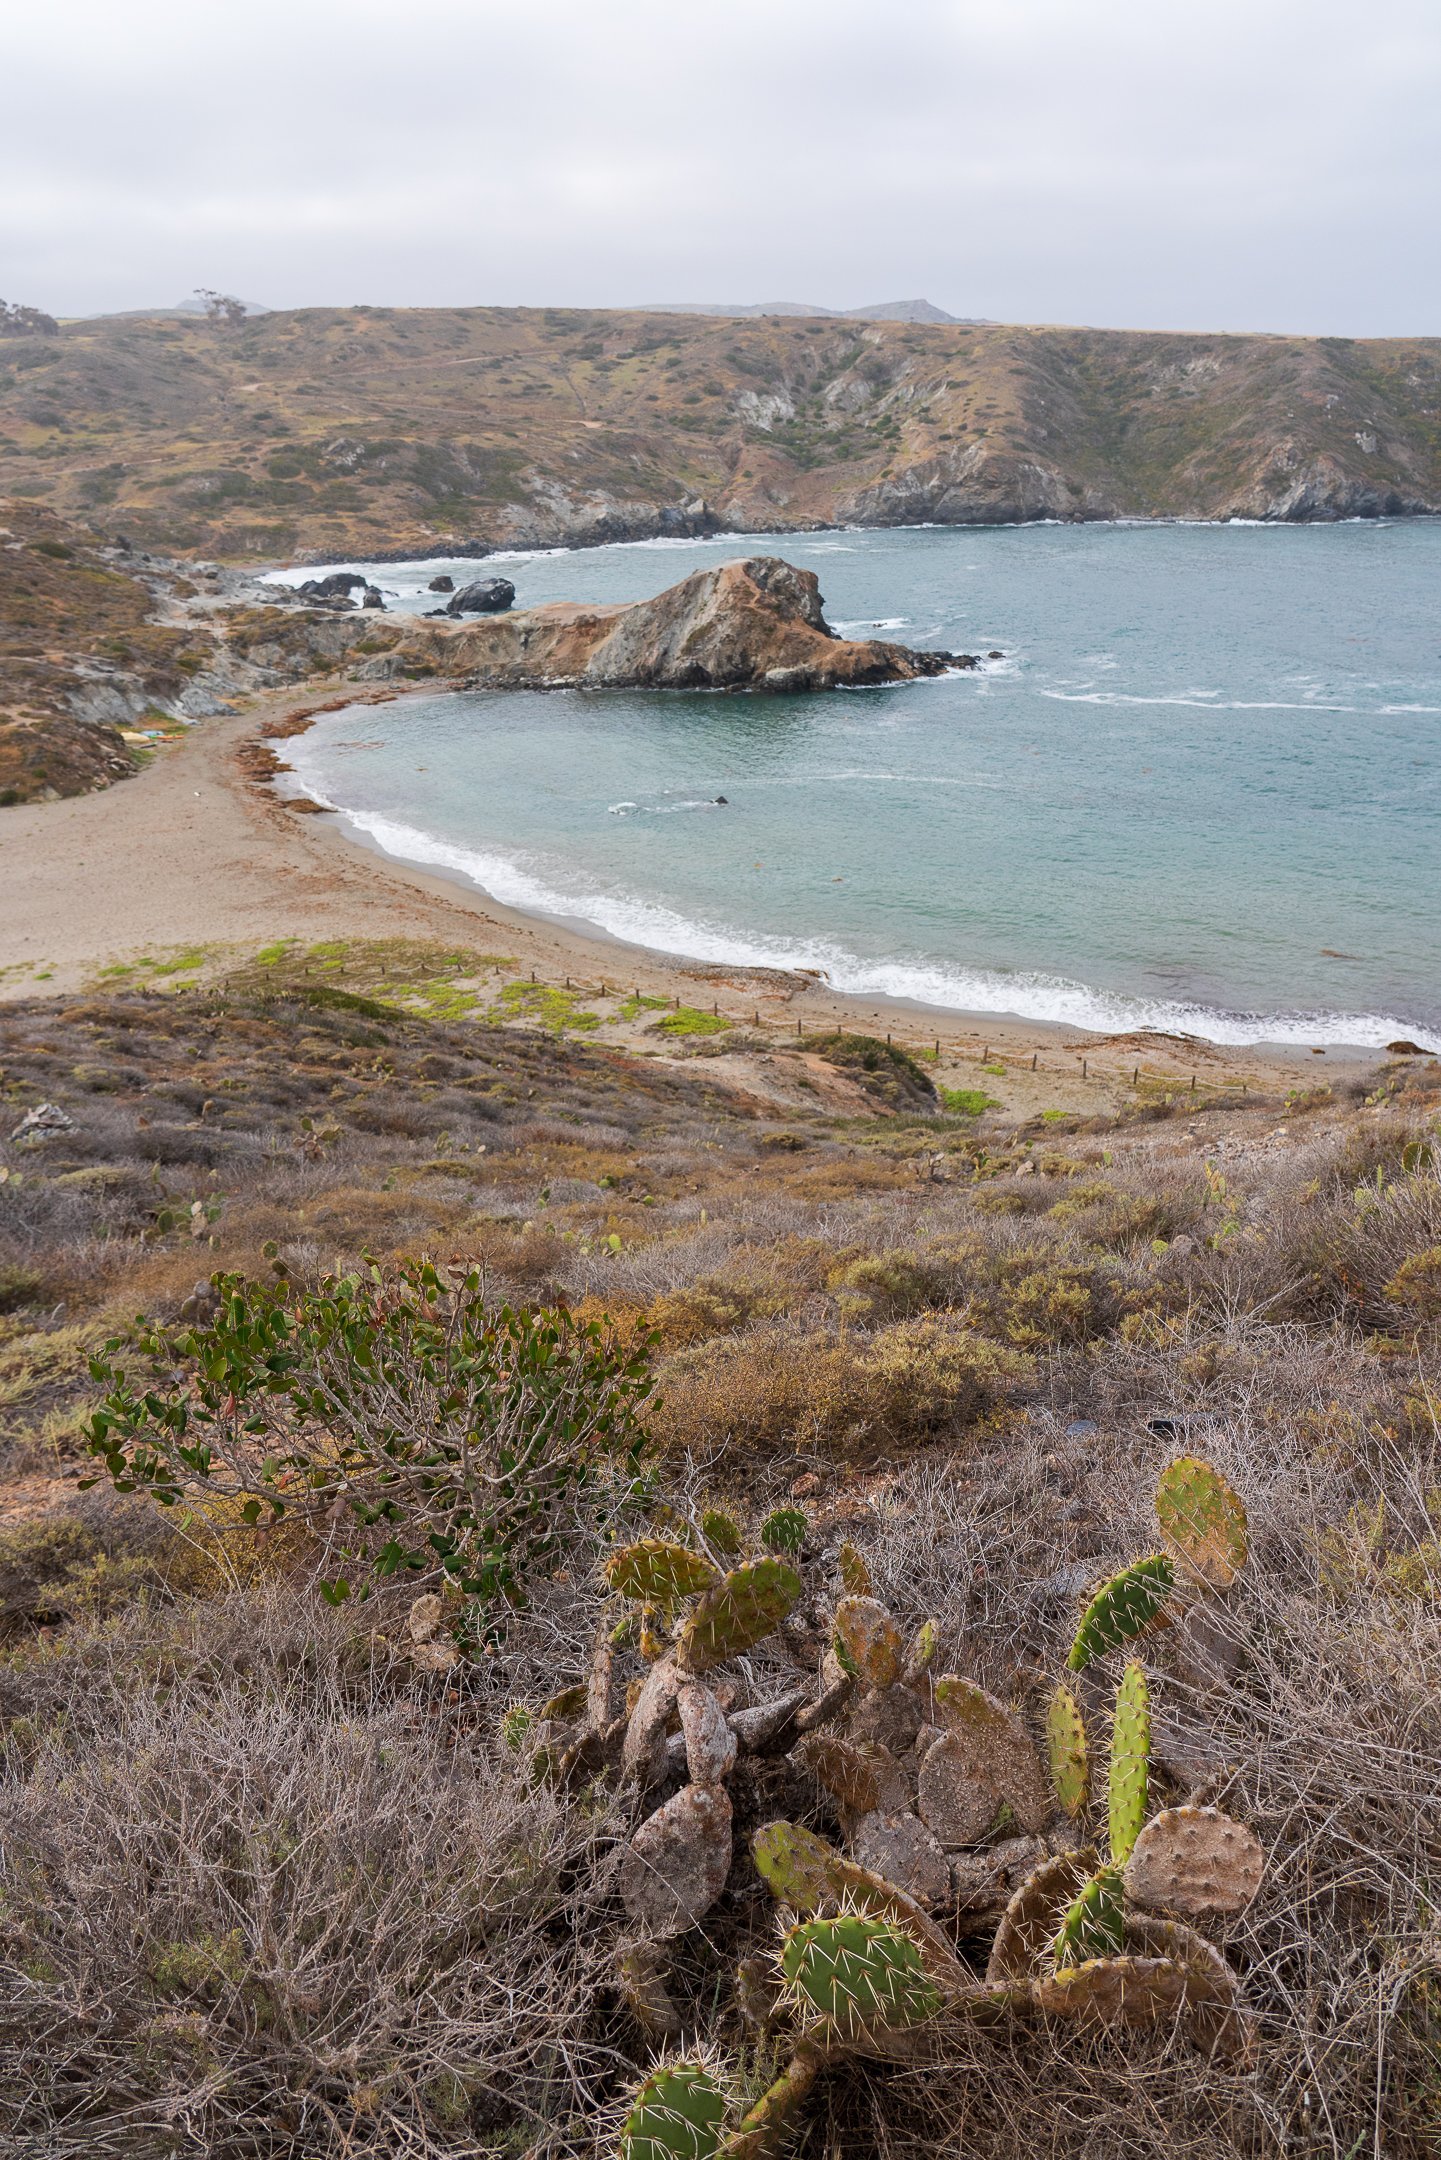
Mile 18.8
This campground is the most scenic, and was my favorite! We stayed at Shark Harbor, which is a little bit of a hike from Little Harbor, and a wilder spot. There are 3 spots at Shark Harbor, and we stayed at #2, which was fine! #1 is probably the best though. Little Harbor is the main campground, and has shade structures and palm trees at most of the sites. The best sites at Little Harbor are the ones closest to the beach: 9-12. The worst are 14-17. They’re literally in a dirt pit.
Shark Harbor had a nice pit toilet at the top of the campground, while the port-a-potties were kinda gross at Little Harbor. Both campgrounds have easy access to water.
I highly recommend the little hike on the rocky bluff between Little and Shark Harbors. It takes you out to the Whale Tail, which is the rock feature in the water that splits the coves in two.
I would camp at whichever you can get a spot at, but Little Harbor had a much more protected swimming area, and more shade options.

Shark Harbor Cove

Looking down on Little Harbor

Site at Shark Harbor

Shark Harbor
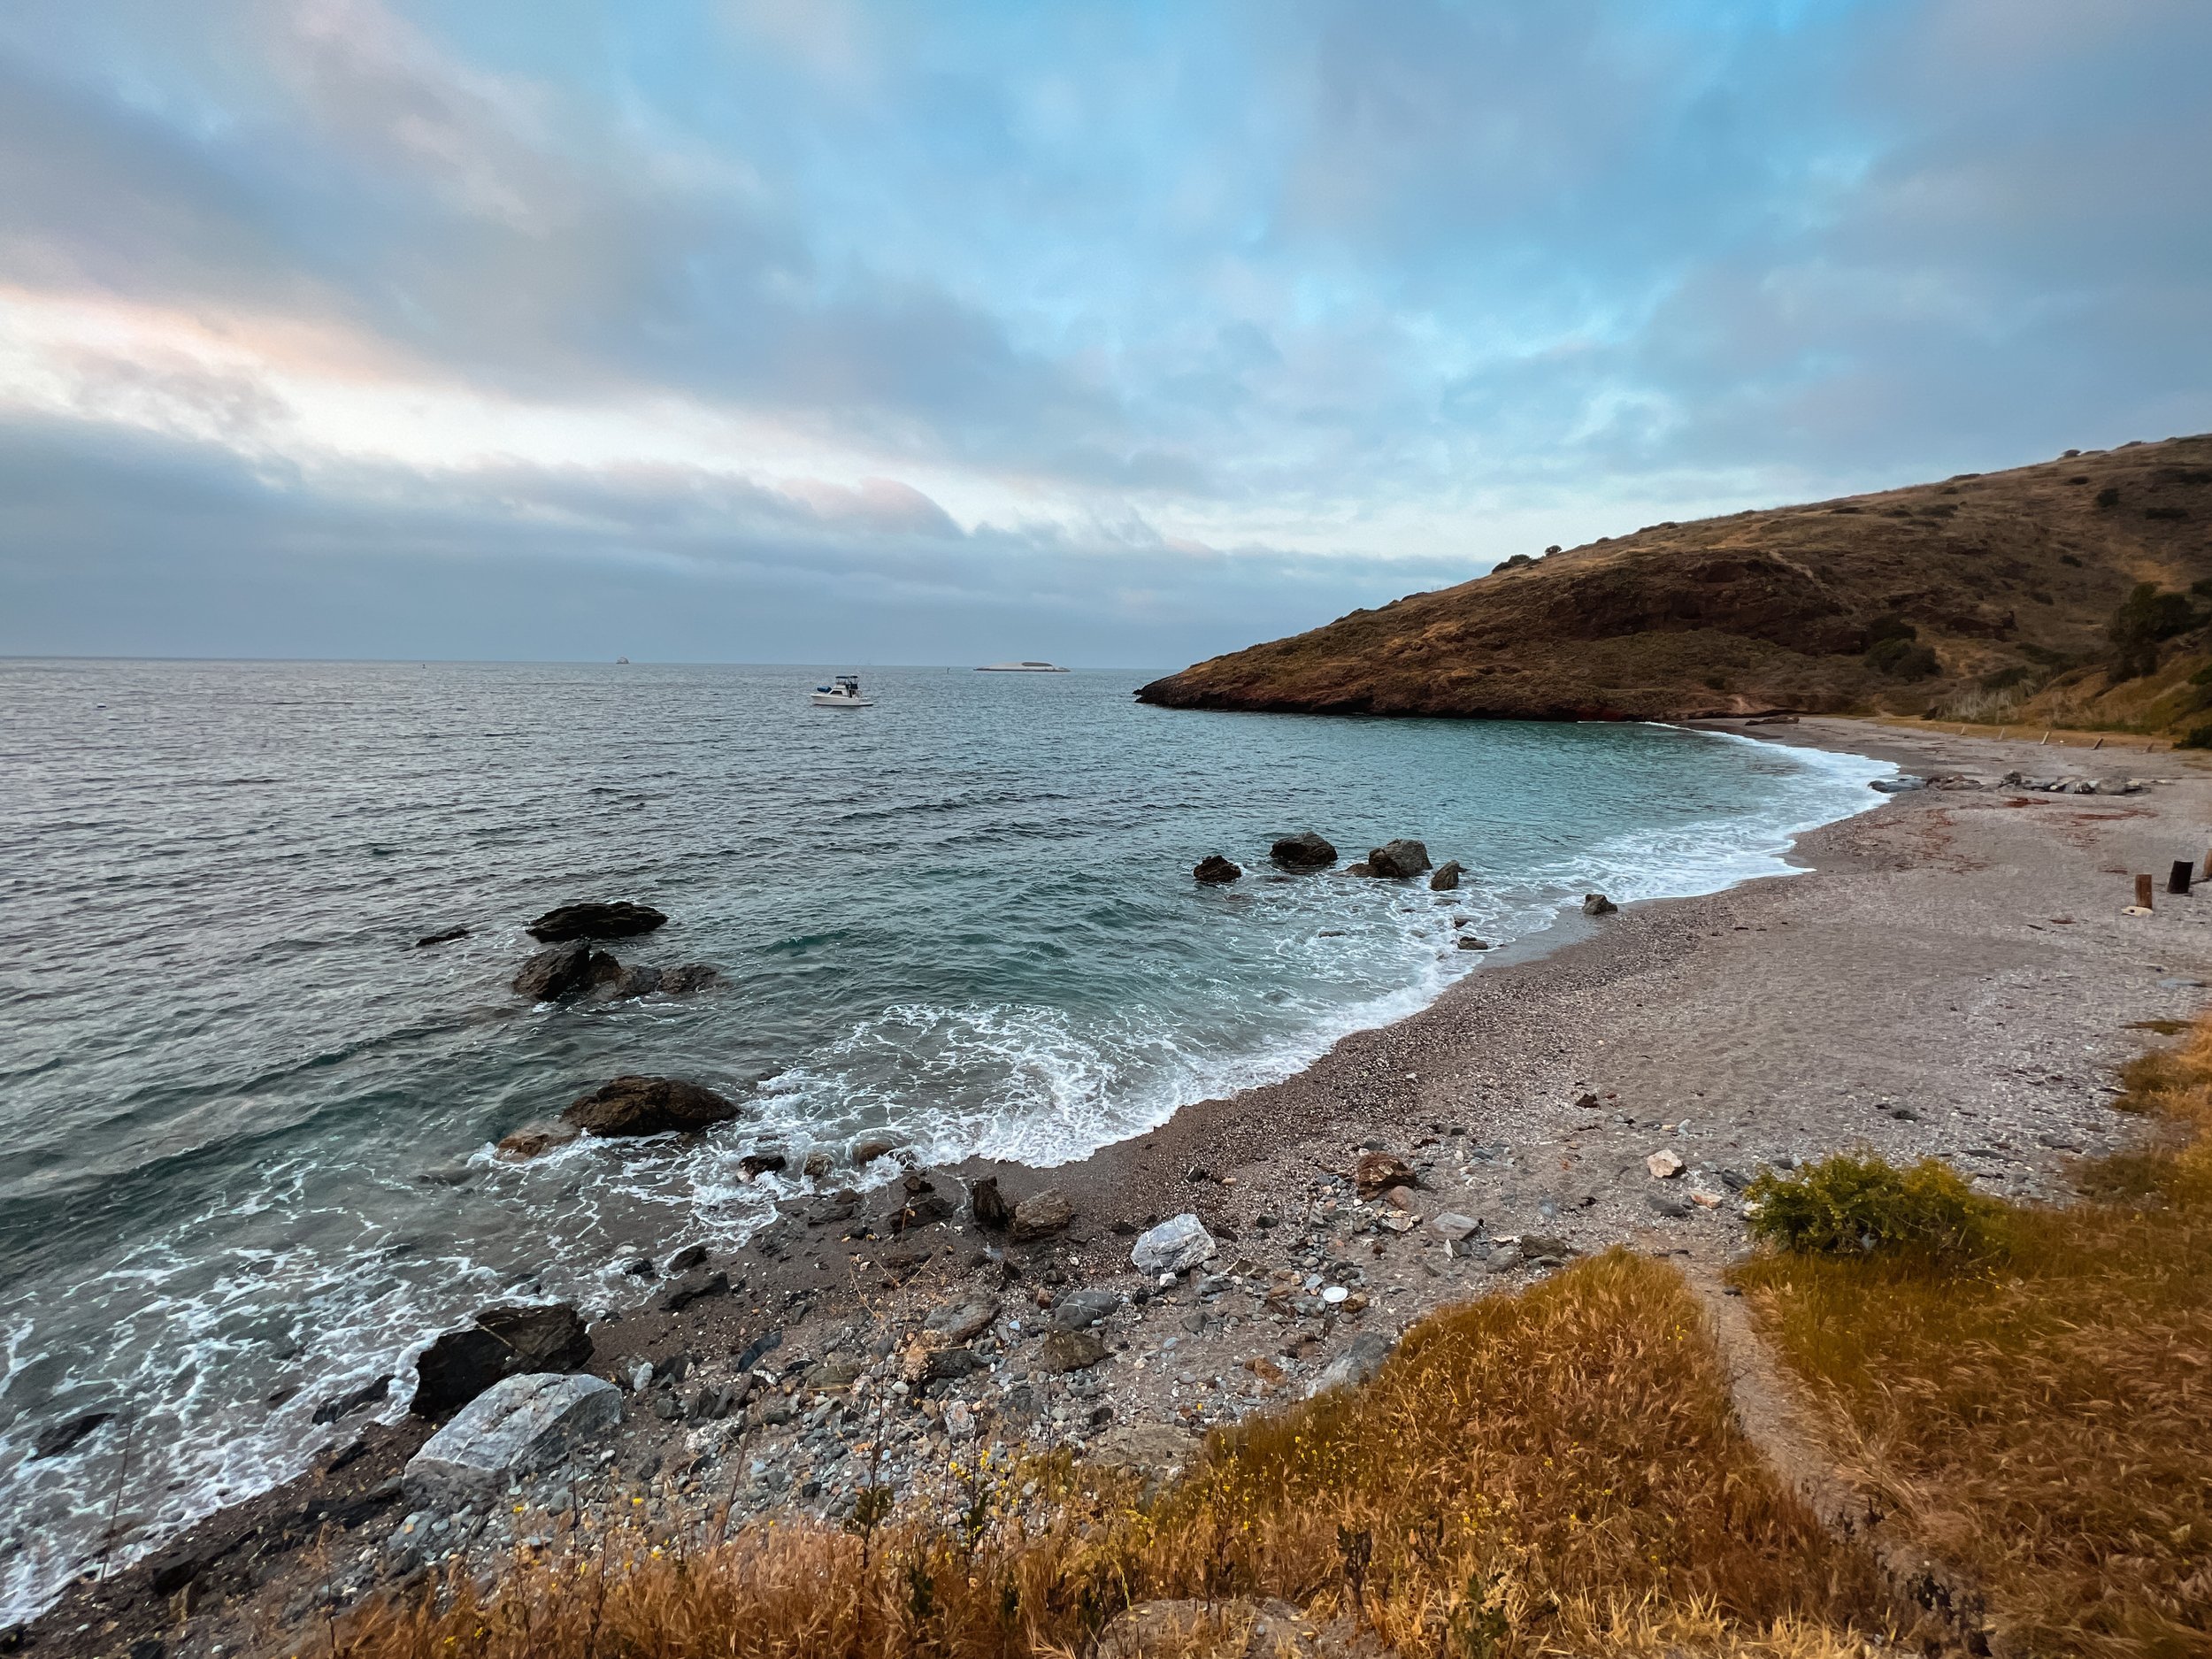
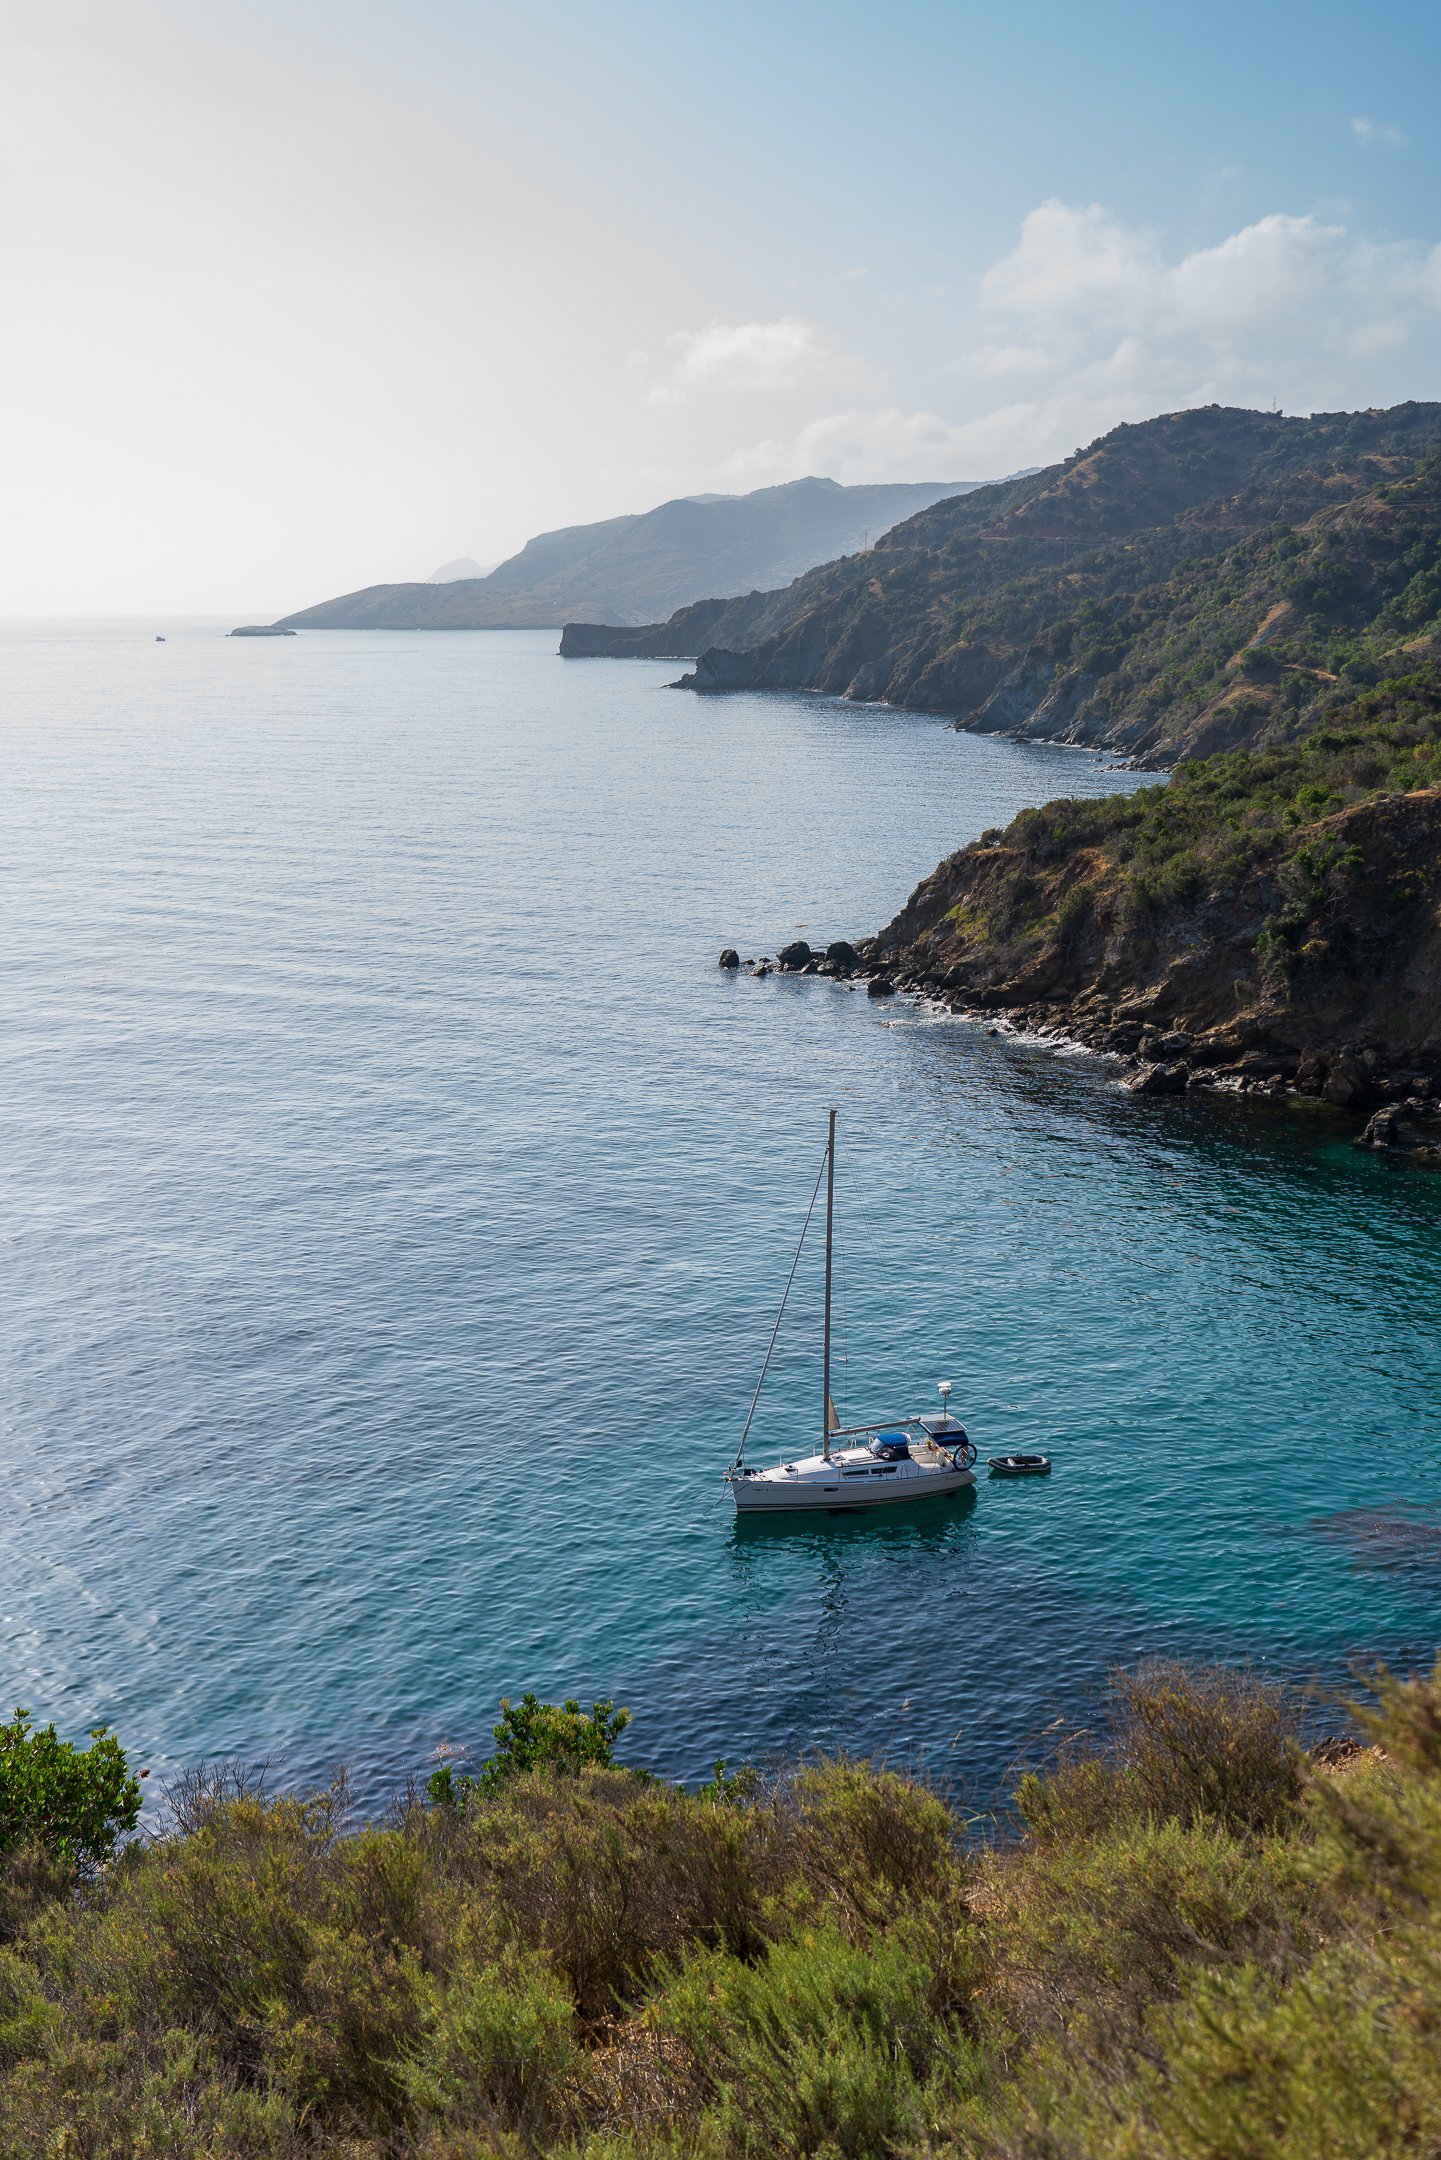
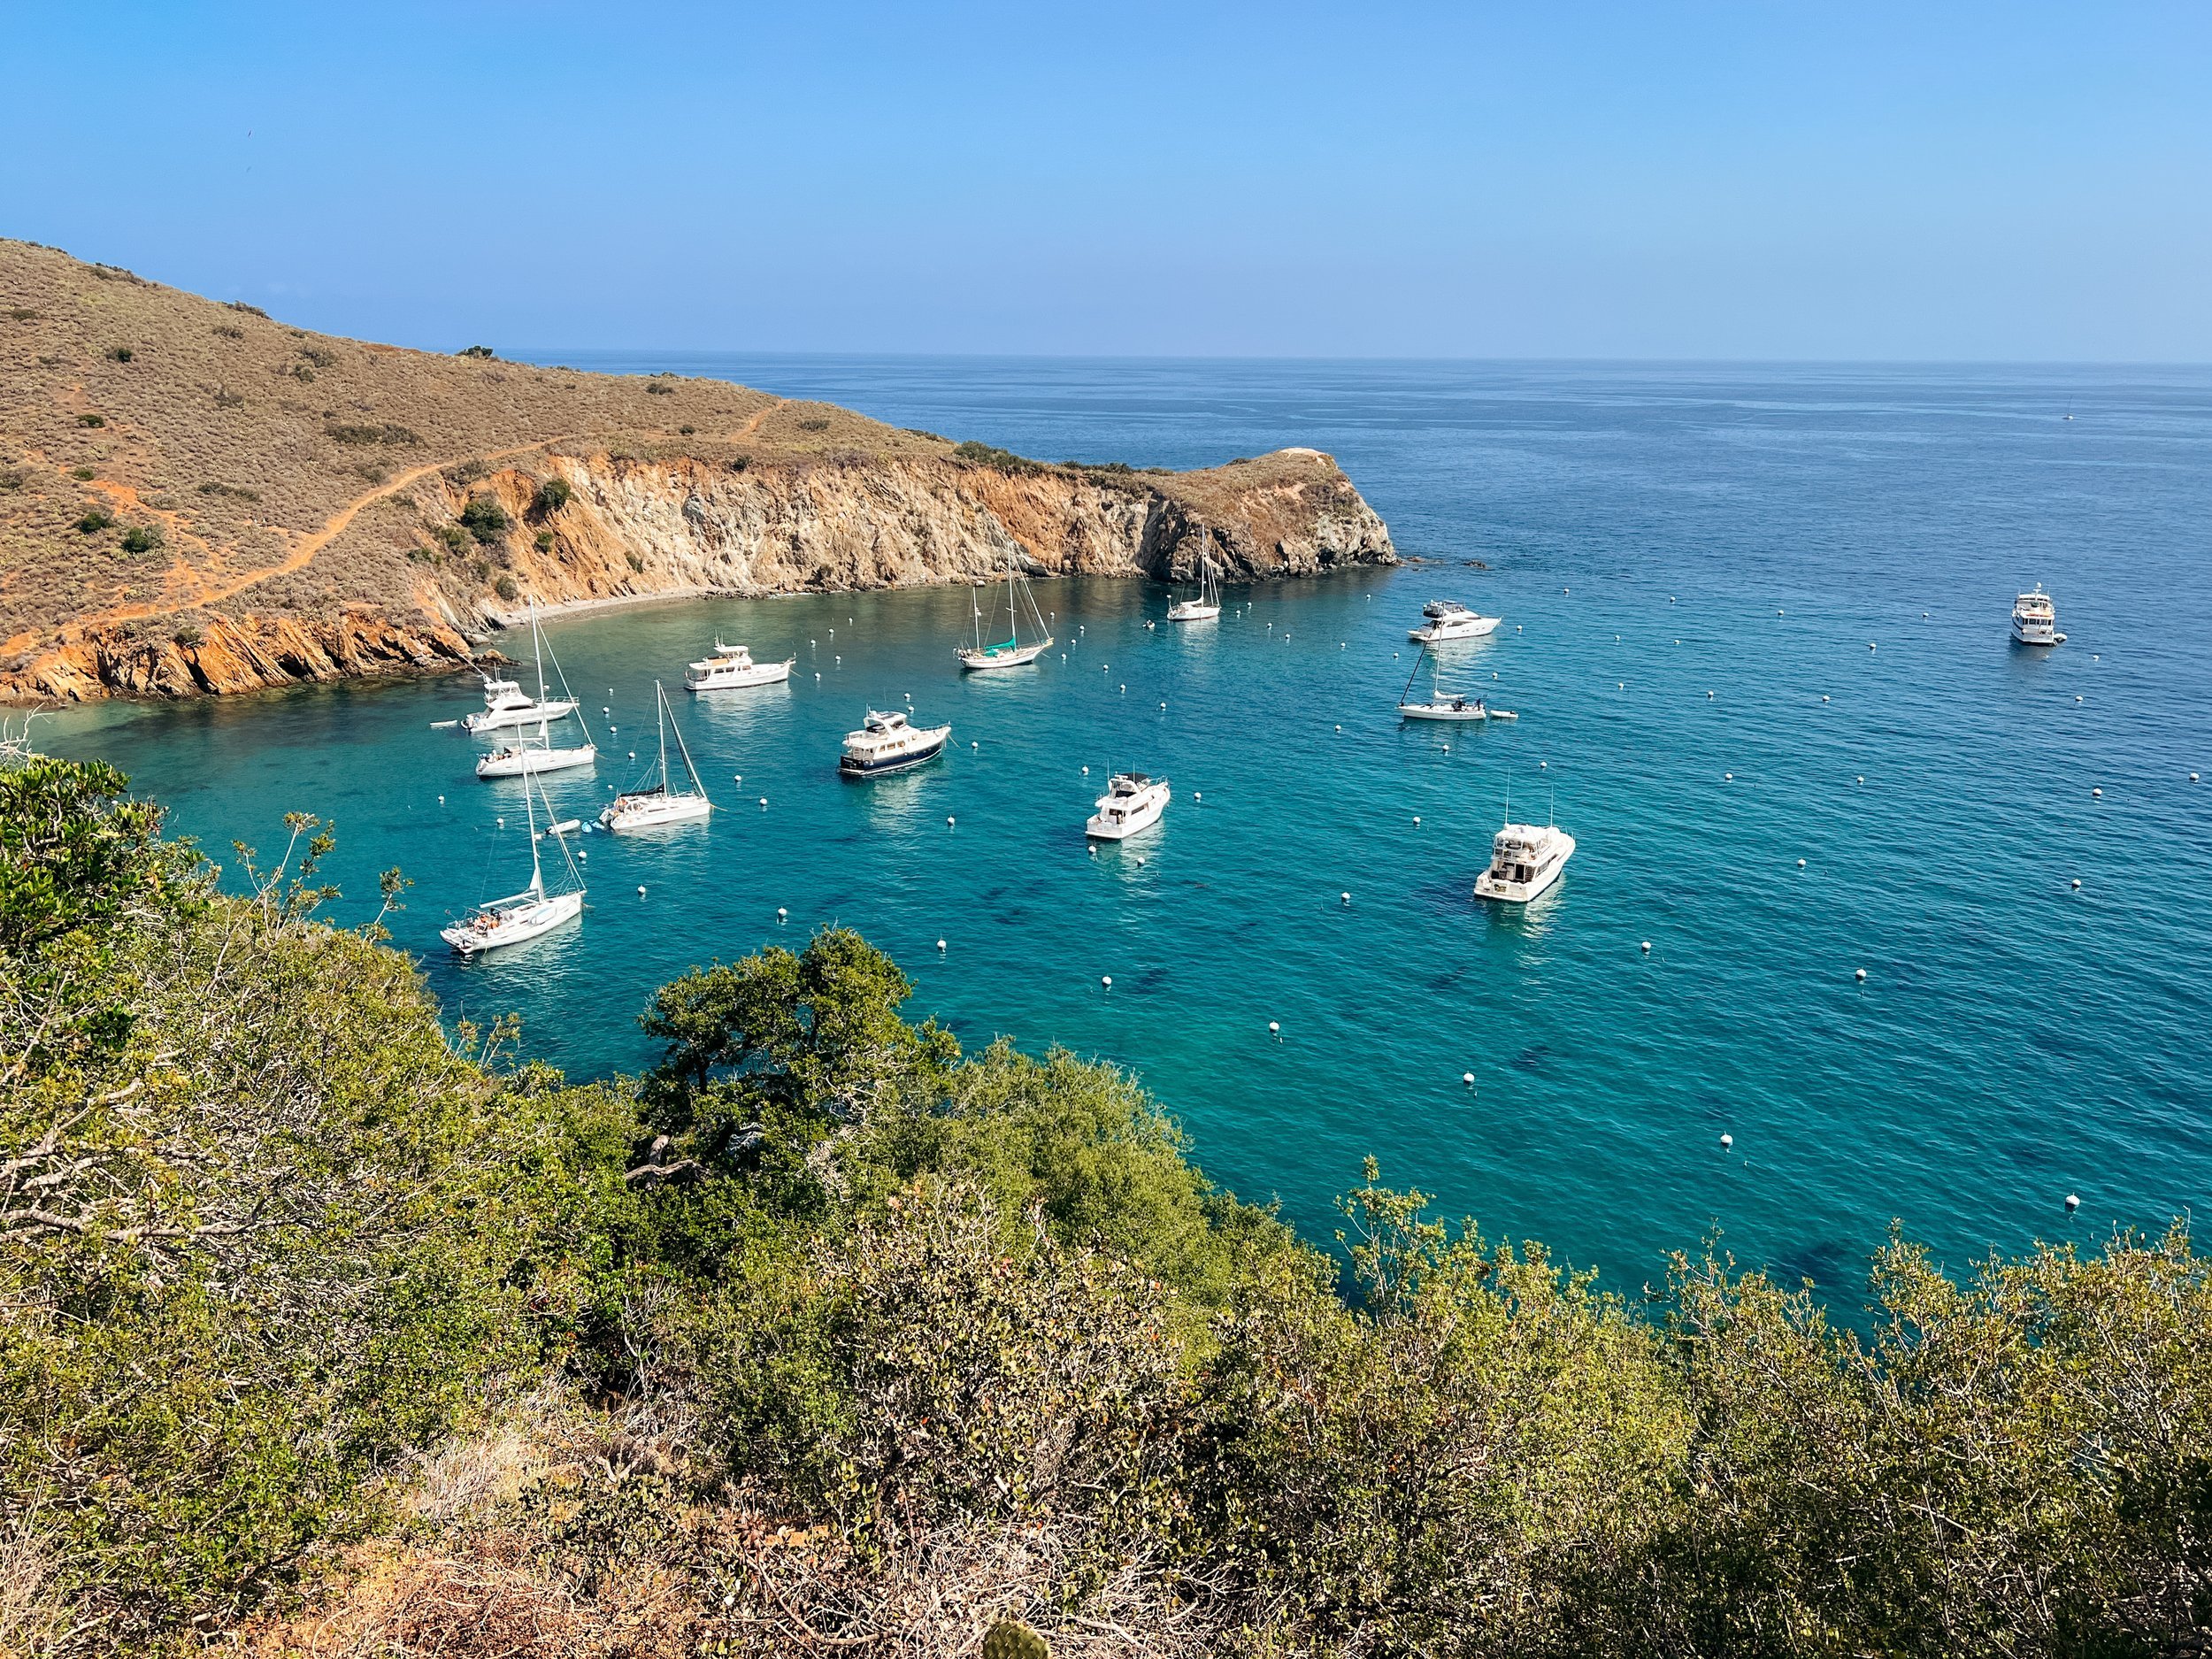
Two Harbors
Mile 24.2
This campground is kind of a pain to get to from the town, but I’m still glad we stayed here since the little rocky beach was cool and we got to hear sea lions!
Sites 1-4 are right on a bluff above the water, and site 4 has direct access via a small path down to the beach. Site 5 is also awesome, since it's lower down and has shade, and is still next to the beach, but slightly closer to the port-a-potties. The only bummer about these sites is the walk down to the sites from the camp entrance is sooo steep. But, we’re hikers, right?!
The Two Harbors campground is not super close to town. It’s about a half mile walk to get to the little store from the campground, so you’re not going to want to walk back and forth a ton. There are also no food lockers at this campsite, and it definitely has a critter problem - our neighbors had their tents chewed through. We kept our food inside of opsacks, in our packs, in the tent, and didn’t have any issues. But they should seriously install lockers here! They have them at all of the other sites, so it’s bizarre to me that they don’t have them at a very front-country campground. We did meet someone who got a free locker in the town to keep his food in, so that could be an option if you are concerned.


Sites 1-4 on the bluff at Two Harbors
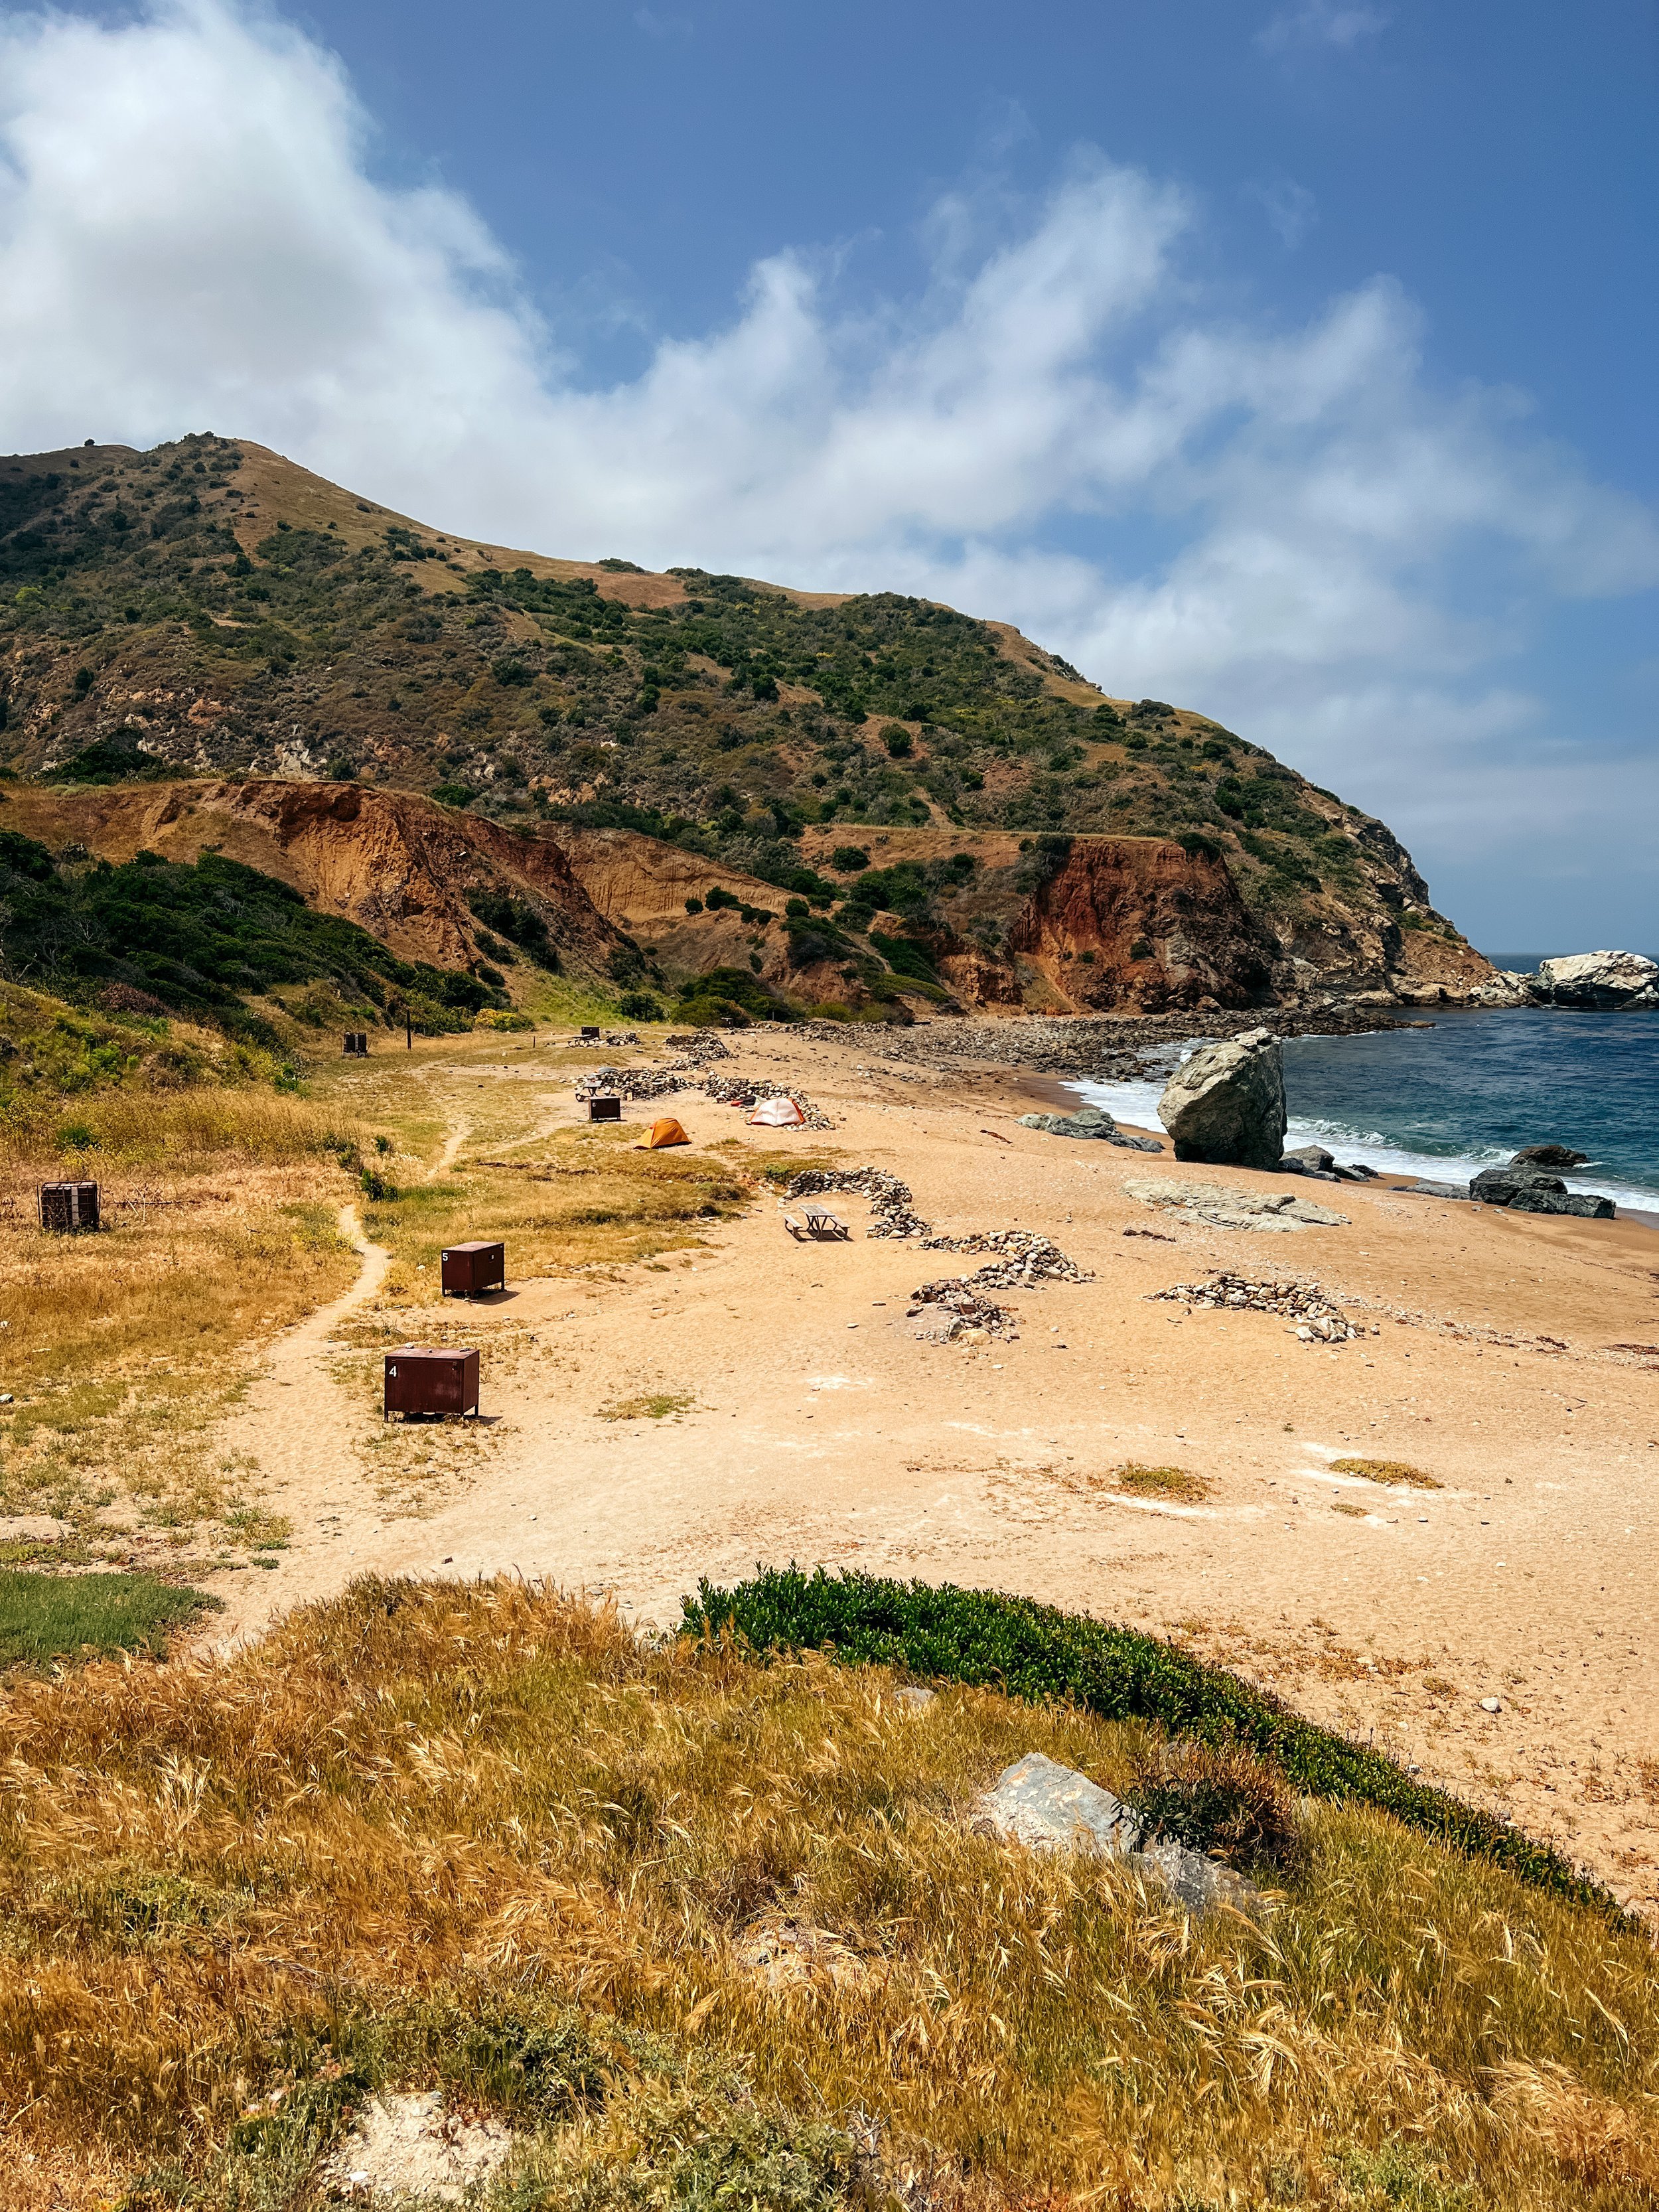
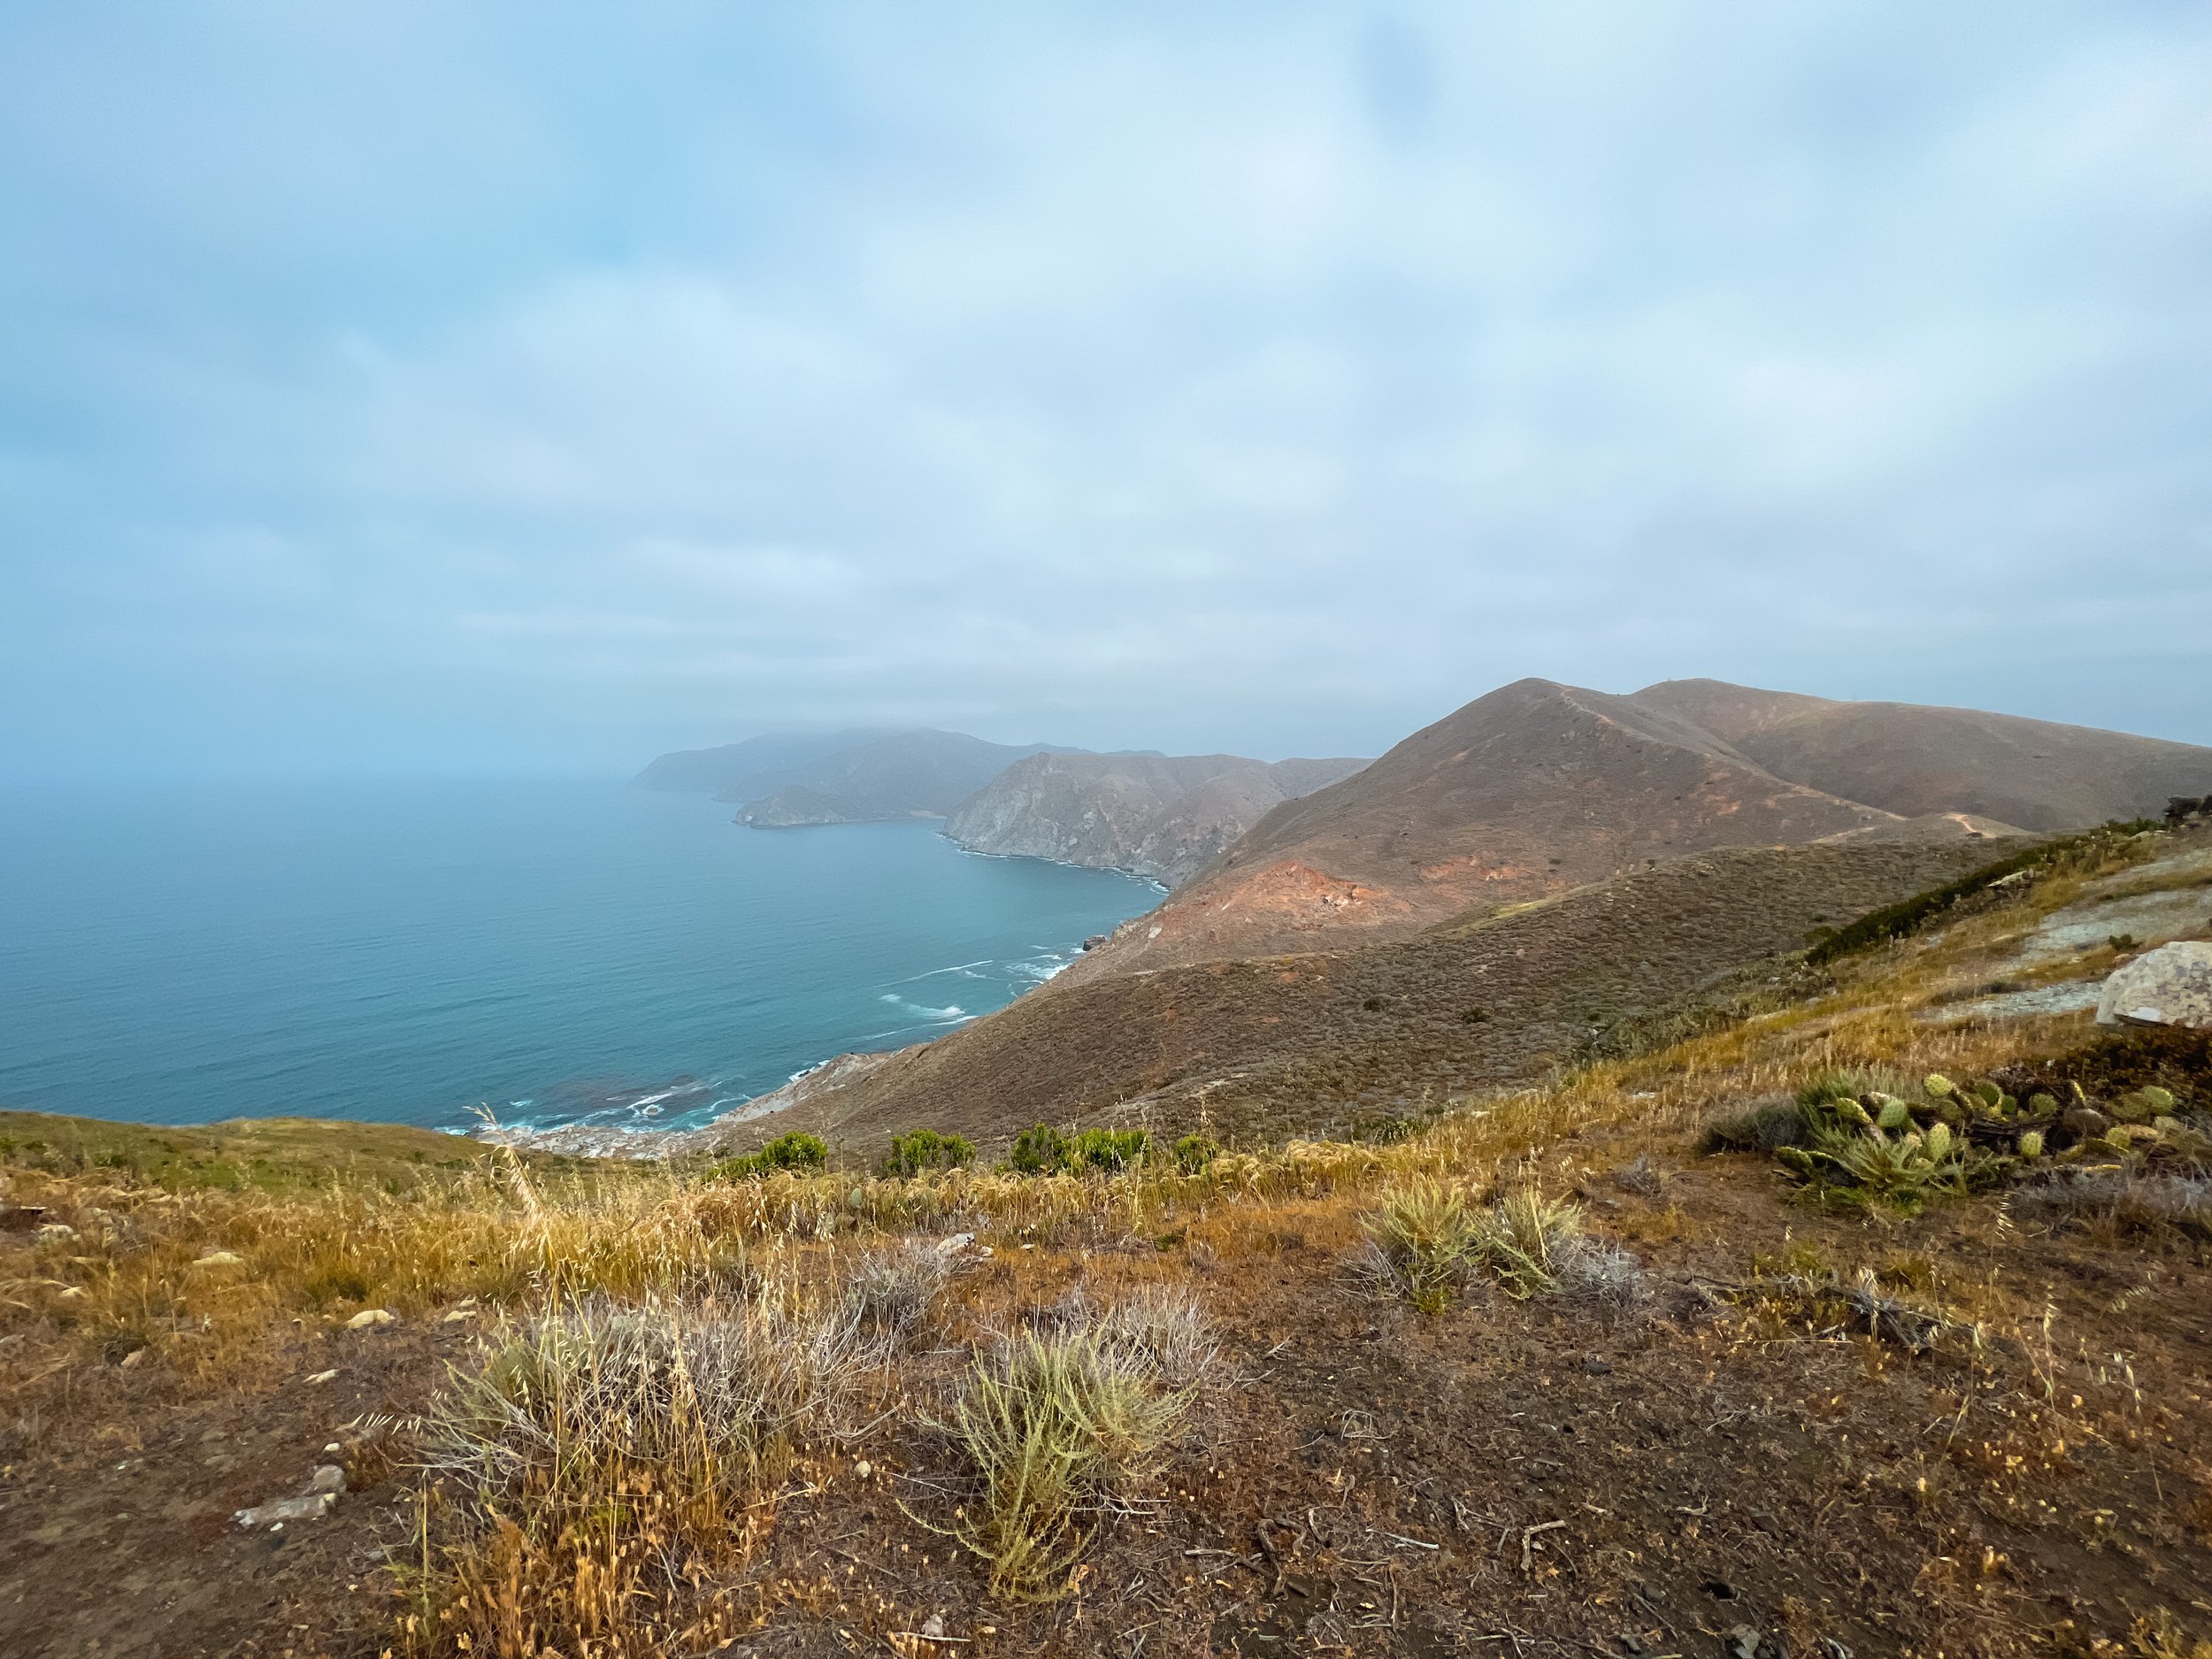
Parson’s Landing
Mile 30.8
This is the most remote campsite on the trail! Parson’s was really special. Because of the time of year we were there and the way the campsite is situated, we got to see the sun set and rise from our site. We were camped at site #5, which was really nice. It was a good distance away from the toilets without being super far away. Site #1 has a really cool cove that is really separate from the whole campsite. So if you’re with a bigger group and want your own private space, that is the site for you!
This is the campground that does not have any running water. You must purchase a locker combo and have 2 gallons of water and a bundle of firewood. The 2 gallons was more than enough for 2 people - even with dousing our fire in the evening.
The downsides to Parson’s are no shade and it’s windy! I could not get comfortable during the afternoon we spent there: too hot to lay down in the tent and take a nap, but it was too cold with the wind outside of the tent. The wind completely died down at night though, which was great.
Overall, it was such a beautiful spot and very serene.


Itinerary Recommendations
The TCT is a trail that can be done in so many ways. You can pay the concessionaire to slack pack the whole thing and have them drop your gear off at every site, you can traditionally backpack it, or you could even run it or fastpack it!
The traditional itinerary, and what we did, is as follows:
Night 1: Blackjack
Night 2: Little Harbor
Night 3: Two Harbors
Night 4: Parson’s Landing


If you’re in shape, you could consider doing the trail in a shorter amount of time:
Night 1: Hermit Gulch
Night 2: Little Harbor
Night 3: Parson’s Landing
-or-
Night 1: Blackjack
Night 2: Two Harbors
Night 3: Two Harbors (round-trip day hike to Parson’s Landing)
I met a couple of groups that could not get reservations at Parson’s Landing so they opted to stay two nights at Two Harbors and do a day hike to Parson’s. This is definitely doable, and I’d highly recommend going the official trail and doing the big uphill inland and then hiking along the coast on the way back.
You could also catch the afternoon ferry back to the mainland on Day 3 and not spend another night at Two Harbors.


If you think you need a little more time:
Night 1: Hermit Gulch
Night 2: Blackjack
Night 3: Little Harbor
Night 4: Two Harbors
Night 5: Parson’s Landing
Day one from Hermit Gulch to Blackjack will still be difficult, but at least if you’re camped at Hermit, you’re in a better spot to wake up early and beat the heat on the big climb.


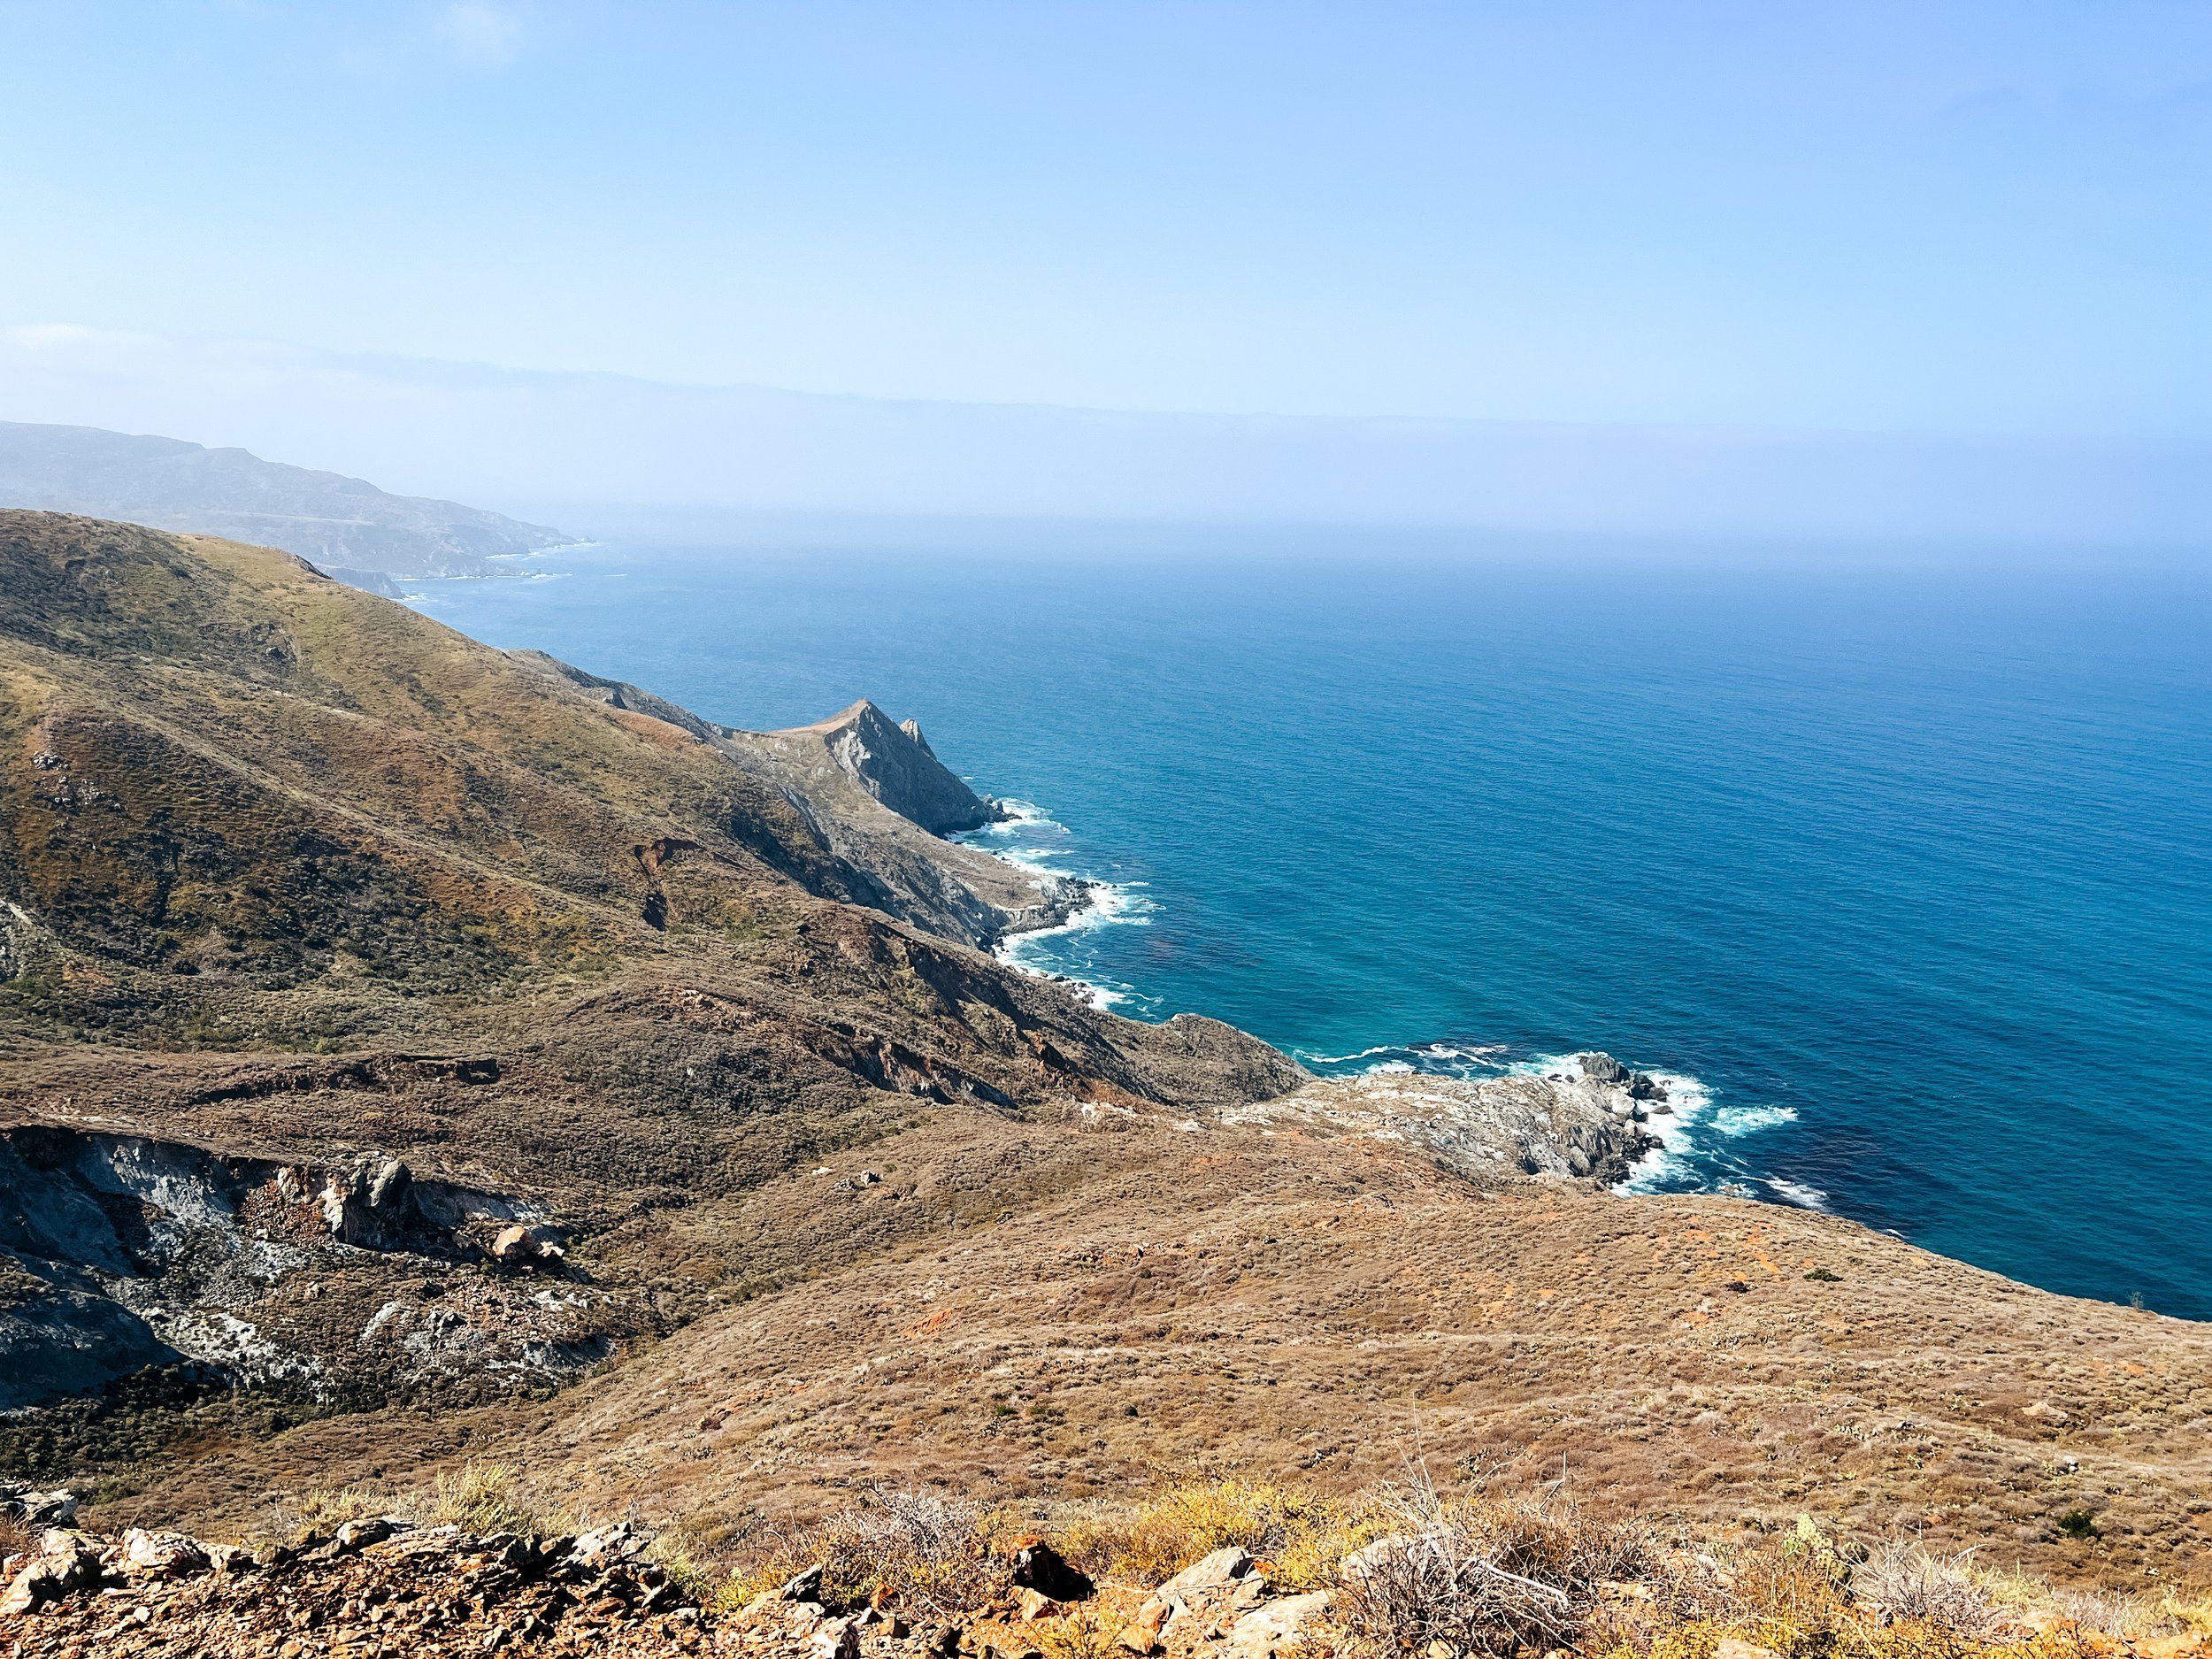
Starlight Beach?
I also met a group that skipped Two Harbors and went from Little Harbor to Parson’s and stayed two nights at Parson’s. They attempted a day hike out to Starlight Beach, which used to be the terminus of the TCT, and is past Parson’s. We chatted with them when they got back to camp and found out that the trail is completely washed out down to Starlight Beach so you can’t really get down to the water. And, there are some good views, but nothing that you haven’t seen before on the rest of the trail.
We debated climbing Silver Peak and going to Starlight before looping back to Parson’s Landing, but decided against it, and I am glad we did after getting the beta from them. It still would have been cool to summit Silver, though!


The shaded rest benches along the trail were wonderful lunch and snack spots.

Overall, I was pleasantly surprised by the Trans-Catalina Trail! The biodiversity was not something I was expecting at all, and we made friends with a few groups that were hiking the same itinerary as us. There is definitely a sense of camaraderie on this trail since you’re basically guaranteed to be at camp with everyone you’re hiking around every night!


Any questions you have about hiking the Trans-Catalina Trail? Let me know below!